Live Track - Past 90 daysDistance Sailed to date - 15,383Nm
Download Email Maximum of 160 characters and you cannot include images, as this is a Short Message Service only. Download
Download our track Email us OffShore SMS us OffShore Download GoEast tracks

Tuesday, January 24, 2023

Bass Strait Crossing 2022/3 - Fail 1 and 2

Heading down from Queensland should really not have been such a slog but La NinĂ£ delivered some weird weather across 2022.  A southward trip that took us 3-4 days in previous years, took us a month this time. We found ourselves grasping at tiny weather windows that involved 12 hours of motoring and 12 hours of sailing followed up with 5 -10 days of ‘hiding’ up a river system. We made the best of it but when your eye is on the prize: Tasmania, every stop along the way represented a diversion. 


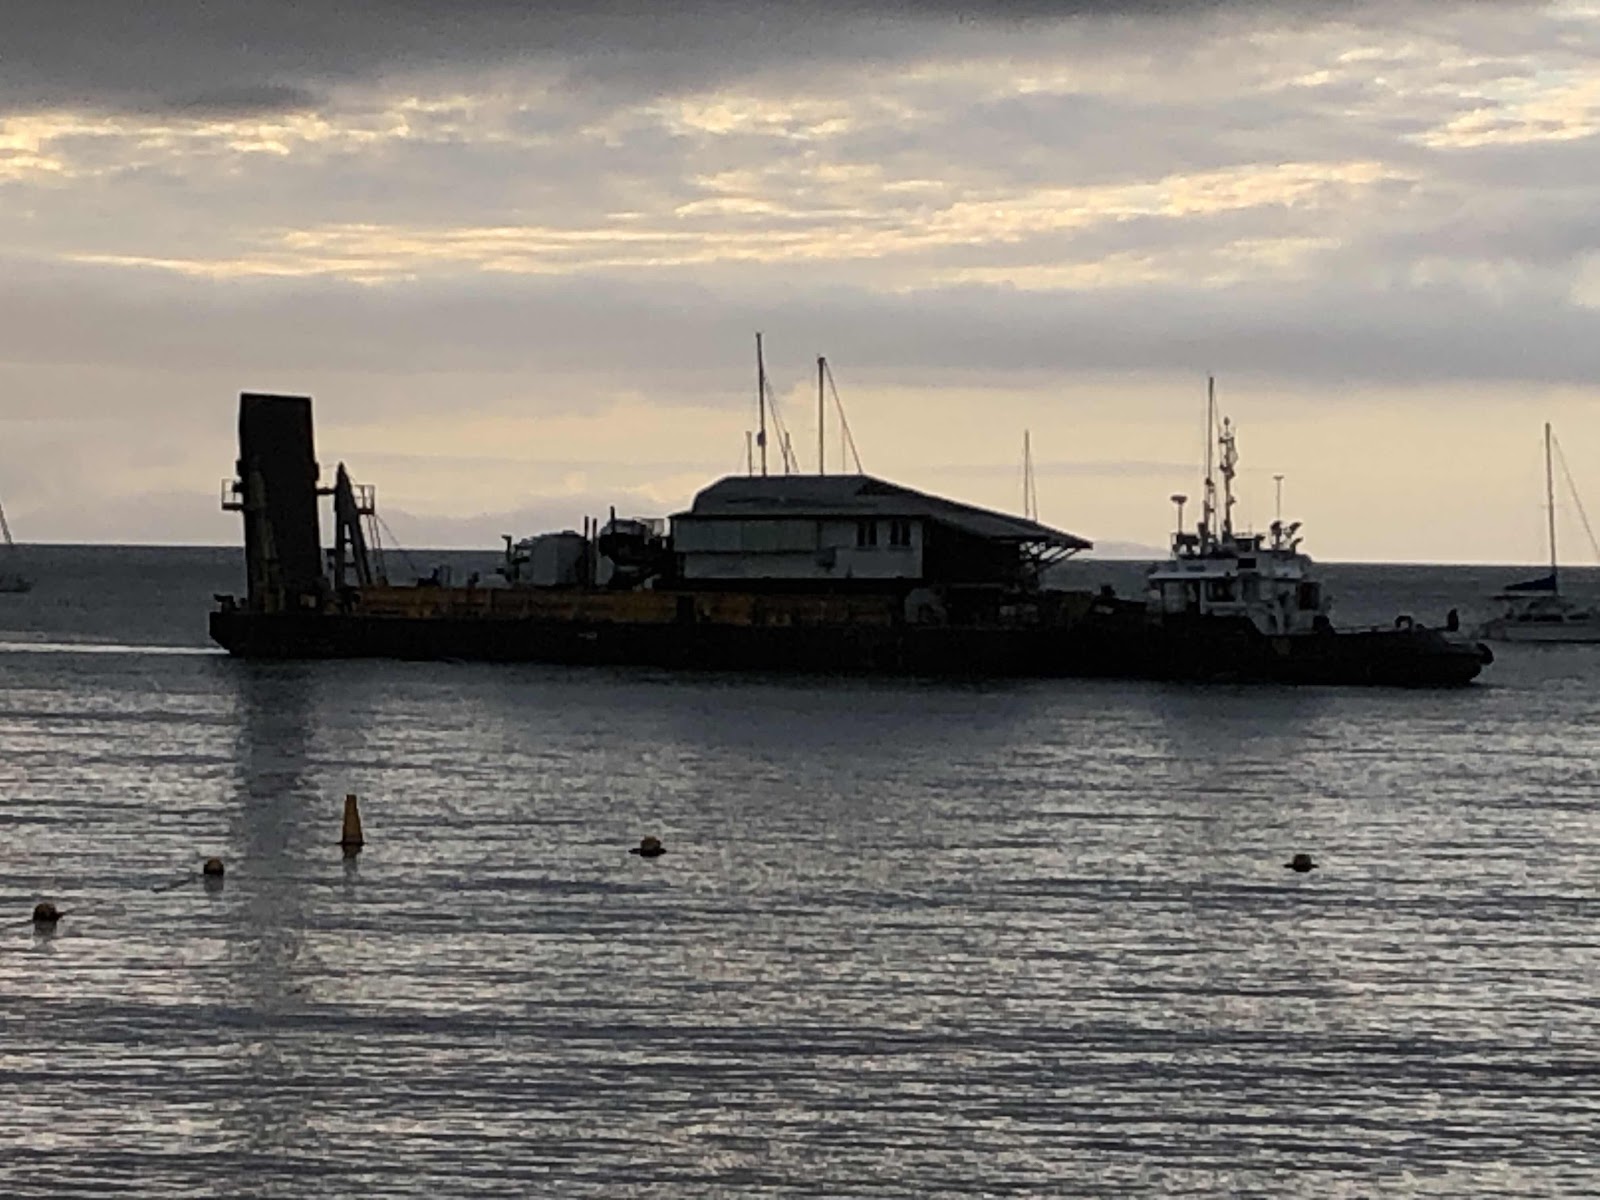
At least we managed a couple of new destinations en route. Shellharbour (just south of Sydney)where we spent Christmas, and Batemans Bay, departing there on Boxing Day 7 hours ahead of the 2022 Rolex Sydney to Hobart Yacht Race fleet. 

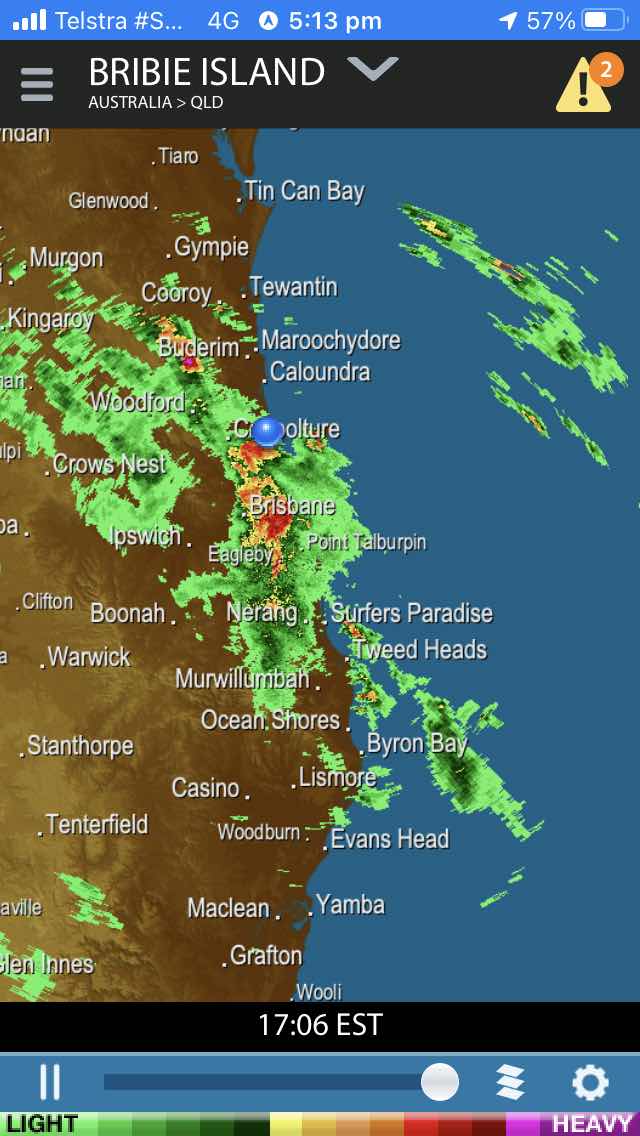
The weather for the most recent edition of the RS2H (2022) we considered a dream run of northerlies for the Maxi’s but not only were they going to get a bit too fruity for us, they would be interrupted by a southerly change before swinging back to the north. So we passed in that particular weather window (WX) electing instead to use the lighter northerlies to take us to Bemagui via Batemans Bay. There we could ‘hide’ and take on last minute provisions, do laundry and rest up ahead of a launch across Bass Strait. 


As it turned out, the sea state was not yet recovered from the N-S-N switch. We left Bermagui and I was soon struck with sea sickness. Something I’d not suffered from for some years. It begins with some queezyness. Progressing to feeling like one might die followed by wishing to die. Absolutely not how you’d want to embark on a 2 1/2 day passage that requires full attention. 


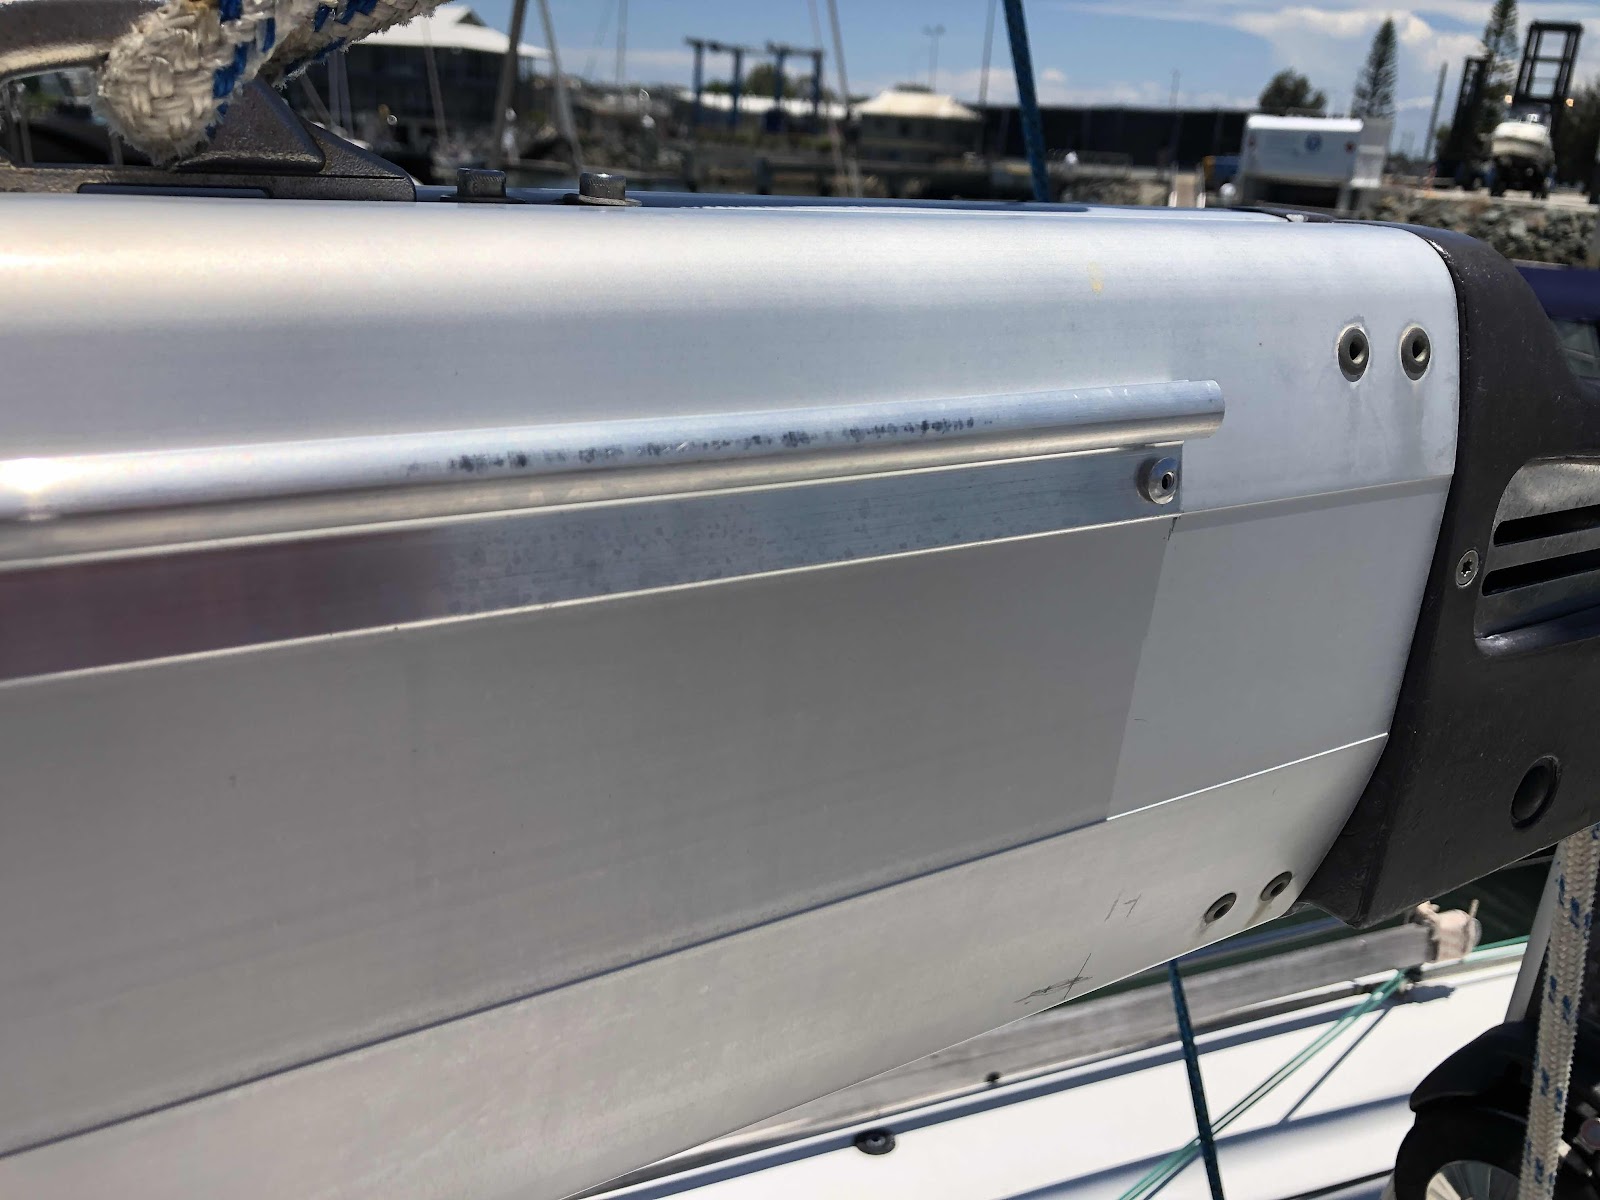
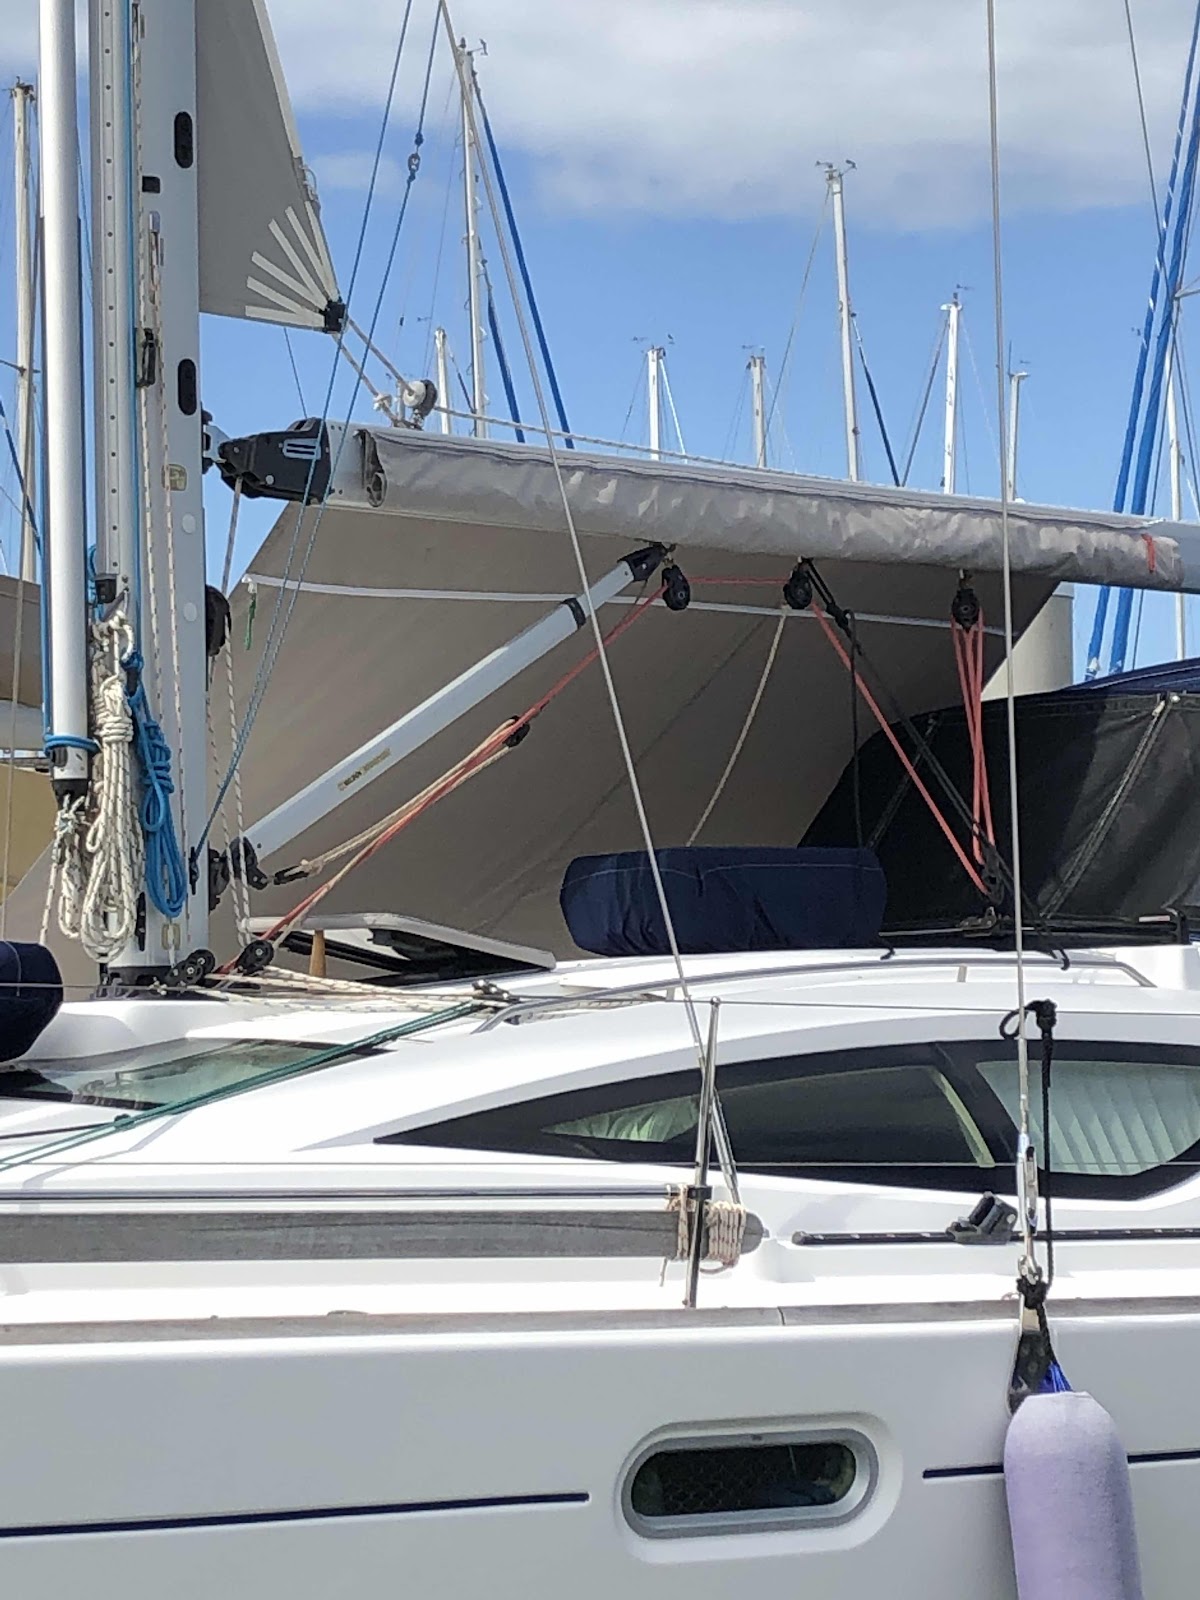
In the meantime, in anticipation of ‘our wind’ (a northeasterly) arriving, The Bloke was up on the deck setting up the spinnaker pole. This was to be a ‘downhill run’. It wasn’t possible to set it up in the Bermagui harbour, so the pole and braces needed to be positioned clear of the harbour and shore  He was a little horrified to discover the hook at one end had become distorted. With grim determination, because this was after all ‘OUR WX’, The Bloke attempted a resolution whilst on the heaving deck. I was meanwhile heaving my breakfast up at the stern. 


It wasn’t long before we both thought the better of the expedition and pulled into Eden. I retired immediately to my bunk, having lost all immediate interest in anything. The Bloke however set tooth and nail to turn the spinnaker pole end-for-end and make it serviceable for our requirements.


Four hours later, I emerged from my torpor and replied to concerns for my wellbeing that I was ‘restored and good to go!’. The Bloke was happy with his work and despite having lost 5 hours of our predicted WX, announced that we could still leave and arrive at Schouten Passage - our planned Tasmanian land fall, with a day in hand ahead of the southerly change.


We weighed anchor and pointed Zofia’s bow seawards out of the Twofold Bay. Popping below to stow the headphones and prepare a cup of tea, I noticed that the AIS hadn’t ‘come up’ properly. In fact it was worse because it was asking for an MMSI number to be keyed in. When did that last happen? Never! Never since it was first installed in fact. I worked furiously to re-enter our boat details but nothing would ‘save’. I turned it off. I turned it on. I re-entered everything a couple more times before accepting that this vital bit of equipment that would assist our safe passage across one of Australia’s busiest sea lanes at night was not working. The computer said ‘NO’. 

It was with the heaviest of hearts that I needed to inform The Bloke, my skipper, that all systems were not after all,  G for ‘good to go’. With this red flag we turned back to the anchorage and let go of ‘OUR WX’. 

The strain of getting down from Queensland, studying the weather and preparing the boat suddenly seemed too much. We shed a tear and retired, believing our campaign at an end. Was the Universe was trying to tell us something like ‘turn back’? Perhaps the sailors superstition to never start a passage on a Friday was true. 


Tuesday, September 21, 2021

Moving House Queensland Style

Having arrived at Magnetic Island, our northerly prize for this year, we wasted no time in catching a bus from our anchorage at Horseshoe Bay across to Picnic Bay on the Southern side. Upon our return from a tasty pub lunch, the anchorage had a couple of very industrial looking vessels making their way through the 60-70 boats anchored out. Whatever was going on, we wondered?


The Bloke introduced himself to Sandra who was taking a greater than ordinary interest. “That’s my house!” she declared. 

A barge was being maneuvered around by a tug boat. The cargo included 2 prime movers each towing half a timber house. 

At 9pm there was to be a king high tide and the barge was being positioned to use the extra water depth to come as close to shore as possible. The trucks would be off loaded and the half houses driven to their destination where stumps, acrow props, rollers and such were already in place to support and position the building parts. 


Building a house on Magnetic Island is expensive since all the materials must first be transported from the mainland (Townsville). The construction workers usually need to be accommodated on the island too. All this substantially escalates the cost of building a new home. Queensland has a ready supply of timber homes that were fashionable last century but left unloved or in the way of some kind of urban renewal. These homes can be sold and removed by house movers - the literal kind- they relocate the entire house. It’s a high scale recycling industry. There are industrial lots on the fringes of cities that are a virtual show space of rescued timber homes. All one need do is choose one. Sandra told us that $175,000 was what it cost her to buy one of these homes and it included the re-location and the reassembly. All she needed was a block of land. 


Navigation lights confirm that this is still a marine vessel. Pylons were lowered to secure a part of the barge to the sea bed.

The workers needed only to wait for the tide to rise.

The ramp being lowered to enable the prime movers to get onto the beach.


By morning the barge had gone The trucks took the vehicle ferry back to the mainland. Evidently this is a common process along the more remote north coast. And that folks is a story about moving house in North Queensland. Brilliant!

Monday, September 20, 2021

Everything is Broken on your Boat.

Dave on Mercedes is full of witty commentary and said “Everything is broken on your boat; you just don’t know it yet”. This bit of cockpit wisdom is reinforced almost daily because as hard as we try to always be diligent with maintenance and be pre-emptive, stuff just keeps failing. Everyday The Bloke wakes and asks “I wonder what’s going to break today?”.


We spent a few days at Airlie Beach. The lock for the washboard - effectively our front door, broke. The lock came away with the key in it and the latch in the locked position. Luckily tools are in the lazerette in the cockpit and it was fortunately an easy fix.

Then another thing. The Bloke went ashore in the dinghy to buy fuel. The outboard fired up on the first pull on the outward journey. The outboard wouldn’t start for the return trip and I was met at the stern by a hot and bothered skipper who’d just rowed 1km back to the boat. 

The repair was assisted by a full rummage through the F@&k Box and whilst the spark plugs were replaced with the 2 new ones we held in our ever expanding ‘spares’ tub, The Bloke is still none the wiser as to what exactly he might have ‘touched’ to get the outboard operational again. However, so far so good. 

When raising the dinghy one morning, the bridle from which it’s suspended broke. Luckily, this happened only inches into the lift and The Elf (the dinghy) was undamaged. Cause? - The splice in the dynema rope gave up. It’s only 6 months old and was professionally spliced. Go figure!


A few days later we heard the bilge pump going and it wasn’t stopping. The hot water tank has an overflow hose draining directly into the bilge sump and seeing as we’d motored a for a couple of hours, due to wind failing to eventuate, we half expected the float switch to activate the pump. But we didn’t expect the pump to keep working without actually pumping. A job for tomorrow. There would be a chandler in Bowen, the next large town, in the event of  a part needing to be sourced.


In lieu of going for a walk at Cape Upstart, the pump was removed and dismantled. My job was to clean the parts and look it over, The Bloke had a much more interesting and unexpected task - locating one of the slide clips that secure the hoses to the pump. Inexplicably, Mr Murphy was on duty and a clip fell deep behind the nearby Hot Water storage drum. Or so we thought. The drum, not only heavy from it’s contents of 40L of water was also warm. 


The Bloke was not getting warm in his hunt for the missing clip however. In fact, he was beginning to think it had fallen into an electrical conduit that runs from one side of the boat to the other.   Out came the endoscope camera to assist with the hunt. 


Sadly the search wasn’t rewarded with finding the pesky part. It was very much looking like a  cable-tie and gaffer tape improvisation until The Bloke successfully ‘manufactured’ a substitute from a thick rubber washer. Genius!


In the meantime I cleaned the pump components and discovered why the pump was failing to suck and runing without stopping.


A small part of the sponge we’d previously used to clean the bilge had been sucked into the pump and caused the flap to remain slightly open. The pump couldn’t therefore pressurise, preventing the contents of the bilge  from emptying even though the float switch was triggering it. The sponge piece was a  ‘Goldilocks’ size. Big enough to keep the flap open yet not small enough to be sucked out with the bilge water and just the right size to create chaos!


Dave is quite right. Everything is broken and often you don’t even know how it could have happened. Although it probably has something to do with Murphy’s Law!

Thursday, May 13, 2021

We have Austrian Fans!

The fridge on a boat is always a torment one way or the other. In the first place they are by far and away the biggest consumers of power and seeing as The Bloke is a paid up member of the ‘Power Police’, he is always on the case and monitoring. I am far less attentive and and chiefly interested in the lettuce not freezing or the ice cubes failing to set for my G&T for sundowners.


Over our years afloat multiple modifications have been made for the refrigeration to work optimally. The cable run across the boat was replaced with thicker wire to reduce resistance  and consequent loss of amps between the battery and the fridge. Connectors were similarly beefed up. The original thermostat was replaced with a digital one and the display and controller installed in a visible and accessible location. The Power Policeman was well pleased. Well, until recently.

Having embarked on the project to finally extract ourselves from the Gold Coast/Moreton Bay area after 7 months of “stuff that happens", it was an annoyance to discover the fridge playing up. Why now? Zofia had been months tied up against a jetty in marinas. Getting a tradesman and spare parts etc would be more difficult with each nautical mile we sailed northward. The fridge had just been stocked up too. 

Attuned to all the noises that are ‘usual’, The Bloke notices when the fridge compressor kicks in and for how long it hums. He notices it even more at night during periods of wakefulness created by his ‘cure’. Even I noticed that the temperature numbers on the display weren’t coming down and the compressor was not going off! 

Investigation in the recess that houses the fridge ‘workings’,  accessed from under the galley sink (read contortion rewarded by limited access) indicated that the cooling fan was not running consistently. Dusting with a pipe cleaner made no significant impact nor spraying with compressed air. 

By this time we were anchored off Bongaree, a new anchorage for us, at the bottom of Bribie Island - Pumicestone Passage.  We needed a sheltered spot to wait for good weather - the right weather, to sail overnight to Double Island Point ahead of a Wide Bay Bar crossing. 


It proved a really good location to shelter from inclement weather.  Fortunately we had easy shore access and access to Post Office and shops too. An overnight internet search and an overnight Express Post package was to deliver salvation.


The Bloke decided to order 2 computer fans. His research pointed to fans that were more powerful and used less amps than a conventional Danfos refrigerator fan. These fans ticked ALL the boxes, they were in stock in Brisbane and with Bribie Island being inside the Limits of the Greater Brisbane/Moreton Bay Area, there was every possibility that delivery would indeed be overnight and not some Covid-Variation-to -service!


The fans are beauties. Even their packaging is almost ‘Apple’ quality! They had a magical impact on the existing fridge fan because it began ‘behaving’ again as the threat of replacement was a near possibility. So for now, The Bloke has installed one of the fans as a supplementary one and the fridge is now behaving very well. No frozen lettuce. Plenty of ice for drinkies. And that is why we have Austrian fans. Two of them!


Thursday, April 29, 2021

Sausage roll table of fame UPDATE

Well a new offering. I had the pleasure of sampling these magnificent sausage rolls twice; not that I needed a second tasting to decide these are the real deal. Judy has entered the table of fame at number 6 and in doing so has become the highest ranked amateur. Peter of "Novae" will be disappointed, however, given he is planning to catch us up who knows a bake-off may be in the offing. STAY TUNED!


Sausage rolls from Judy of 'Hurtle Turtle'


Monday, April 19, 2021

Servicing our Quick Antares Windlass/Anchor Winch

Let me say from the outset that I am not proud of the fact that I have needed to create this post. The condition of our windlass and the amount of servicing it required does not reflect well on my maintenance of this equipment. My only defence is that I did regularly check and service some elements, in particular the cone clutches so as to maintain manual operation if it was required. What I did not do is service the winch spindle apparatus nor the gear box. It was not that the winch was not telling me to do so because it had been leaking a small amount of water into the boat for some time. I should have heeded this warning and taken action much sooner. Luckily for us, we were on a jetty at The Boatworks when the leak became evident in the form of droplets on a ceiling fascia in the bow cabin during torrential rain. It was lucky we were aboard and with the use of a car, having just returned from an interstate trip following a family bereavement. It demanded immediate attention. What we found was HORRIFIC and a testament to the robustness of the equipment. How it was even operating, we don’t know!

BEFORE

Gear Box viewed from the top, revealing the mess created by water flowing down the spindle onto the top of the gear box.


Area indicated, reveals the worn and damaged oil seal that acts as a water seal to prevent water flowing down the spindle.


 Once the spindle was removed you can see that the bearing that should be in the area indicated,  had rusted away. The outer casing of the bearing was fixed into the winch housing and needed to be removed using a dremel tool. The circlips holding the bearings were also rusted onto the spindle and required some effort to remove.


AFTER


Top of the gear box, all cleaned up with new seals and bearings.


Side view of gear box after painting and a complete service.

The gear box and motor reunited, all clean and back in place. Just like it never happened.
 

The purpose of this post was twofold. Firstly, to warn other cruisers of the need to check the seals on the spindle and gear box on a regular basis and if any leaks are occurring, then dismantle and replace these seals. Secondly, to provide a detailed list of the parts required to reconstruct the spindle assembly and service the gear box. There was no need to provide a detailed step-by-step instruction on how to achieve the first aim because there is already an excellent video made by the skipper of "Cat Impi" that describes the process in great detail. Click the image below to view the video.

While this video was invaluable it did not contain a list of the specific parts that are needed to service the spindle and the gear box. This is not to criticise the video because depending on your specific windlass, these parts will or could vary from those used in the video. That being said, if your windlass is a 

Quick Antares AT 1012 (or equivalent) then these are the parts you will need:-

SPINDLE:

1 X Bearing ( 6005-2NKECM )

2 X Oil Seals ( Oil Seal 25*47*7 TC-NK7COCOO )

2 X stainless steel external circlips 25mm ( 1400-25SS )

2 X Stainless steel internal circlips ( 1300-47SS )


GEAR BOX:

2 X Bearings ( 16008-2RS )

2 X Oil Seals ( Oil Seal 98350 )

1 X Roll gasket paper ( 0.5mm )


In addition you will need a small quantity of gear box oil and Tef-Gel.


All of these items are readily available and are not ‘marine’ specific - read inexpensive. Our windlass rescue cost around $300AU and that included some tools. Cheap when compared with $3,000 for replacement! 

Special mention goes to Garry Kennedy from SV Ciao Bella who assisted with great knowledge, dedication, enthusiasm and good humour for this rainy weather job. 

Monday, January 18, 2021

Making the Boom Awning

To say I’m a ditherer wouldn’t be overstating things. Sewing a boom tent has been far too long on the project list. In fact the first lot of fabric purchased for that purpose ended up as suncovers for our gerry cans that we took on our trip to New Caledonia in 2017, a cover for the Honda generator, replacement hatch covers and even a stern awning,  but no boom tent.


Ciao Bella making a welcome lap

Last year however, after endless COVID-19 related delays, we finally rendezvoused with Gary and Mil on Ciao Bella up at Great Keppel Island. Seeing their boom awning arrangement for the first time, we knew immediately, that their ingenious setup was what we wanted! 


We’ve never before spent a Queensland summer on the boat. In the past, even if Zofia was in Queensland for Christmas, we’d be in Perth visiting our family. Like everyone else in these Covid times,  we’ve been making home improvements too, seeing as our travel options are restricted. Being temporarily confined to marina life (think unlimited electricity and no weather distractions) plus the use of a car to obtain supplies, our circumstances were perfect to execute a major sewing project, or so The Bloke kept telling me.

Conveniently Ciao Bella came into our marina for a couple of days giving me an opportunity to give their setup an extra good ‘looking at’. Mil was generous with her time and encouragement showing some of the finer details and sharing her tips. So I put on my big-girl-pants and embarked on the process of cutting up 600-700$ worth of fabric!


Aluminum sail track pop-riveted onto the boom.

The Bloke set the ball rolling by purchasing and installing a 3m length of aluminum sail track on each side of the boom. Drilling the holes into the boom for the pop-rivets took courage. No turning back now. No performance anxiety allowed. Now it was over to me.


Laying out the fabric
 
Some kind of sedation is required for working in such a confined space with heat and humidity just to spice it up. Some people suggested working on the jetty but that’s not really an option in the tropical sun and not a great deal wider anyway. Besides, one puff of wind and half the fabric would be blown into the water- that would be way too much excitement!


The bolt of Sunbrella fabric (2.005m wide) soon became strips and slab pieces. After cutting, the next task was to sew the bolt rope. The off-the-shelf,  pre-made version is called Keder Sail-track Tape but it’s expensive to buy and would have added well over $100 to the cost of the project. My time is free and besides, Mil had already shown me how to construct it. 


1.

2.

3.
Voila - 10cm fabric strip + 6-7mm cord. Thanks Mil!


My homemade sail track tape. 
 
Next in the process was to sew a zipper valance. The binding tape and binding attachment that I’ve used on other jobs made a fast and tidy looking edging. 


The zipper valance and sail track tape were then stitched together.

I discovered that the rope also needed securing. A 3” length slid into the sleeve during handling so I was quick to arrest that!


Next, the big awning pieces needed to be cut and joined. Sunbrella's 2.005m width was insufficient for the intended 3m wide drop. More crawling, measuring, scribing and cutting needed.


After pouring over multiple Sailrite instructional videos I chose a fully felled flat seam (stronger and more waterproof). Sewing the 2m and 1m strips together was the hardest of the sewing due to the shear weight and volume of the pieces. Keeping the sewing lines straight was not easy nor 100% successful. The Bloke, seeing the difficulty, assisted by supporting some of the fabric’s weight as it came off the sewing machine. 


Instructional video

Excitement mounted as the fabric evolved into something resembling an awning, so we were compelled, despite the wind,  to try things out along the way!


I hadn’t made a decision on the actual length of the awning, knowing only that it would be narrower at the front (about 2015cm) versus the middle (2025cm) due to the hull’s extra girth at mid-ships. Having eye-balled it en situ we opted for a contoured rather than strictly rectangular shape. With a big deep breath inwards I measured multiple times before taping and cutting off the excess fabric. Ouch!


The excess won't be wasted


In my enthusiasm I nearly forgot the corner re-inforcement. Image shows the patch still to be sewn to corners. Luckily I had ‘reduced’ (a technical term) the corner seams so that the corner was less bulky. My machine was stitching through roughly 9 layers of canvass at this point!

From a sewing perspective, the last element was the zipper- strip that would enable the rolled awning to wrap inside itself and hang from the boom - semi-permanently.


To sew it as straight as possible across a 3m fabric block, I measured and laid out a line of blue painters tape. The zip could then be aligned to something a little more solid than a chalked scribe line. On the 2nd awning I reversed the placement of the tape so the edge of the zipper tape butted up against the painters tape instead of the zipper teeth. #learningonthejob.
 
OMG it was starting to resemble our mental image of it !!

Just a little pleased

The initial bag area was 14” but we decided that it looked too bunched-up at the stern end which had greater bulk. It was unpicked and re-stitched at 17” which looked and hung much better.


 One side up, one side down

The Bloke book-ended the project by drilling out the holes for the grommets and attaching little tensioner cleats adjacent to the sail track to help hold the whole assembly taught along the boom.


Drilling out the grommet holes

A lucky find at the chandlery - a nylon in-line cleat to hold the bolt-rope tight

We think our Sailrite sewing machine has well and truly earned it’s place on board, although I’ll be happy to give it a rest for a while. 

The last seam. Definitely something to smile about!
 

The Bloke’s getting excited now
 

A view from above
 
 A view from below looking under
 

A cool boat
 

Ahhhh - job done. Time to chillax!!