Live Track - Past 90 daysDistance Sailed to date - 15,383Nm
Download Email Maximum of 160 characters and you cannot include images, as this is a Short Message Service only. Download
Download our track Email us OffShore SMS us OffShore Download GoEast tracks

Thursday, May 13, 2021

We have Austrian Fans!

The fridge on a boat is always a torment one way or the other. In the first place they are by far and away the biggest consumers of power and seeing as The Bloke is a paid up member of the ‘Power Police’, he is always on the case and monitoring. I am far less attentive and and chiefly interested in the lettuce not freezing or the ice cubes failing to set for my G&T for sundowners.


Over our years afloat multiple modifications have been made for the refrigeration to work optimally. The cable run across the boat was replaced with thicker wire to reduce resistance  and consequent loss of amps between the battery and the fridge. Connectors were similarly beefed up. The original thermostat was replaced with a digital one and the display and controller installed in a visible and accessible location. The Power Policeman was well pleased. Well, until recently.

Having embarked on the project to finally extract ourselves from the Gold Coast/Moreton Bay area after 7 months of “stuff that happens", it was an annoyance to discover the fridge playing up. Why now? Zofia had been months tied up against a jetty in marinas. Getting a tradesman and spare parts etc would be more difficult with each nautical mile we sailed northward. The fridge had just been stocked up too. 

Attuned to all the noises that are ‘usual’, The Bloke notices when the fridge compressor kicks in and for how long it hums. He notices it even more at night during periods of wakefulness created by his ‘cure’. Even I noticed that the temperature numbers on the display weren’t coming down and the compressor was not going off! 

Investigation in the recess that houses the fridge ‘workings’,  accessed from under the galley sink (read contortion rewarded by limited access) indicated that the cooling fan was not running consistently. Dusting with a pipe cleaner made no significant impact nor spraying with compressed air. 

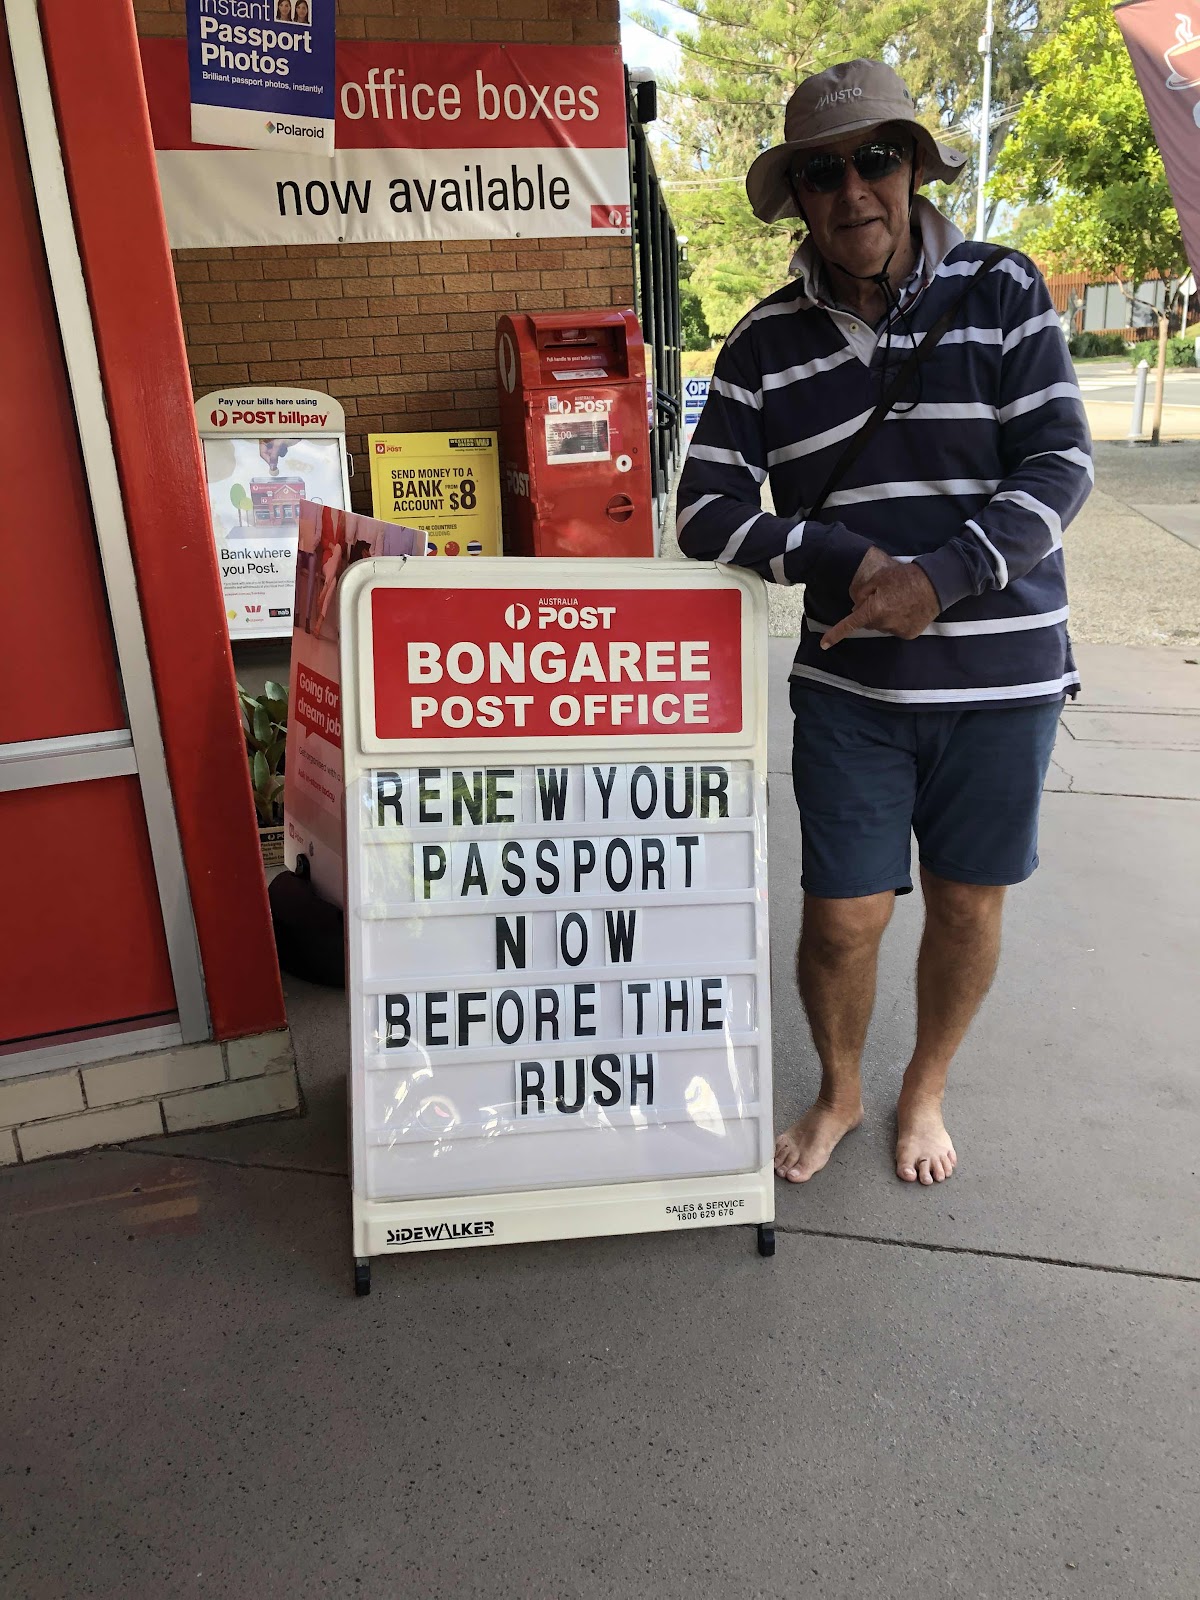
By this time we were anchored off Bongaree, a new anchorage for us, at the bottom of Bribie Island - Pumicestone Passage.  We needed a sheltered spot to wait for good weather - the right weather, to sail overnight to Double Island Point ahead of a Wide Bay Bar crossing. 
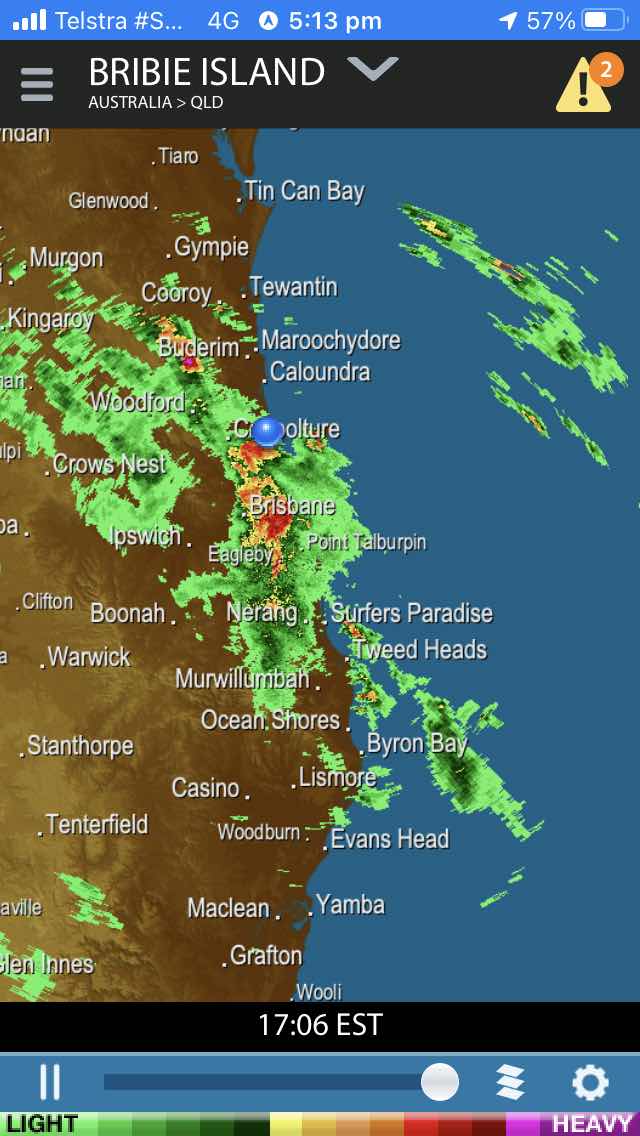

It proved a really good location to shelter from inclement weather.  Fortunately we had easy shore access and access to Post Office and shops too. An overnight internet search and an overnight Express Post package was to deliver salvation.


The Bloke decided to order 2 computer fans. His research pointed to fans that were more powerful and used less amps than a conventional Danfos refrigerator fan. These fans ticked ALL the boxes, they were in stock in Brisbane and with Bribie Island being inside the Limits of the Greater Brisbane/Moreton Bay Area, there was every possibility that delivery would indeed be overnight and not some Covid-Variation-to -service!


The fans are beauties. Even their packaging is almost ‘Apple’ quality! They had a magical impact on the existing fridge fan because it began ‘behaving’ again as the threat of replacement was a near possibility. So for now, The Bloke has installed one of the fans as a supplementary one and the fridge is now behaving very well. No frozen lettuce. Plenty of ice for drinkies. And that is why we have Austrian fans. Two of them!


Thursday, April 29, 2021

Sausage roll table of fame UPDATE

Well a new offering. I had the pleasure of sampling these magnificent sausage rolls twice; not that I needed a second tasting to decide these are the real deal. Judy has entered the table of fame at number 6 and in doing so has become the highest ranked amateur. Peter of "Novae" will be disappointed, however, given he is planning to catch us up who knows a bake-off may be in the offing. STAY TUNED!

Sausage rolls from Judy of 'Hurtle Turtle'


Monday, April 19, 2021

Servicing our Quick Antares Windlass/Anchor Winch

Let me say from the outset that I am not proud of the fact that I have needed to create this post. The condition of our windlass and the amount of servicing it required does not reflect well on my maintenance of this equipment. My only defence is that I did regularly check and service some elements, in particular the cone clutches so as to maintain manual operation if it was required. What I did not do is service the winch spindle apparatus nor the gear box. It was not that the winch was not telling me to do so because it had been leaking a small amount of water into the boat for some time. I should have heeded this warning and taken action much sooner. Luckily for us, we were on a jetty at The Boatworks when the leak became evident in the form of droplets on a ceiling fascia in the bow cabin during torrential rain. It was lucky we were aboard and with the use of a car, having just returned from an interstate trip following a family bereavement. It demanded immediate attention. What we found was HORRIFIC and a testament to the robustness of the equipment. How it was even operating, we don’t know!

BEFORE

Gear Box viewed from the top, revealing the mess created by water flowing down the spindle onto the top of the gear box.


Area indicated, reveals the worn and damaged oil seal that acts as a water seal to prevent water flowing down the spindle.


 Once the spindle was removed you can see that the bearing that should be in the area indicated,  had rusted away. The outer casing of the bearing was fixed into the winch housing and needed to be removed using a dremel tool. The circlips holding the bearings were also rusted onto the spindle and required some effort to remove.


AFTER


Top of the gear box, all cleaned up with new seals and bearings.


Side view of gear box after painting and a complete service.

The gear box and motor reunited, all clean and back in place. Just like it never happened.
 

The purpose of this post was twofold. Firstly, to warn other cruisers of the need to check the seals on the spindle and gear box on a regular basis and if any leaks are occurring, then dismantle and replace these seals. Secondly, to provide a detailed list of the parts required to reconstruct the spindle assembly and service the gear box. There was no need to provide a detailed step-by-step instruction on how to achieve the first aim because there is already an excellent video made by the skipper of "Cat Impi" that describes the process in great detail. Click the image below to view the video.

While this video was invaluable it did not contain a list of the specific parts that are needed to service the spindle and the gear box. This is not to criticise the video because depending on your specific windlass, these parts will or could vary from those used in the video. That being said, if your windlass is a 

Quick Antares AT 1012 (or equivalent) then these are the parts you will need:-

SPINDLE:

1 X Bearing ( 6005-2NKECM )

2 X Oil Seals ( Oil Seal 25*47*7 TC-NK7COCOO )

2 X stainless steel external circlips 25mm ( 1400-25SS )

2 X Stainless steel internal circlips ( 1300-47SS )


GEAR BOX:

2 X Bearings ( 16008-2RS )

2 X Oil Seals ( Oil Seal 98350 )

1 X Roll gasket paper ( 0.5mm )


In addition you will need a small quantity of gear box oil and Tef-Gel.


All of these items are readily available and are not ‘marine’ specific - read inexpensive. Our windlass rescue cost around $300AU and that included some tools. Cheap when compared with $3,000 for replacement! 

Special mention goes to Garry Kennedy from SV Ciao Bella who assisted with great knowledge, dedication, enthusiasm and good humour for this rainy weather job. 

Monday, January 18, 2021

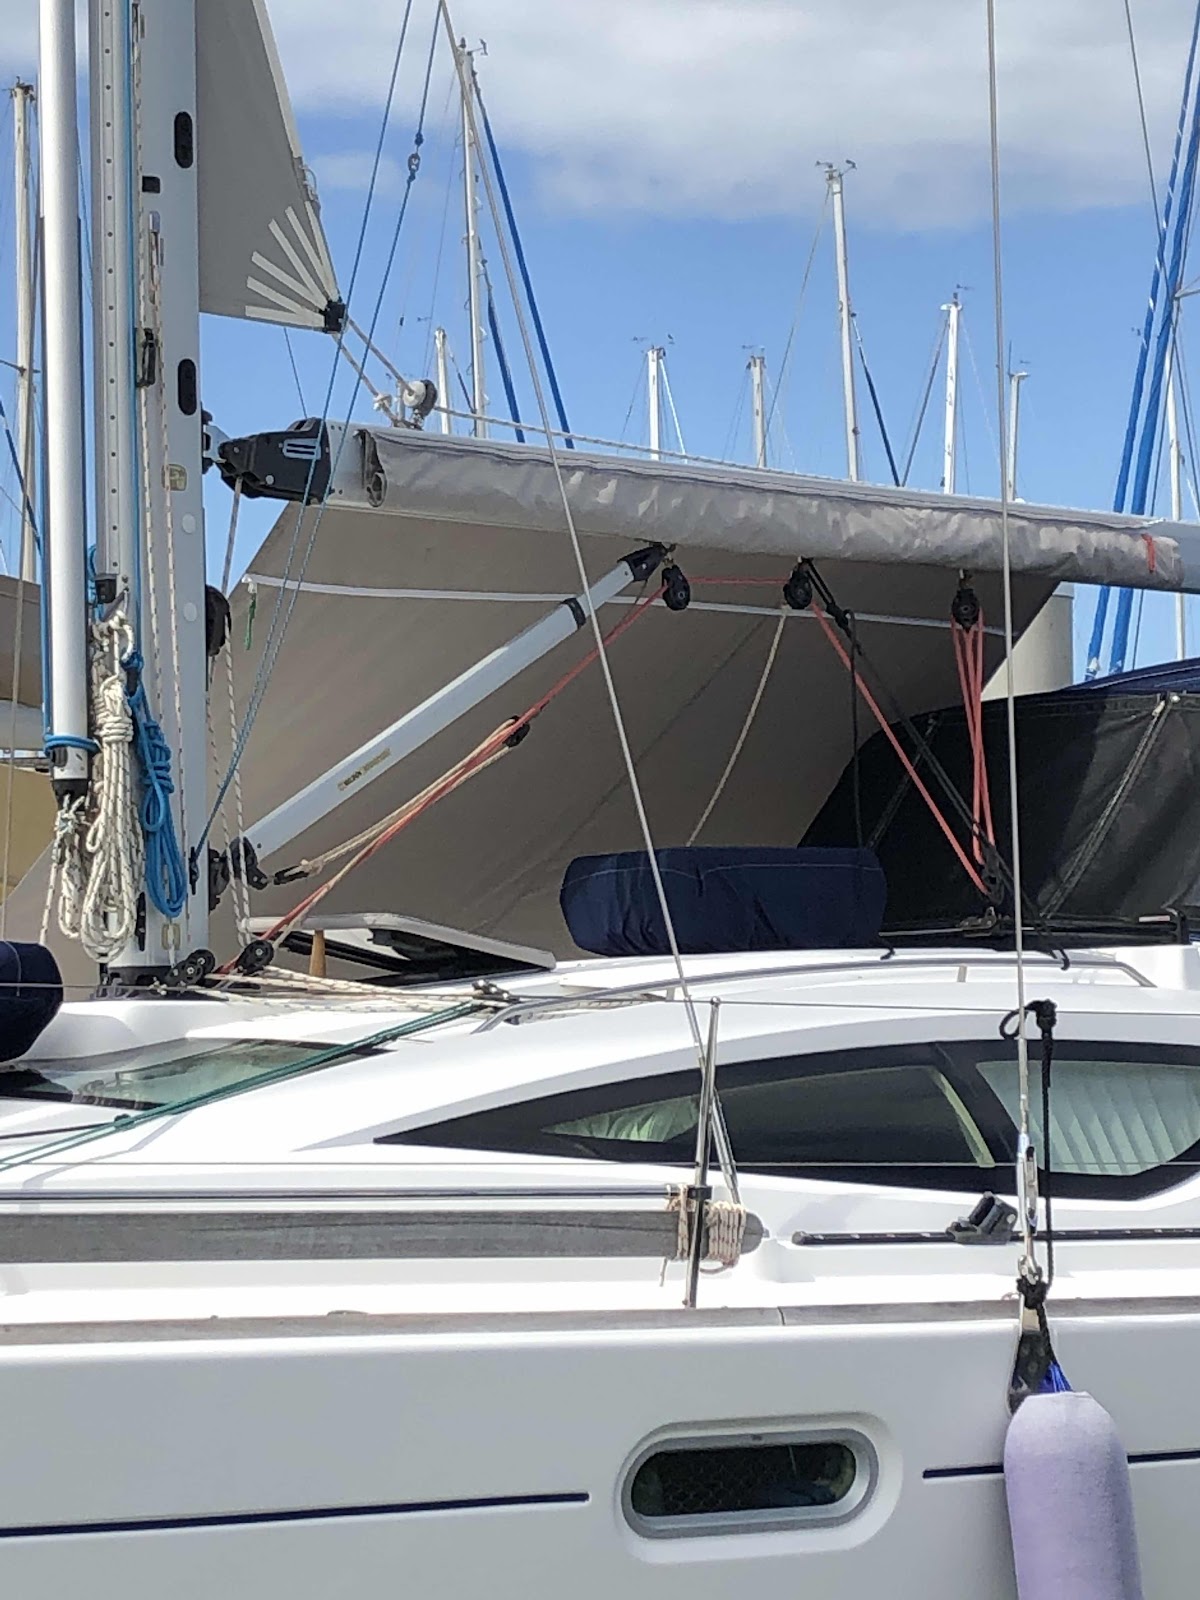
Making the Boom Awning

To say I’m a ditherer wouldn’t be overstating things. Sewing a boom tent has been far too long on the project list. In fact the first lot of fabric purchased for that purpose ended up as suncovers for our gerry cans that we took on our trip to New Caledonia in 2017, a cover for the Honda generator, replacement hatch covers and even a stern awning,  but no boom tent.


Ciao Bella making a welcome lap

Last year however, after endless COVID-19 related delays, we finally rendezvoused with Gary and Mil on Ciao Bella up at Great Keppel Island. Seeing their boom awning arrangement for the first time, we knew immediately, that their ingenious setup was what we wanted! 


We’ve never before spent a Queensland summer on the boat. In the past, even if Zofia was in Queensland for Christmas, we’d be in Perth visiting our family. Like everyone else in these Covid times,  we’ve been making home improvements too, seeing as our travel options are restricted. Being temporarily confined to marina life (think unlimited electricity and no weather distractions) plus the use of a car to obtain supplies, our circumstances were perfect to execute a major sewing project, or so The Bloke kept telling me.

Conveniently Ciao Bella came into our marina for a couple of days giving me an opportunity to give their setup an extra good ‘looking at’. Mil was generous with her time and encouragement showing some of the finer details and sharing her tips. So I put on my big-girl-pants and embarked on the process of cutting up 600-700$ worth of fabric!


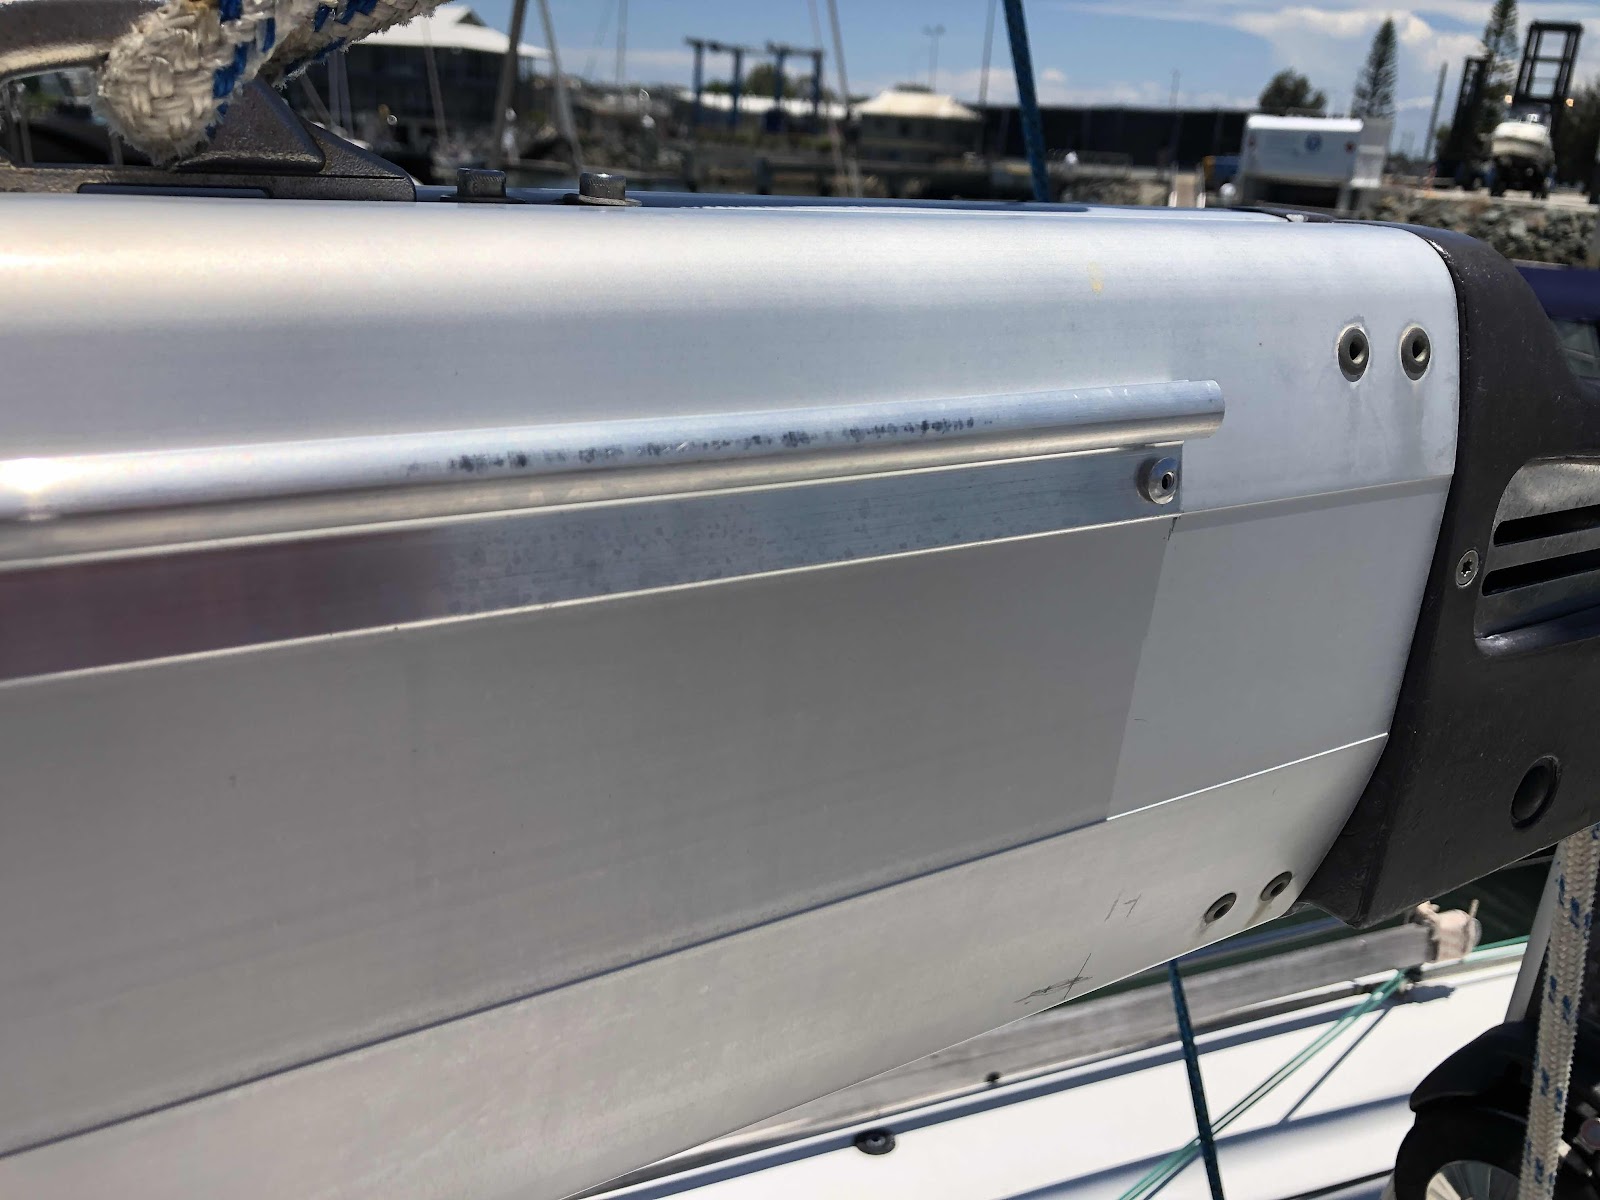
Aluminum sail track pop-riveted onto the boom.

The Bloke set the ball rolling by purchasing and installing a 3m length of aluminum sail track on each side of the boom. Drilling the holes into the boom for the pop-rivets took courage. No turning back now. No performance anxiety allowed. Now it was over to me.


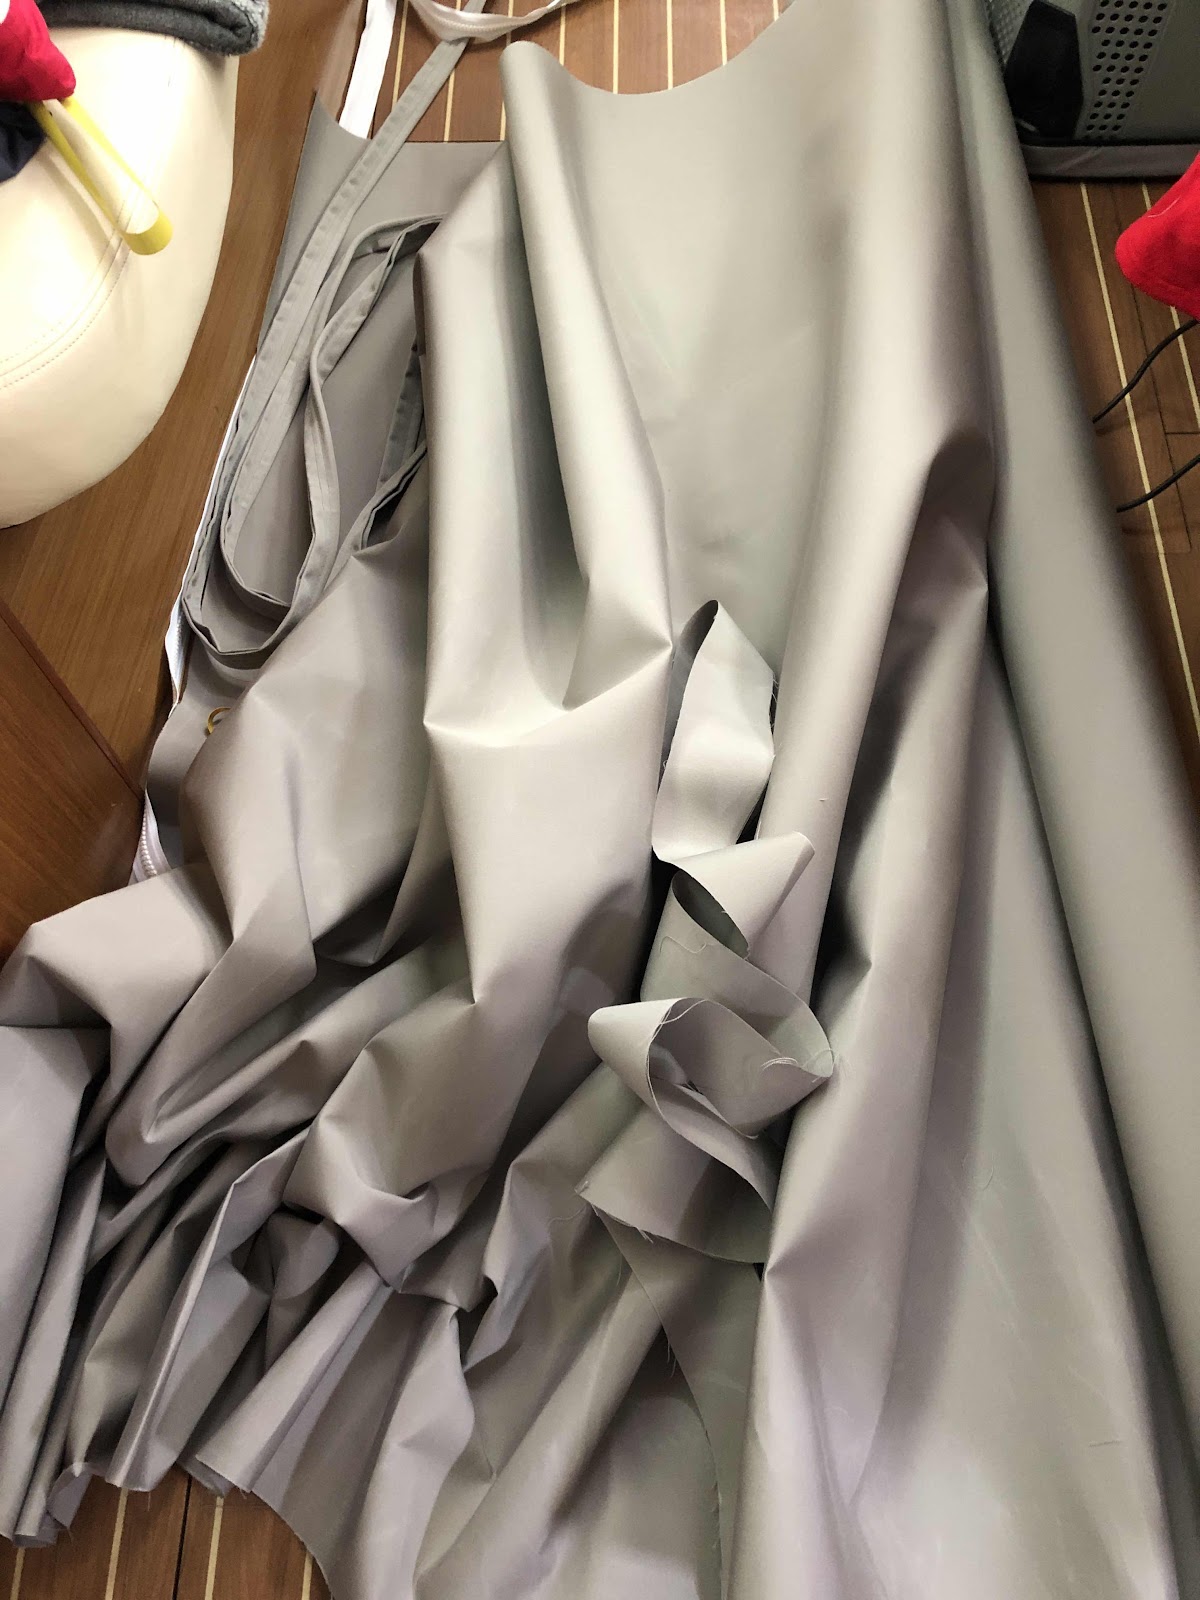
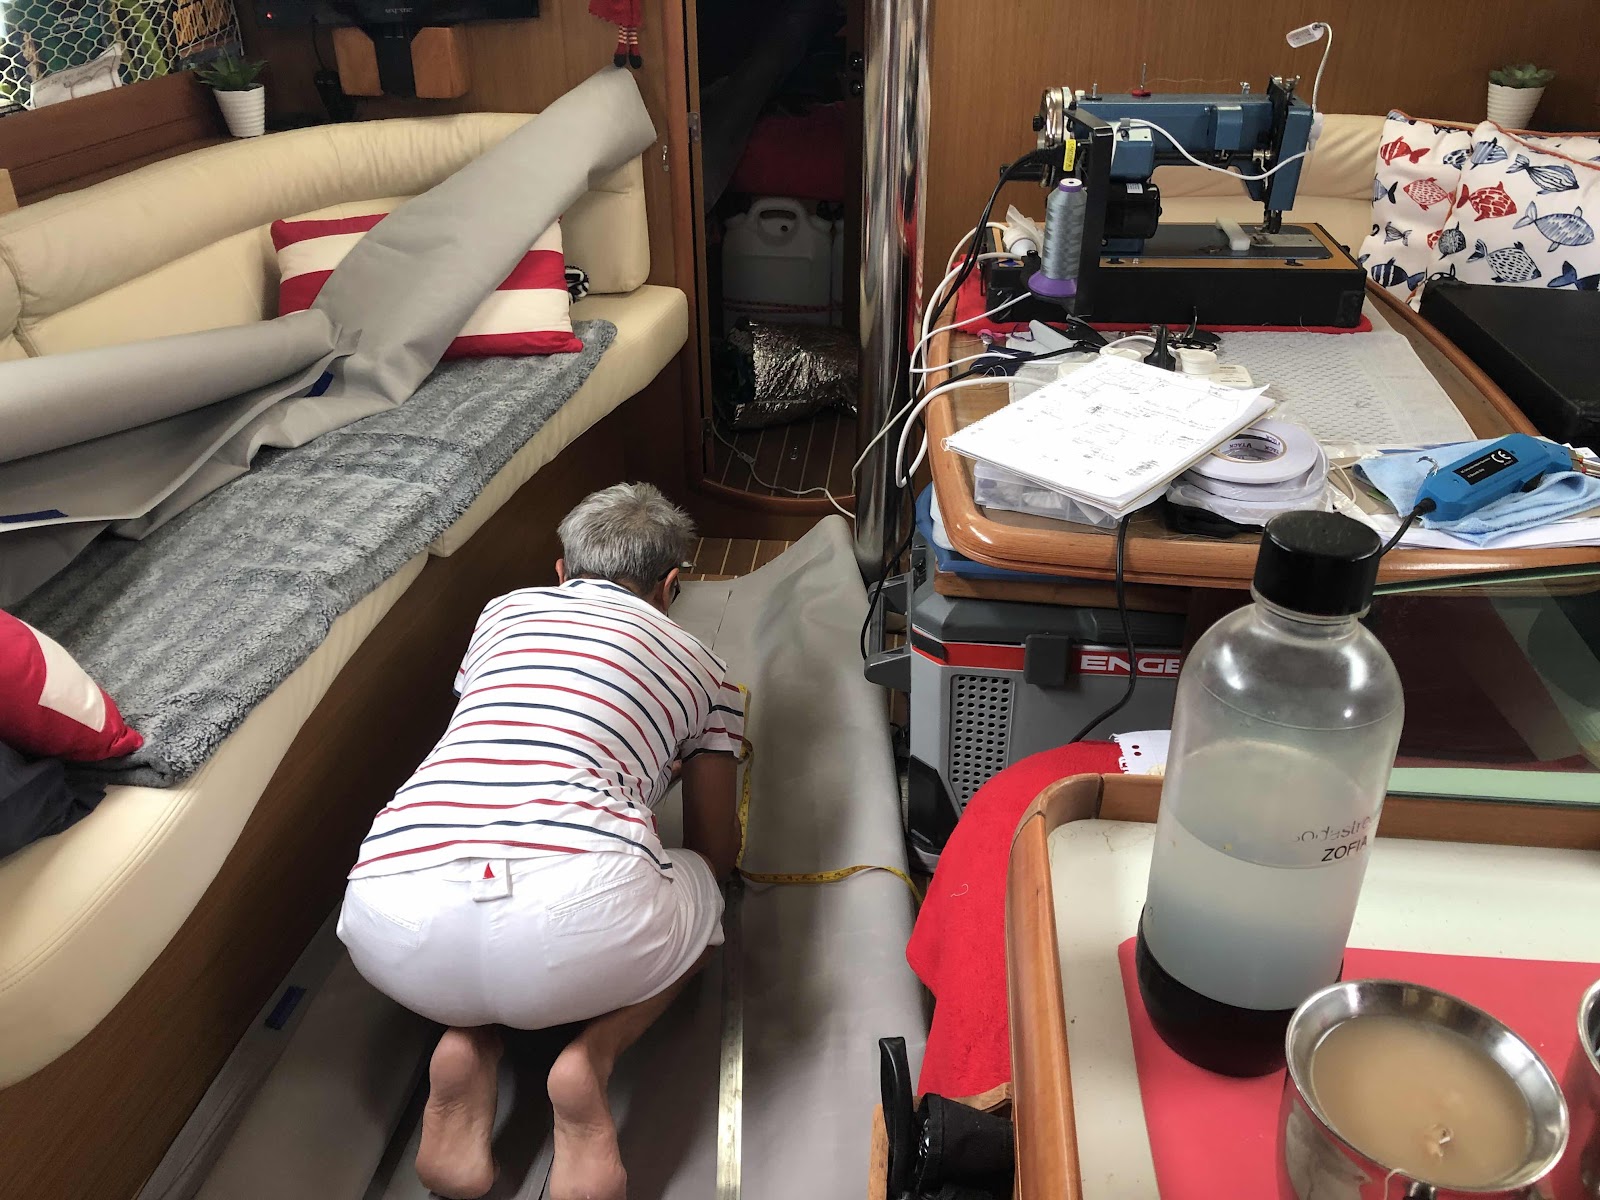
Laying out the fabric
 
Some kind of sedation is required for working in such a confined space with heat and humidity just to spice it up. Some people suggested working on the jetty but that’s not really an option in the tropical sun and not a great deal wider anyway. Besides, one puff of wind and half the fabric would be blown into the water- that would be way too much excitement!


The bolt of Sunbrella fabric (2.005m wide) soon became strips and slab pieces. After cutting, the next task was to sew the bolt rope. The off-the-shelf,  pre-made version is called Keder Sail-track Tape but it’s expensive to buy and would have added well over $100 to the cost of the project. My time is free and besides, Mil had already shown me how to construct it. 


1.

2.

3.
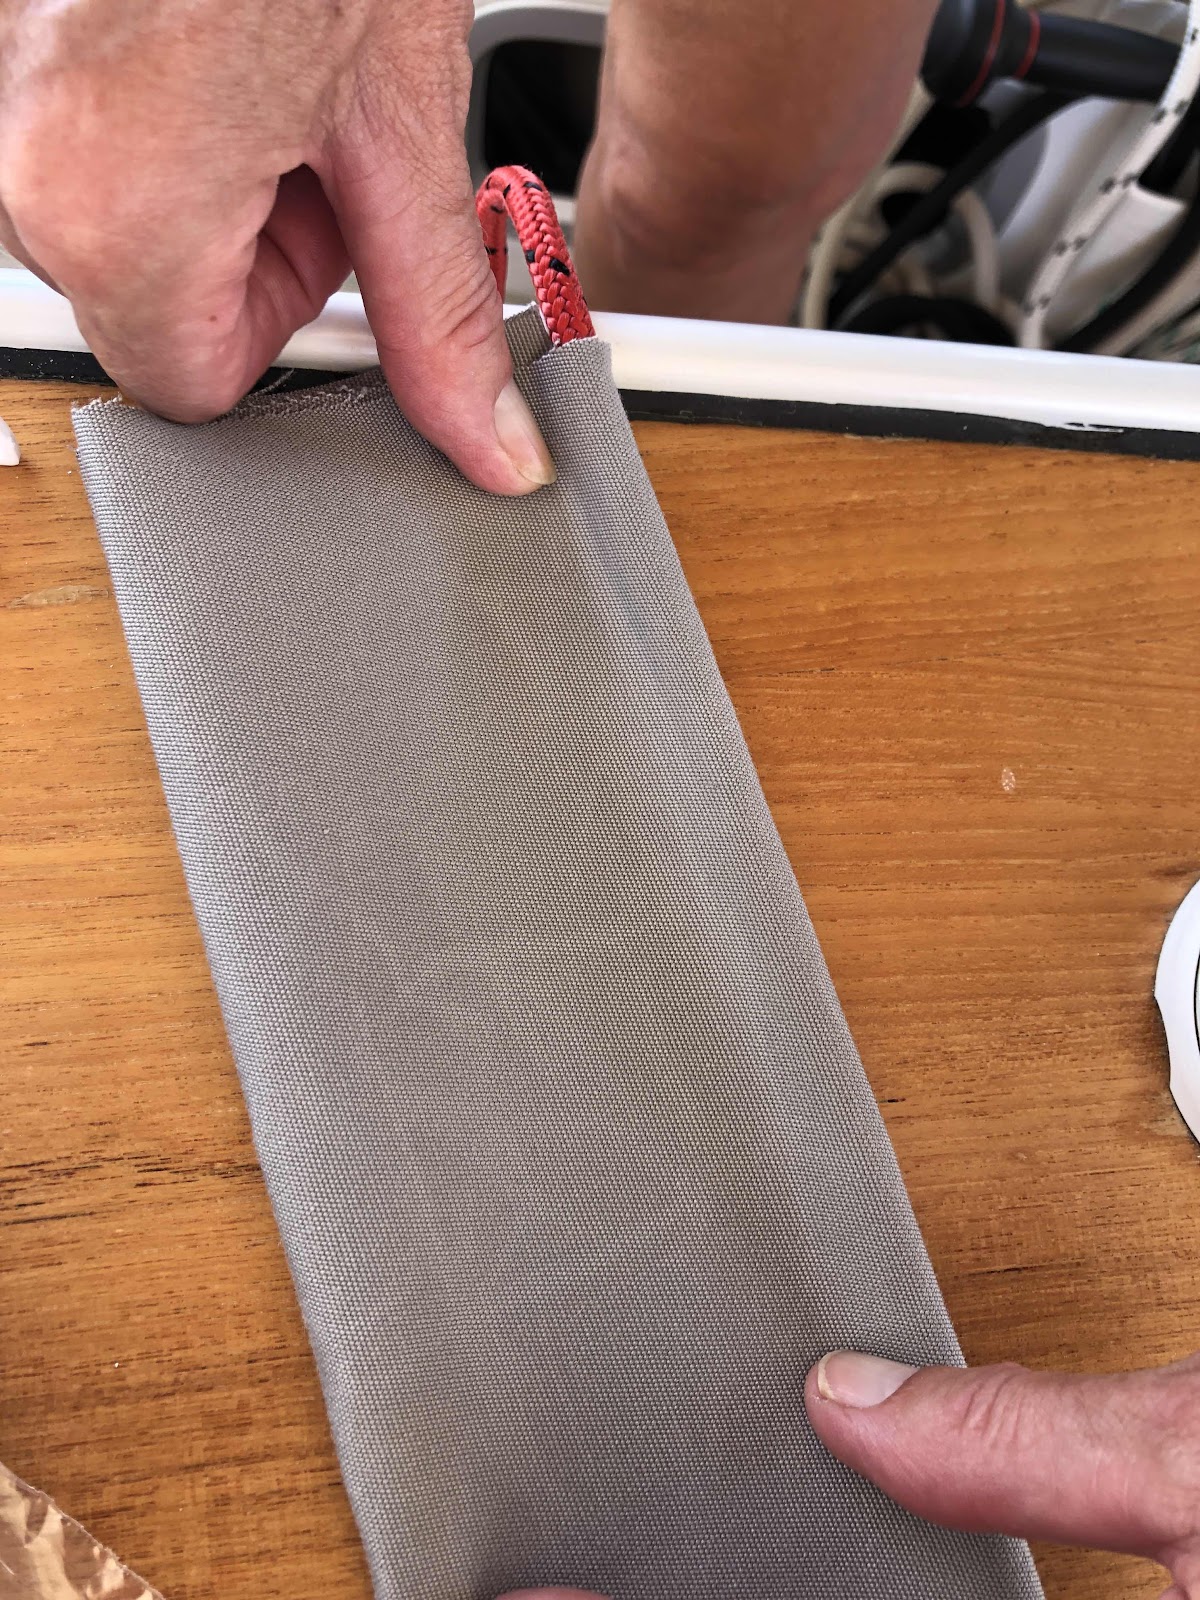
Voila - 10cm fabric strip + 6-7mm cord. Thanks Mil!


My homemade sail track tape. 
 
Next in the process was to sew a zipper valance. The binding tape and binding attachment that I’ve used on other jobs made a fast and tidy looking edging. 


The zipper valance and sail track tape were then stitched together.

I discovered that the rope also needed securing. A 3” length slid into the sleeve during handling so I was quick to arrest that!


Next, the big awning pieces needed to be cut and joined. Sunbrella's 2.005m width was insufficient for the intended 3m wide drop. More crawling, measuring, scribing and cutting needed.


After pouring over multiple Sailrite instructional videos I chose a fully felled flat seam (stronger and more waterproof). Sewing the 2m and 1m strips together was the hardest of the sewing due to the shear weight and volume of the pieces. Keeping the sewing lines straight was not easy nor 100% successful. The Bloke, seeing the difficulty, assisted by supporting some of the fabric’s weight as it came off the sewing machine. 


Instructional video

Excitement mounted as the fabric evolved into something resembling an awning, so we were compelled, despite the wind,  to try things out along the way!


I hadn’t made a decision on the actual length of the awning, knowing only that it would be narrower at the front (about 2015cm) versus the middle (2025cm) due to the hull’s extra girth at mid-ships. Having eye-balled it en situ we opted for a contoured rather than strictly rectangular shape. With a big deep breath inwards I measured multiple times before taping and cutting off the excess fabric. Ouch!


The excess won't be wasted


In my enthusiasm I nearly forgot the corner re-inforcement. Image shows the patch still to be sewn to corners. Luckily I had ‘reduced’ (a technical term) the corner seams so that the corner was less bulky. My machine was stitching through roughly 9 layers of canvass at this point!

From a sewing perspective, the last element was the zipper- strip that would enable the rolled awning to wrap inside itself and hang from the boom - semi-permanently.


To sew it as straight as possible across a 3m fabric block, I measured and laid out a line of blue painters tape. The zip could then be aligned to something a little more solid than a chalked scribe line. On the 2nd awning I reversed the placement of the tape so the edge of the zipper tape butted up against the painters tape instead of the zipper teeth. #learningonthejob.
 
OMG it was starting to resemble our mental image of it !!

Just a little pleased

The initial bag area was 14” but we decided that it looked too bunched-up at the stern end which had greater bulk. It was unpicked and re-stitched at 17” which looked and hung much better.


 One side up, one side down

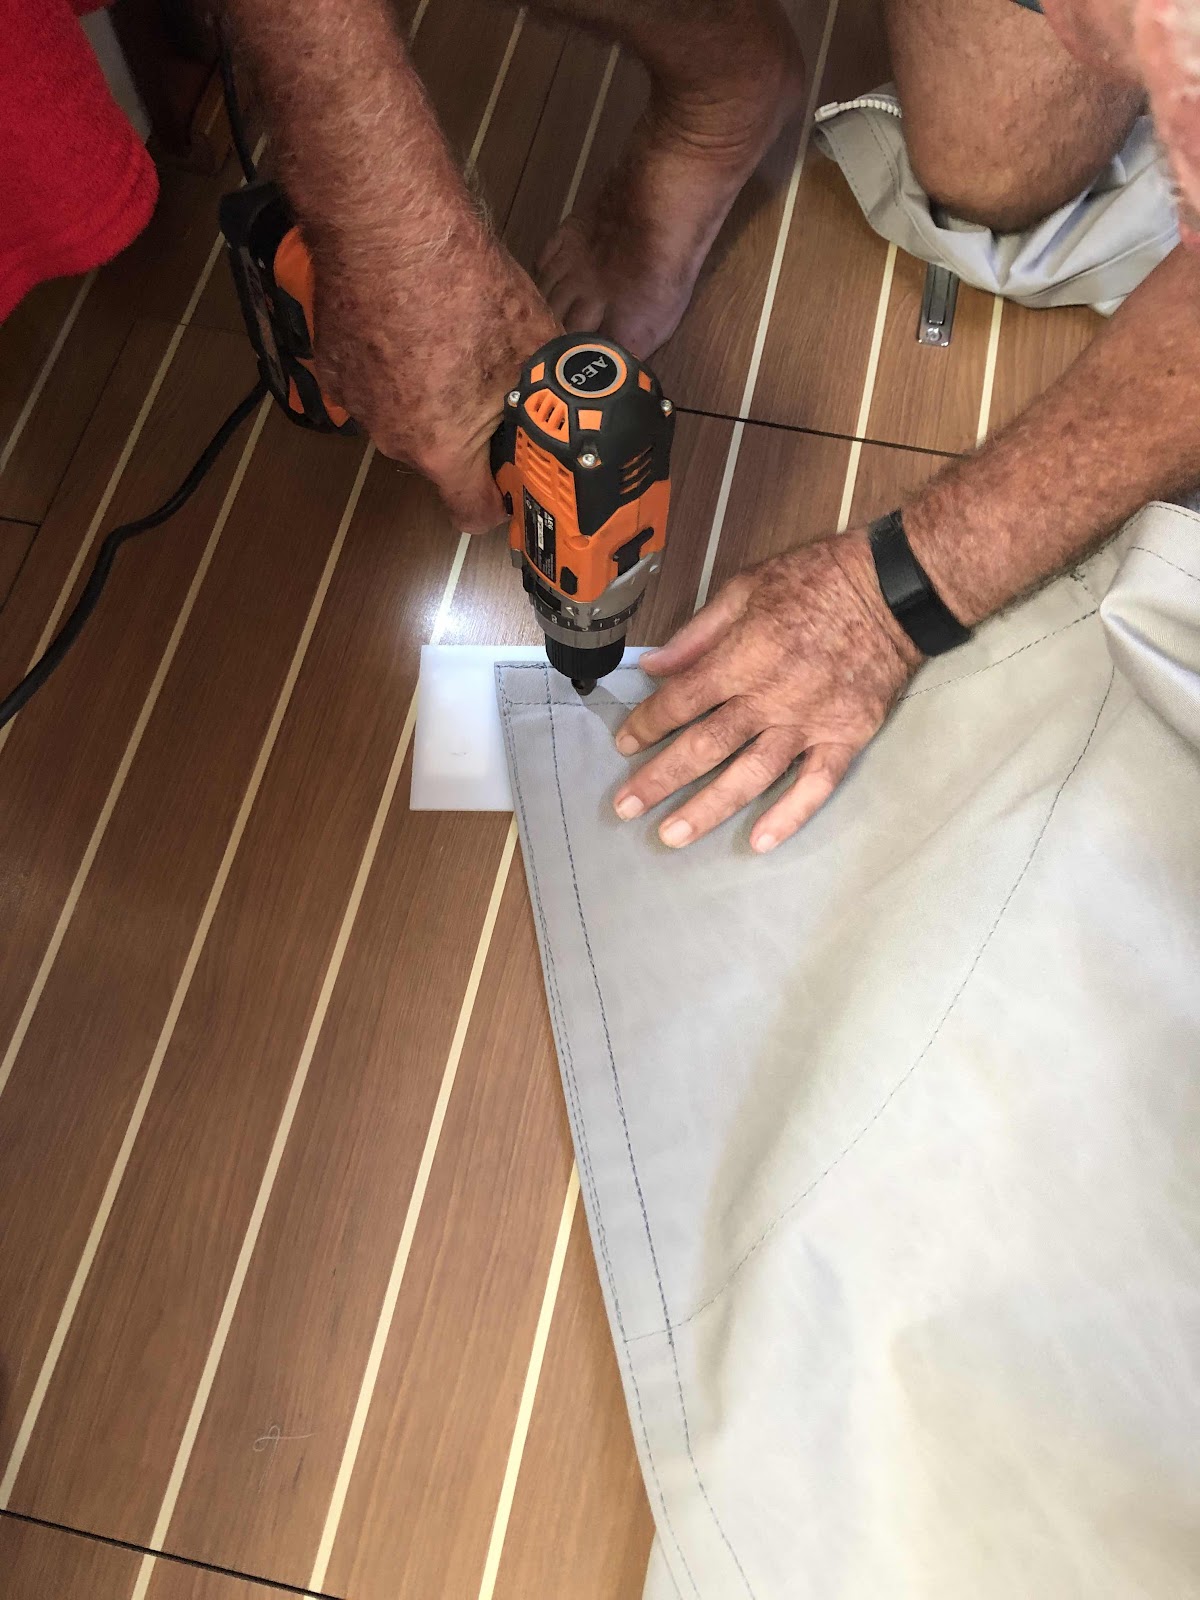
The Bloke book-ended the project by drilling out the holes for the grommets and attaching little tensioner cleats adjacent to the sail track to help hold the whole assembly taught along the boom.


Drilling out the grommet holes

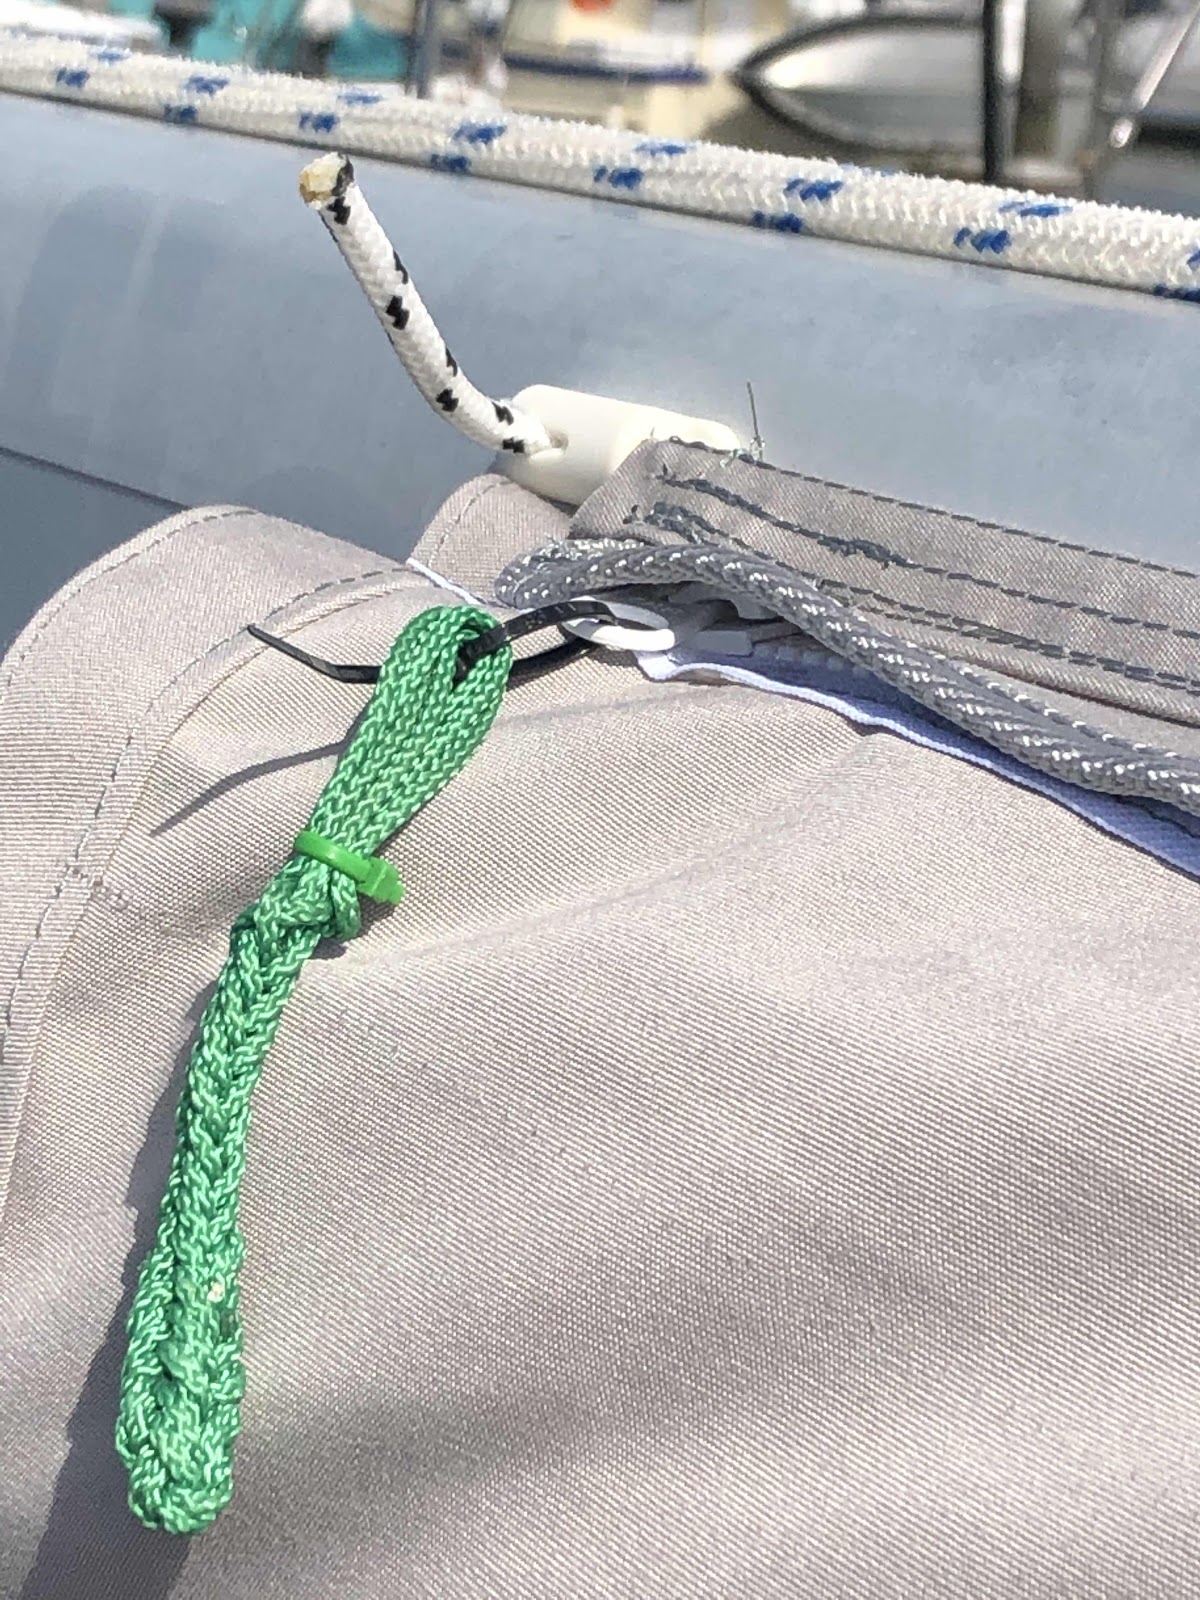
A lucky find at the chandlery - a nylon in-line cleat to hold the bolt-rope tight

We think our Sailrite sewing machine has well and truly earned it’s place on board, although I’ll be happy to give it a rest for a while. 

The last seam. Definitely something to smile about!
 

The Bloke’s getting excited now
 

A view from above
 
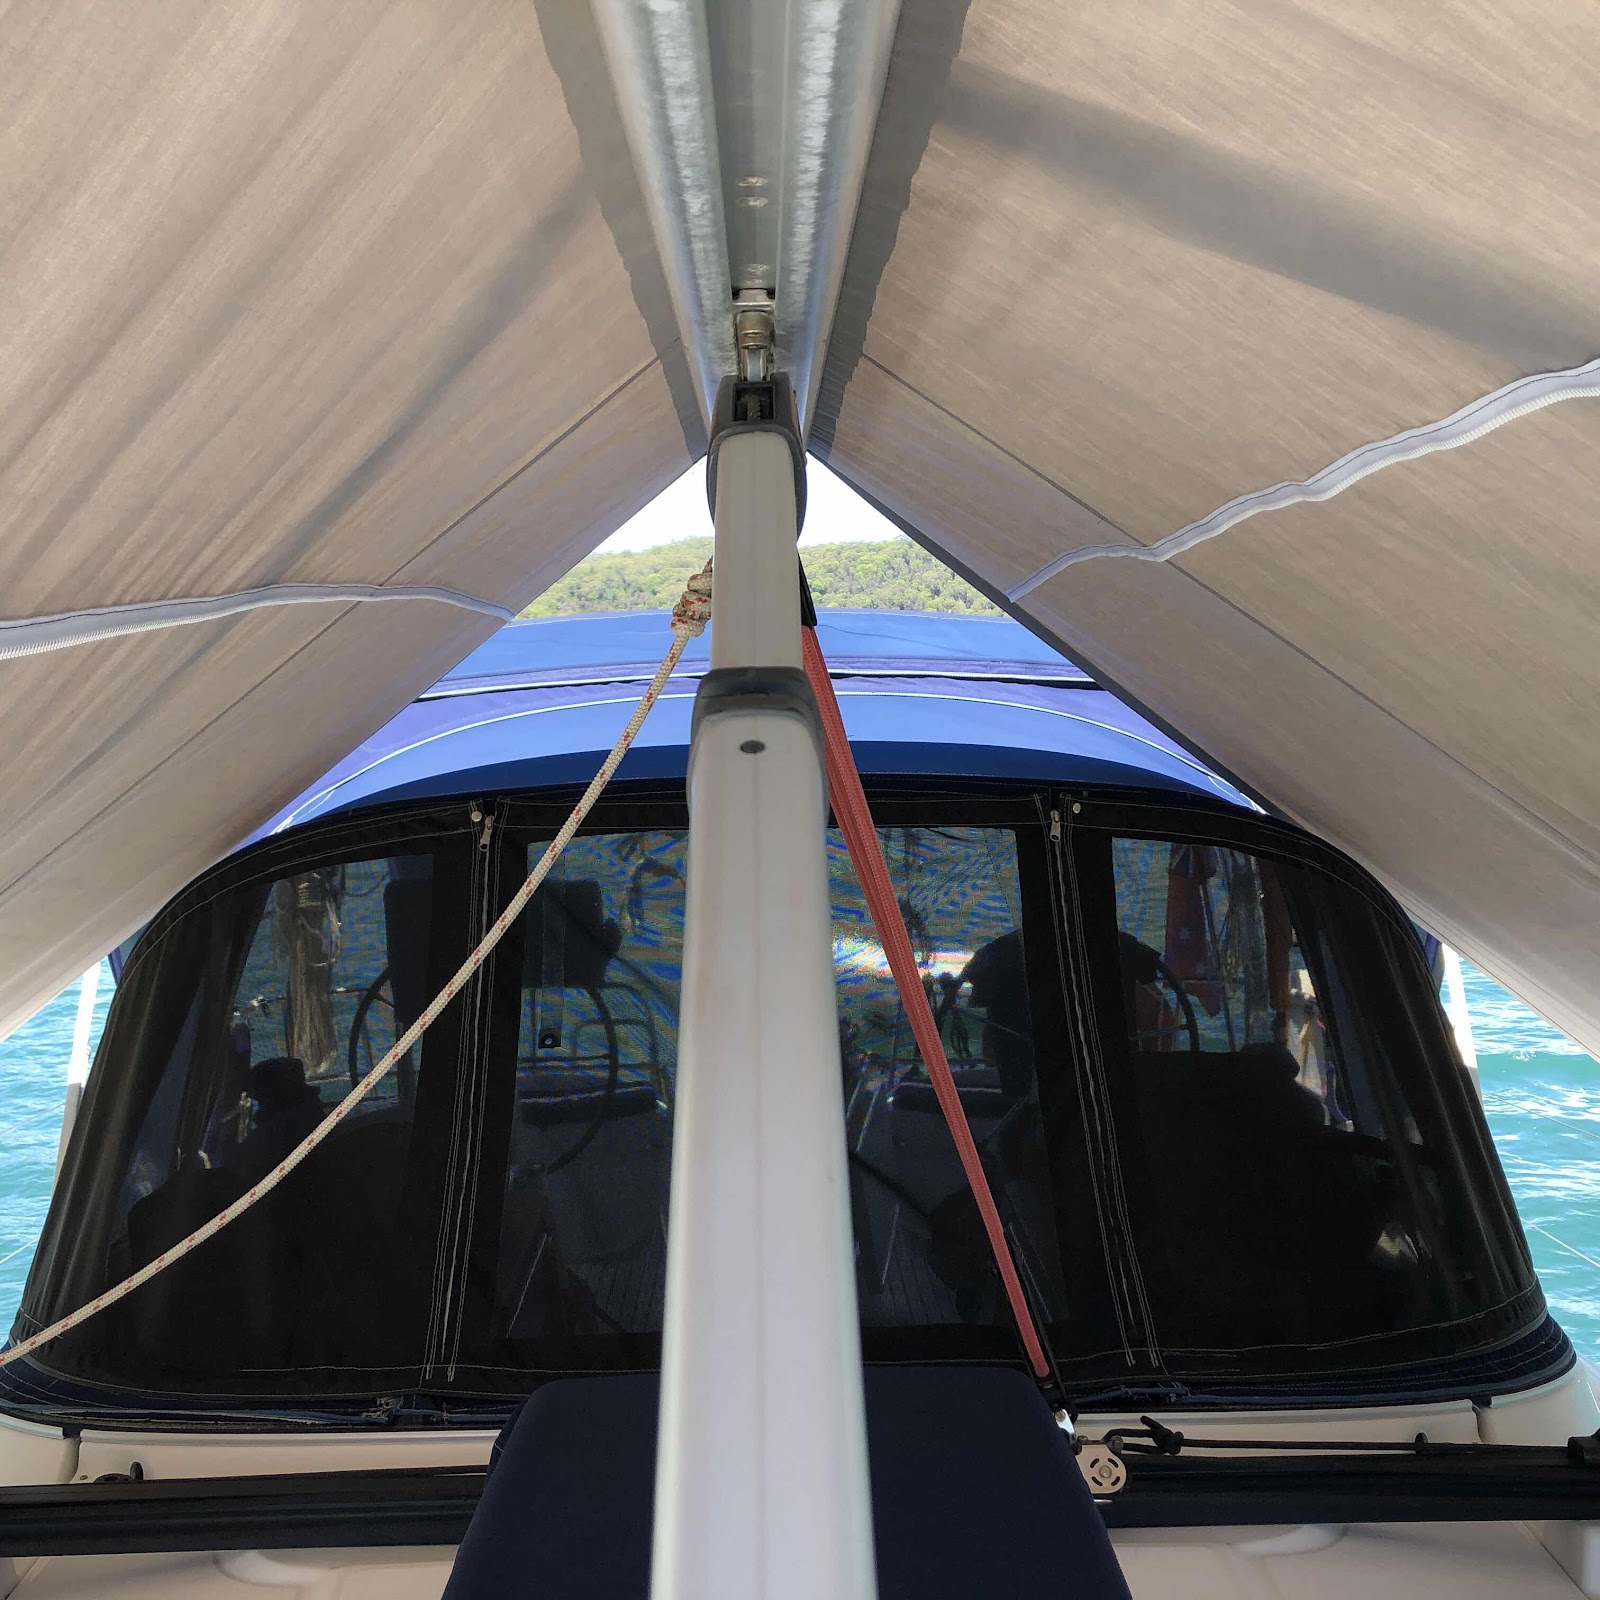
 A view from below looking under
 

A cool boat
 

Ahhhh - job done. Time to chillax!!

Saying Goodbye to Marilyn

Marilyn was our dinghy/tender and came to be ours with quite a story attached. She had originally been owned by our sailing mentors. They had become separated from her during a storm whilst on anchor. Searches to locate the tender were unsuccessful, and an insurance claim made. Roll on 12 months and our friends received a call from the Police quite out of the blue, advising that their ‘missing tender’ was in their possession. A call was subsequently made to the insurers to explain and for instructions. The insurance company were very pragmatic and requested that the dinghy be sold and the sale price be forwarded. We became that ‘buyer’.


A cruiser’s tender is the equivalent of car to land dweller but probably even more mission critical. How do you get ashore, visit other boats, get provisions or go exploring if you haven’t a tender? Kayak, SUP (stand-up paddle-board), a lilo? All ridiculous. A tender and associated outboard motor - because rowing is not always practical or safe, are the unsung heroes in a cruisers life.


Marilyn got her name only after we’d reached Tasmania. A tube became punctured on an oyster on a jetty in Dover. The repair spot, to our eyes,  looked like a beauty spot and thereon in she was known as ‘Marilyn’. She had a facelift when we put 'chaps' on her in 2017 after which her spot became concealed but she never stopped being our ‘Marilyn’.


We’ve loved Marilyn for at least 9 years and as mentioned, she wasn’t new when she became ours. The Bloke gradually fell out of  love with Marilyn when the effort of continually needing to re-glue her handles or repair a water leak overcame him. She was also getting too heavy for us. Every trip  to the beach was a strain, despite acquiring wheels for the transom to assist. Eventually her weight was the deal breaker. We conceded that we’re not as strong as we once were. Marilyn needed to go and we needed to find a baby sister.


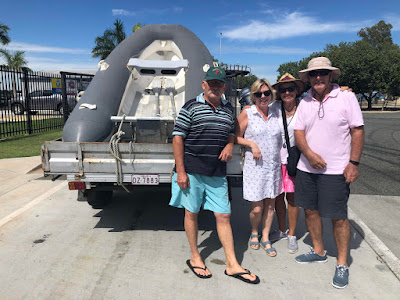
Once advertised, we weren’t long finding a good home for Marilyn. It was a bittersweet moment watching Marilyn being driven away. Plenty of memories. She’s been replaced by The Elf because she is small and acquired at Christmas. We’ll introduce her in due course. 


Friday, September 25, 2020

Going Off the Reservation.

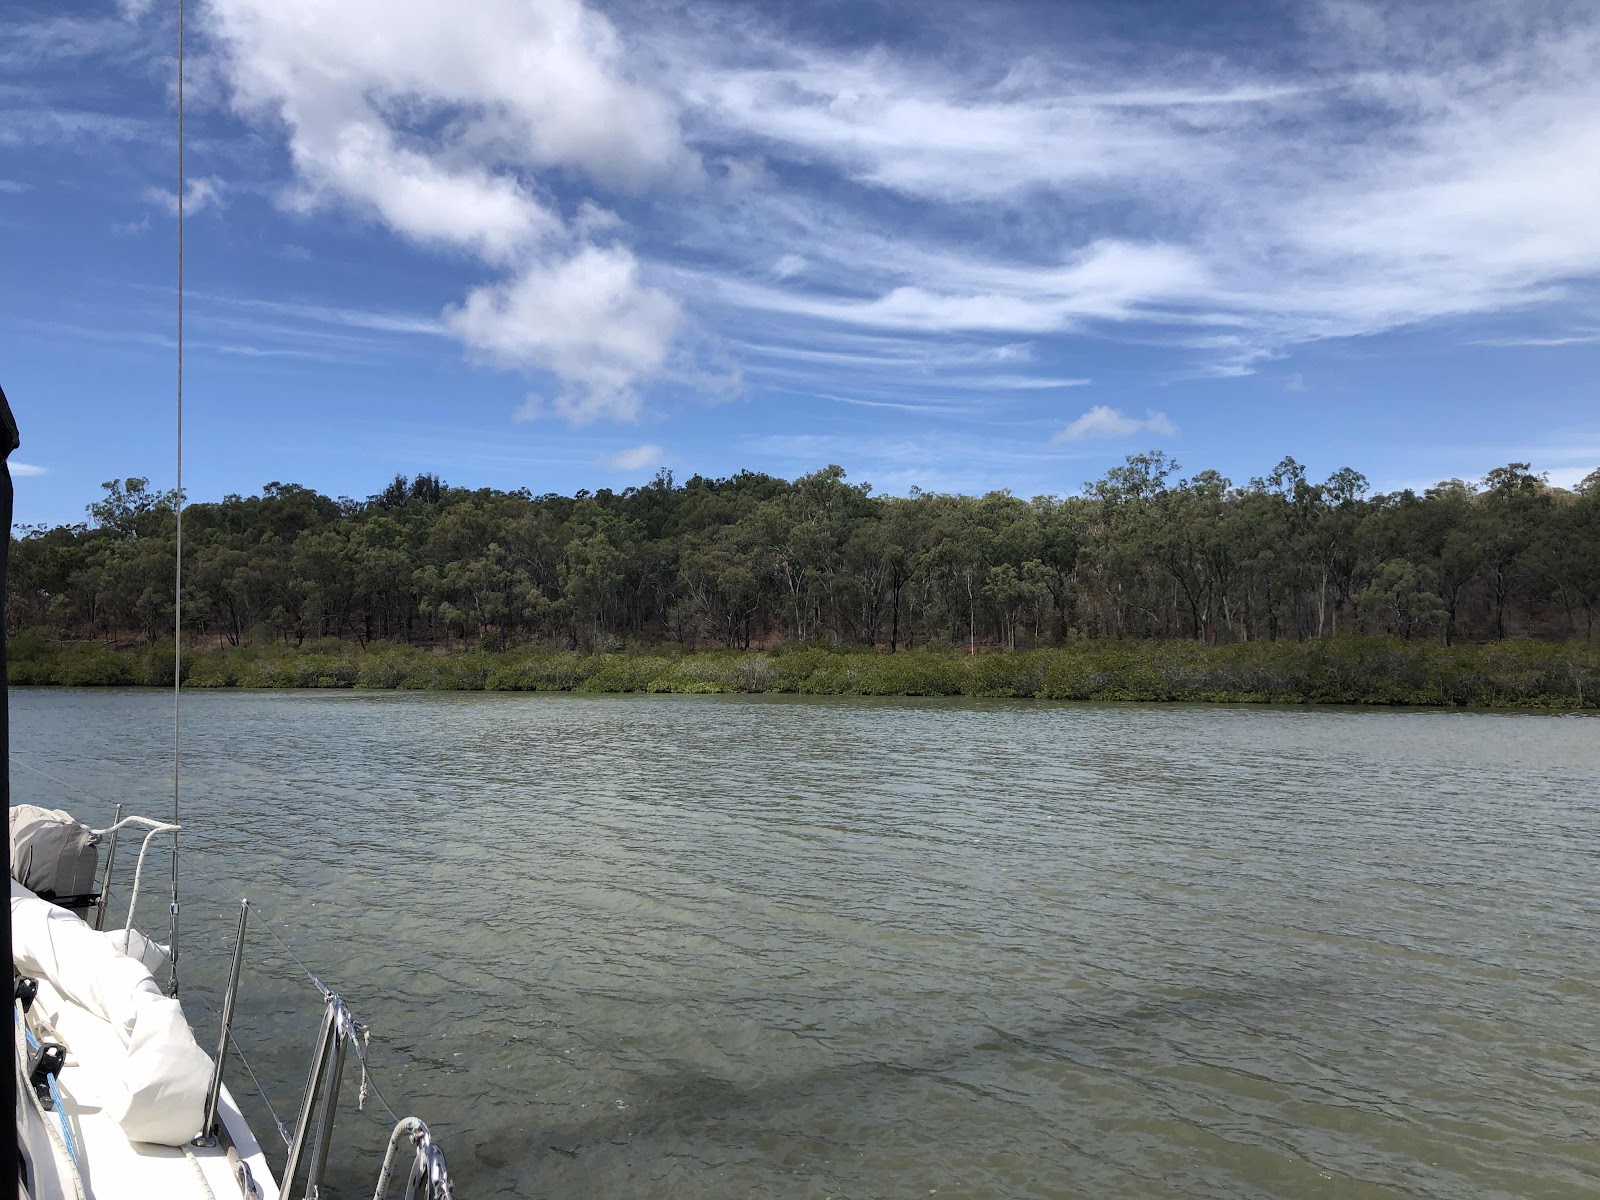
Unable to encourage The Bloke to traverse ‘The Narrows’ between Curtis Island and the mainland  on previous trips up and down the coast, this route emerged as s handy way to ‘steal a base’ while the wind blew from the wrong direction relative to our desired direction of travel. Perfect. No need to nag or plead.


Dramatic sky to accompany our departure


Islands being left behind


Our night anchorage at Sea Hill Point ahead of our cross-country run the next morning.

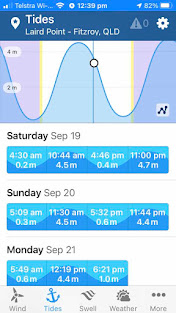
Having spent almost 3 months at Great Keppel Island and beginning to wonder just when we should head south, the decision to leave was made swiftly by an urgent recall to Brisbane. Three days of northerlies were presenting and the timing couldn’t be better. They were coinciding with spring tides.


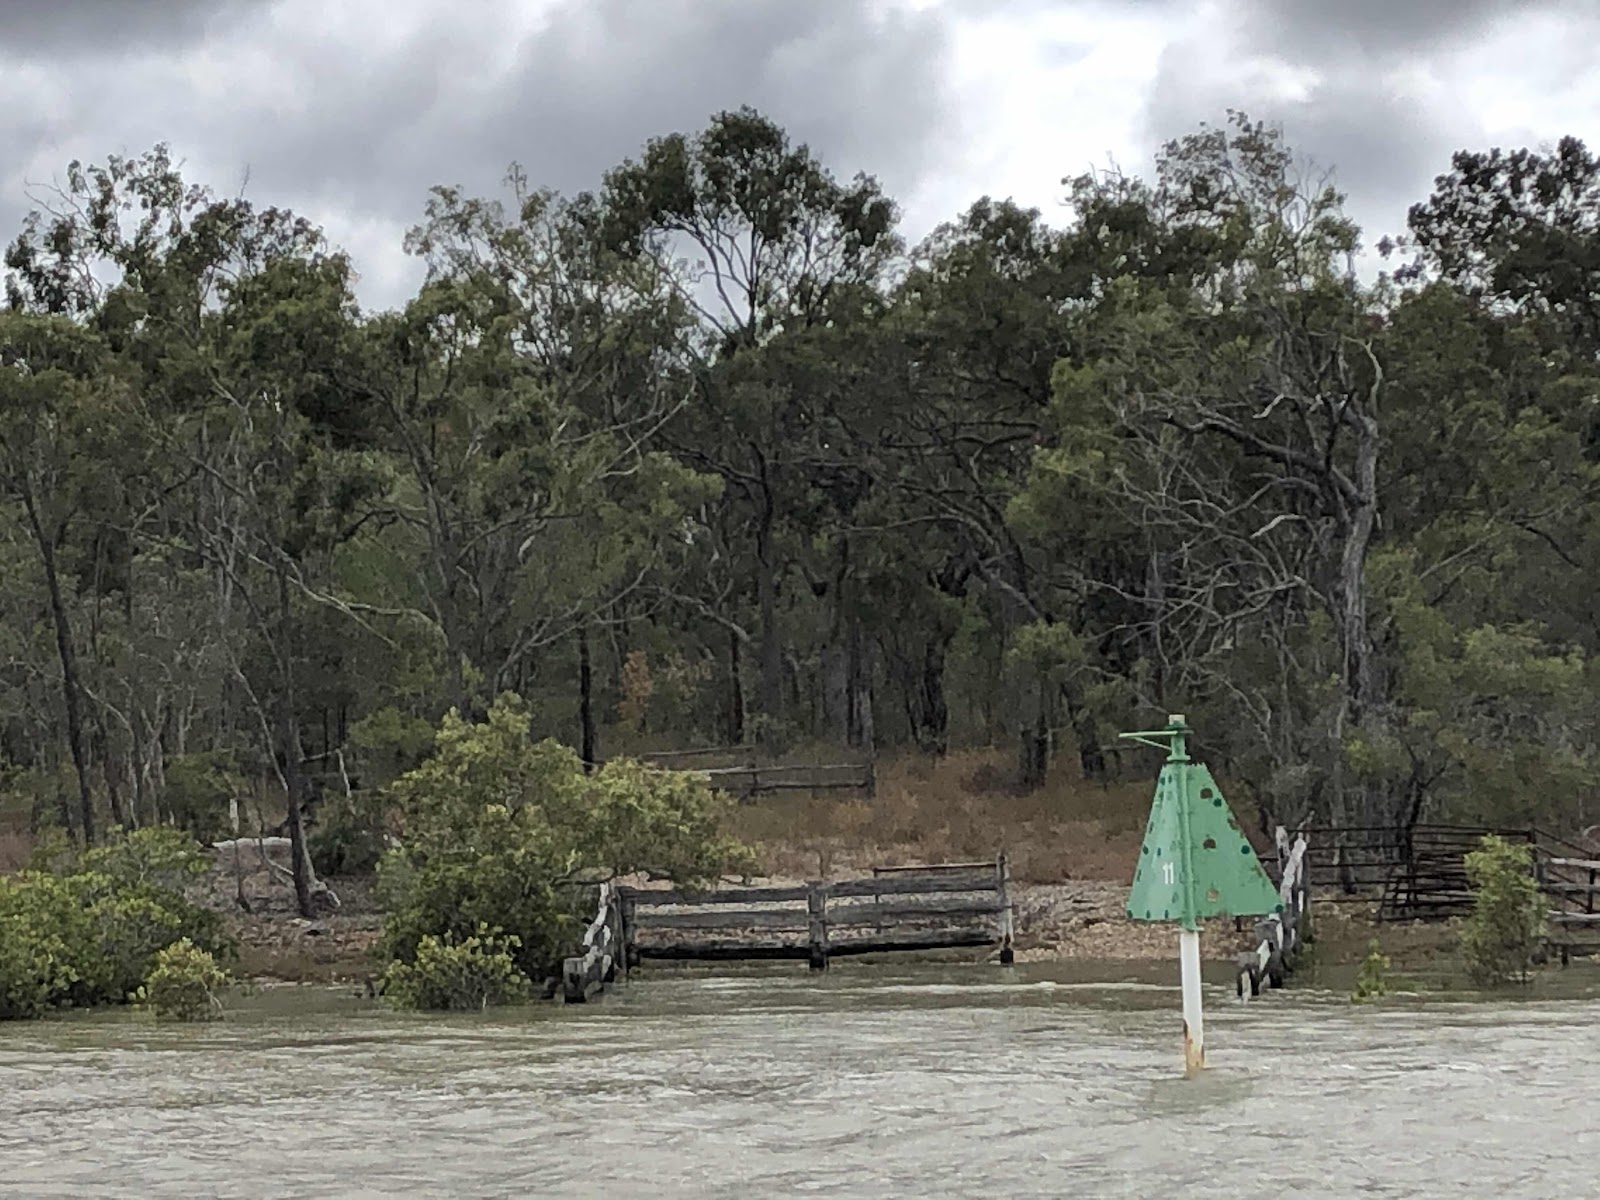
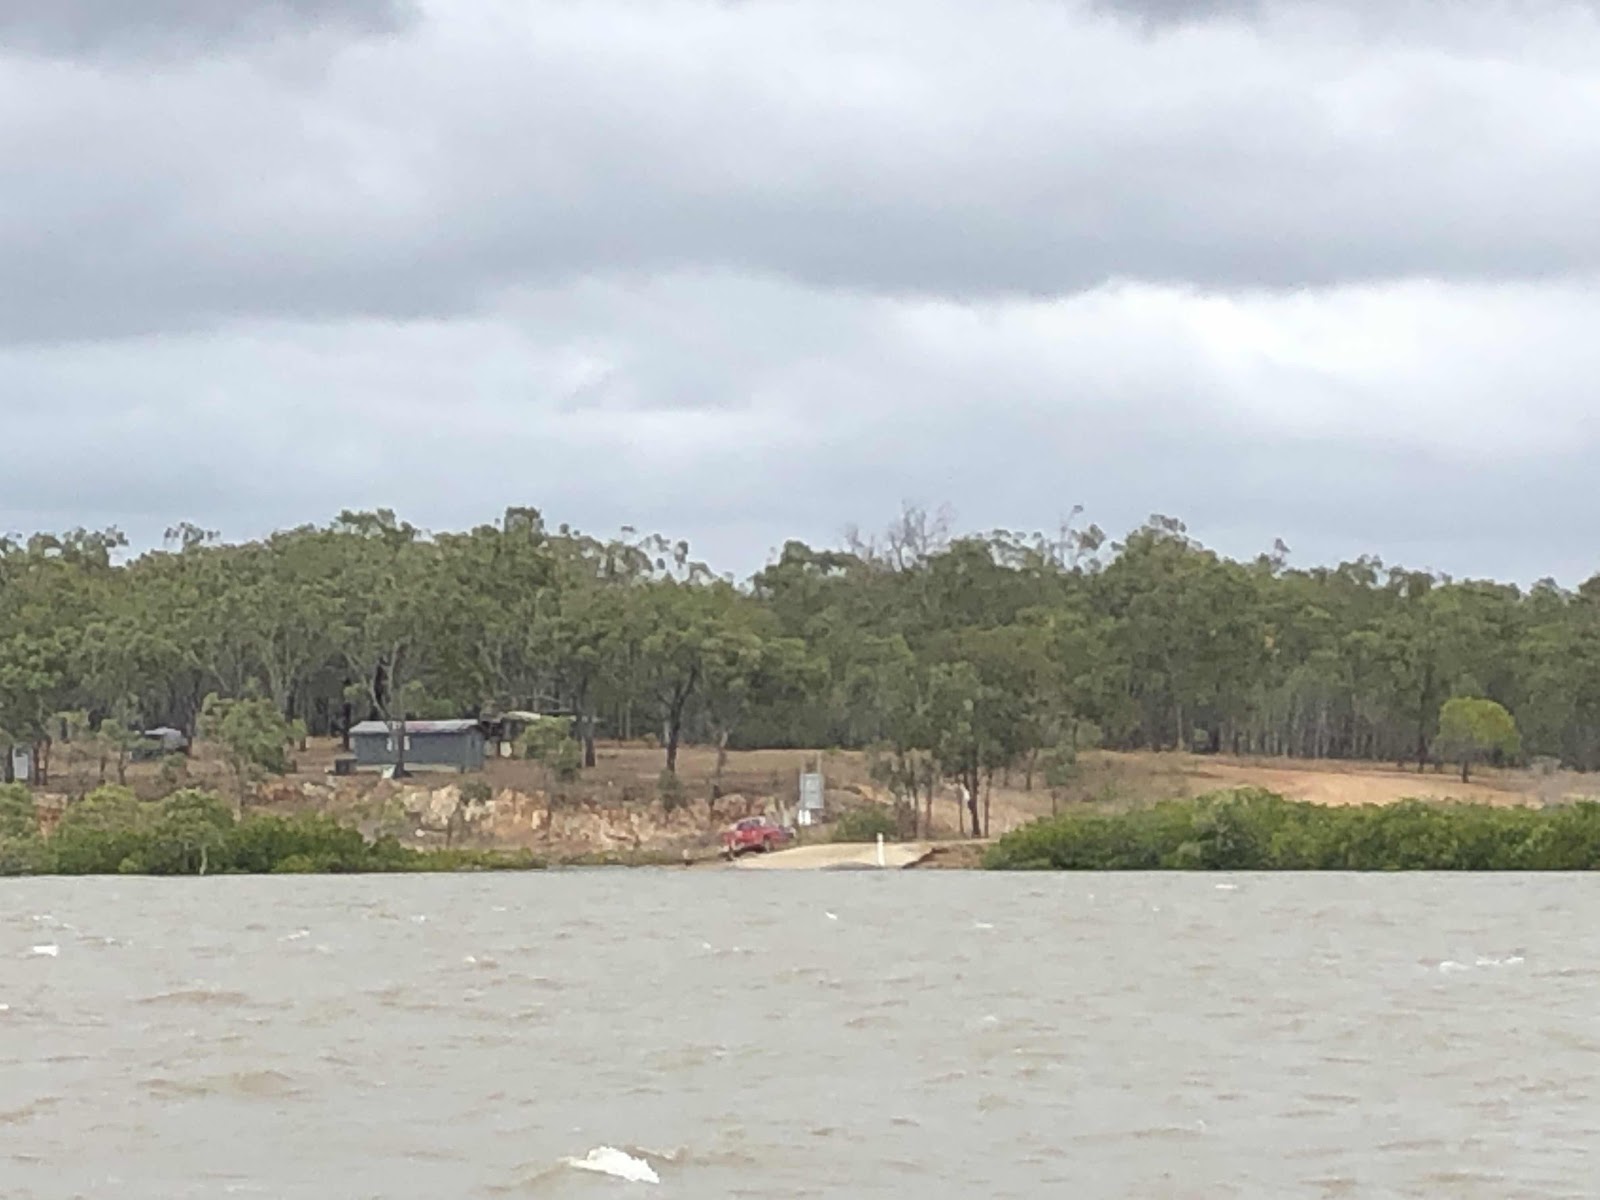
In case you're wondering about the significance of tides from the comfort of an armchair, for the route between the mainland and Curtis Island you actually travel over a cattle crossing. Yes, you read that correctly. A cattle crossing. At low tide cattle can amble across where we will float our boat with a 1.6m keel depth!

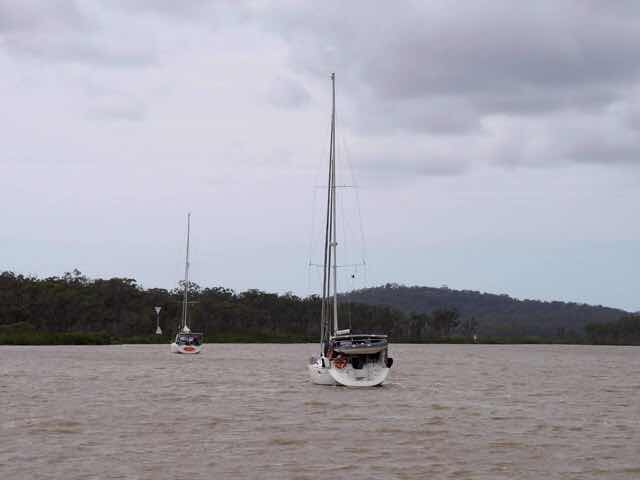
Joining a conga line of boats also intending to traverse The Narrows.


Muddy water.


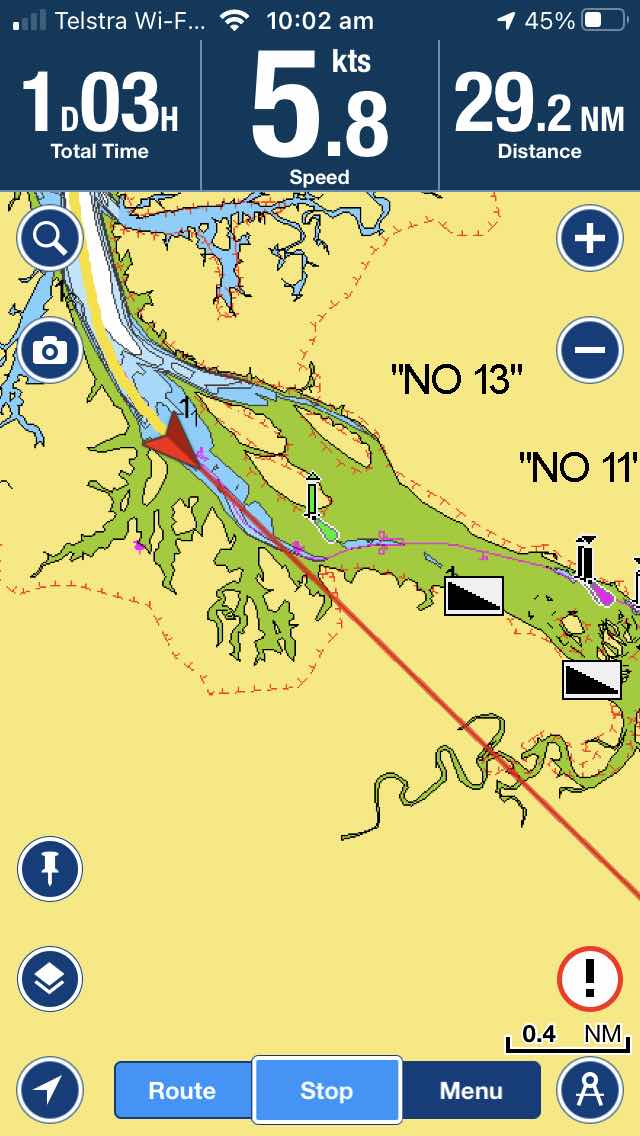
The yellow boat track is hard to see because it's cross country

   
The cattle crossing gates on either side

Low depth alert!!!


And right at the very narrowest part we encountered a power boat.
Weirdly, we knew this boat too. Is was Mark Goodall on XS!
You don't want to miss a single marker.


The Bloke concentrating deeply. The gesture is just a reflex he says.

We completed the passage and popped out just north of the industrial port of Gladstone where we anchored for the night in Graham Creek just out of sight of the gas hub, noise and illumination. Note to self for any future visits: the mozzies there fly with a co-pilot!