Live Track - Past 90 daysDistance Sailed to date - 15,383Nm
Download Email Maximum of 160 characters and you cannot include images, as this is a Short Message Service only. Download
Download our track Email us OffShore SMS us OffShore Download GoEast tracks

Saturday, April 25, 2020

Hardstand 2020 Week 2 - Dropping the Mast

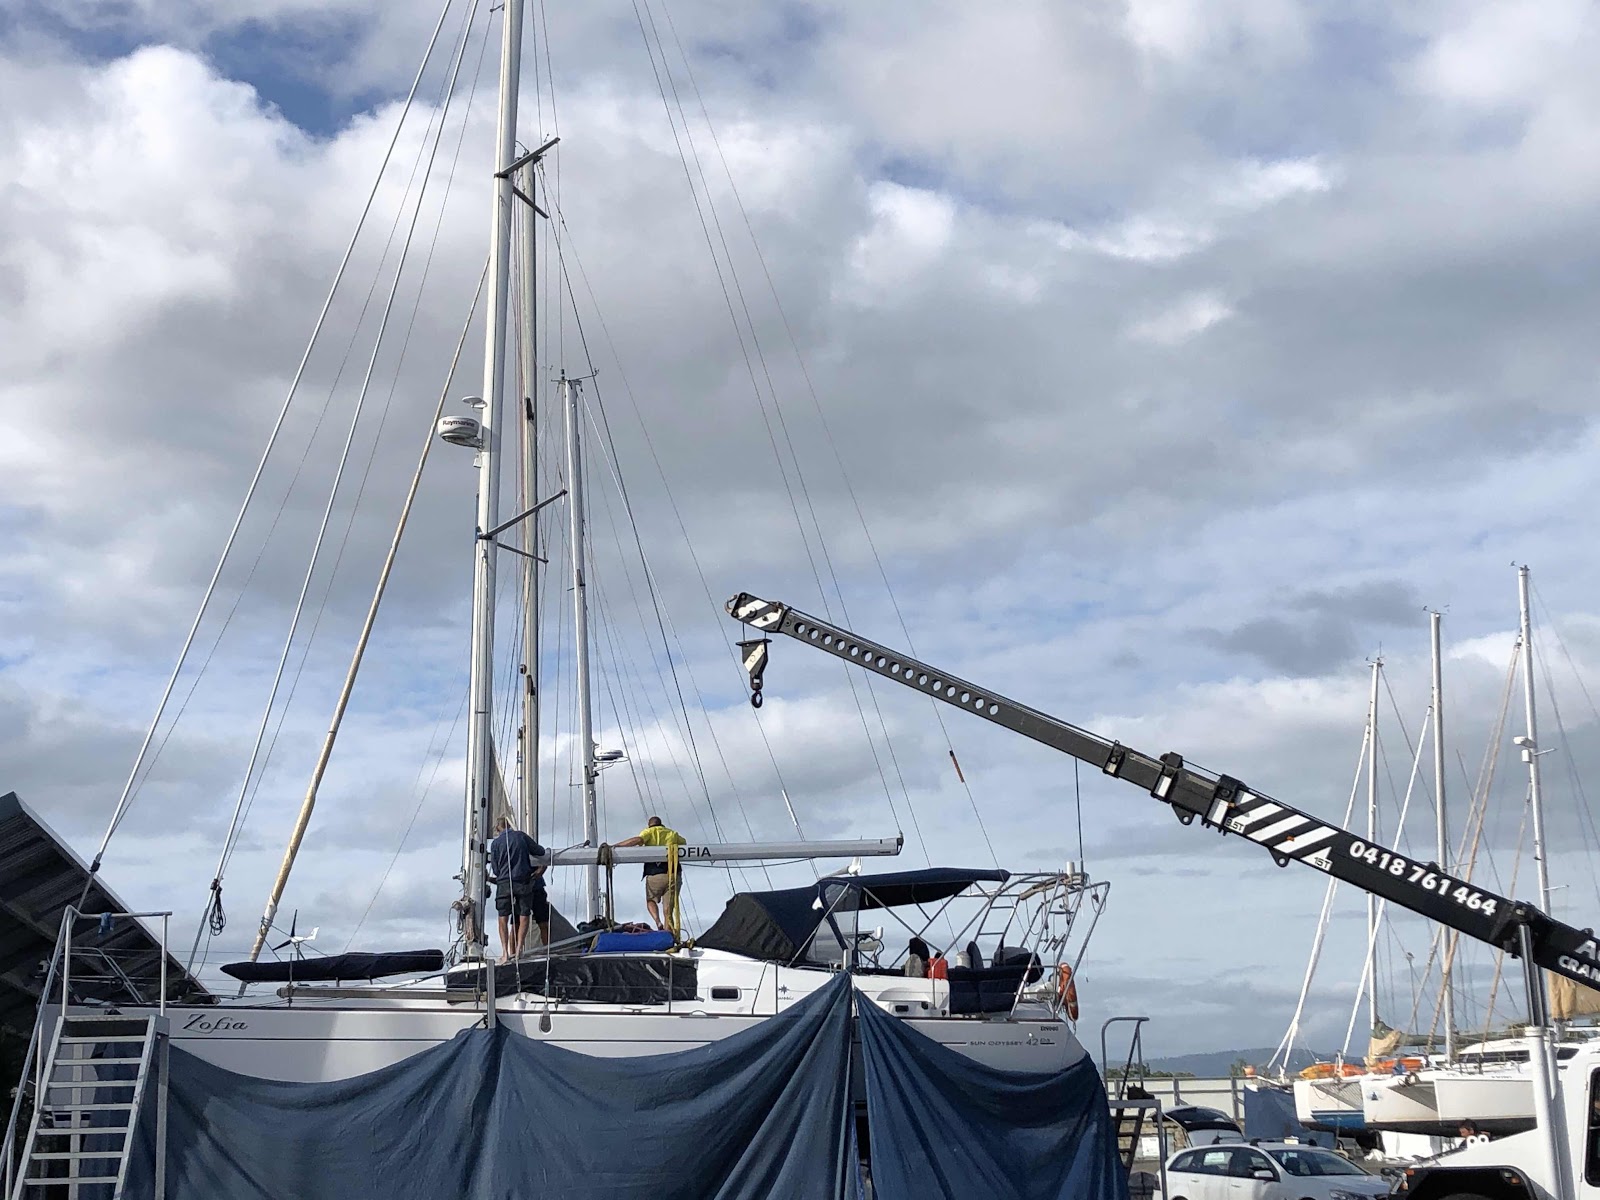
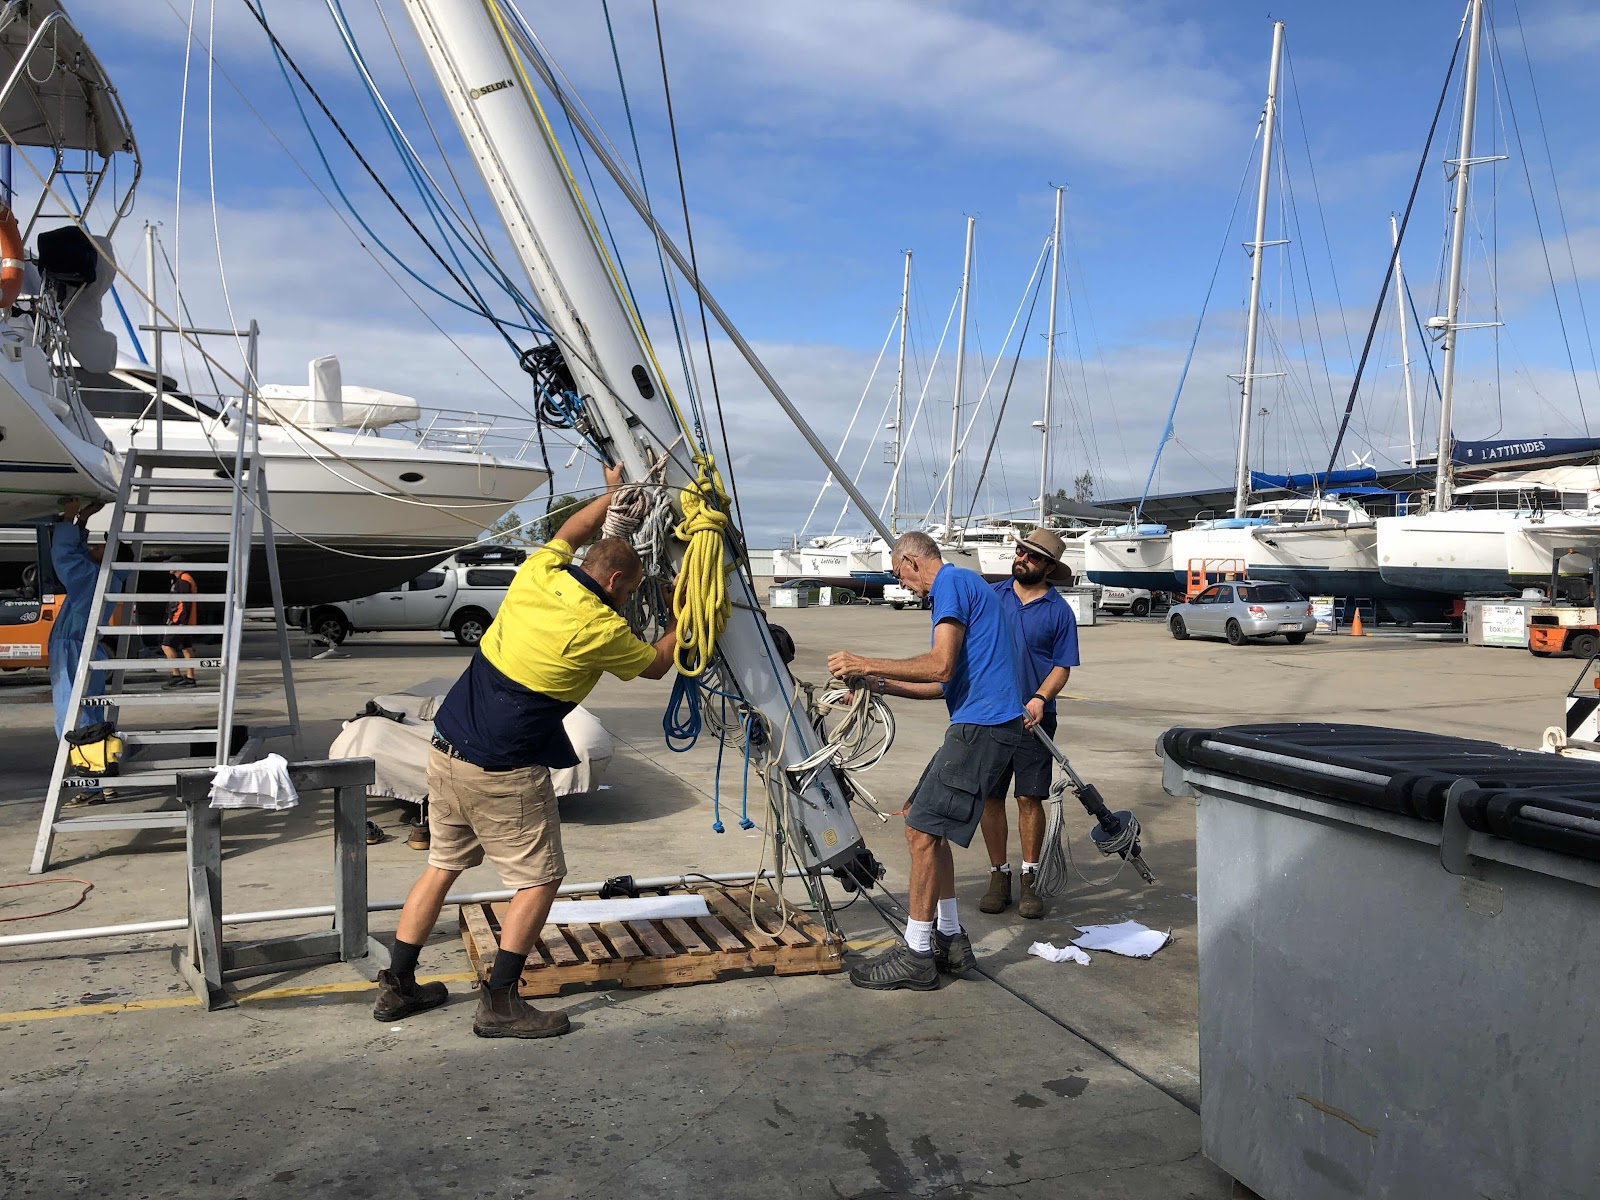
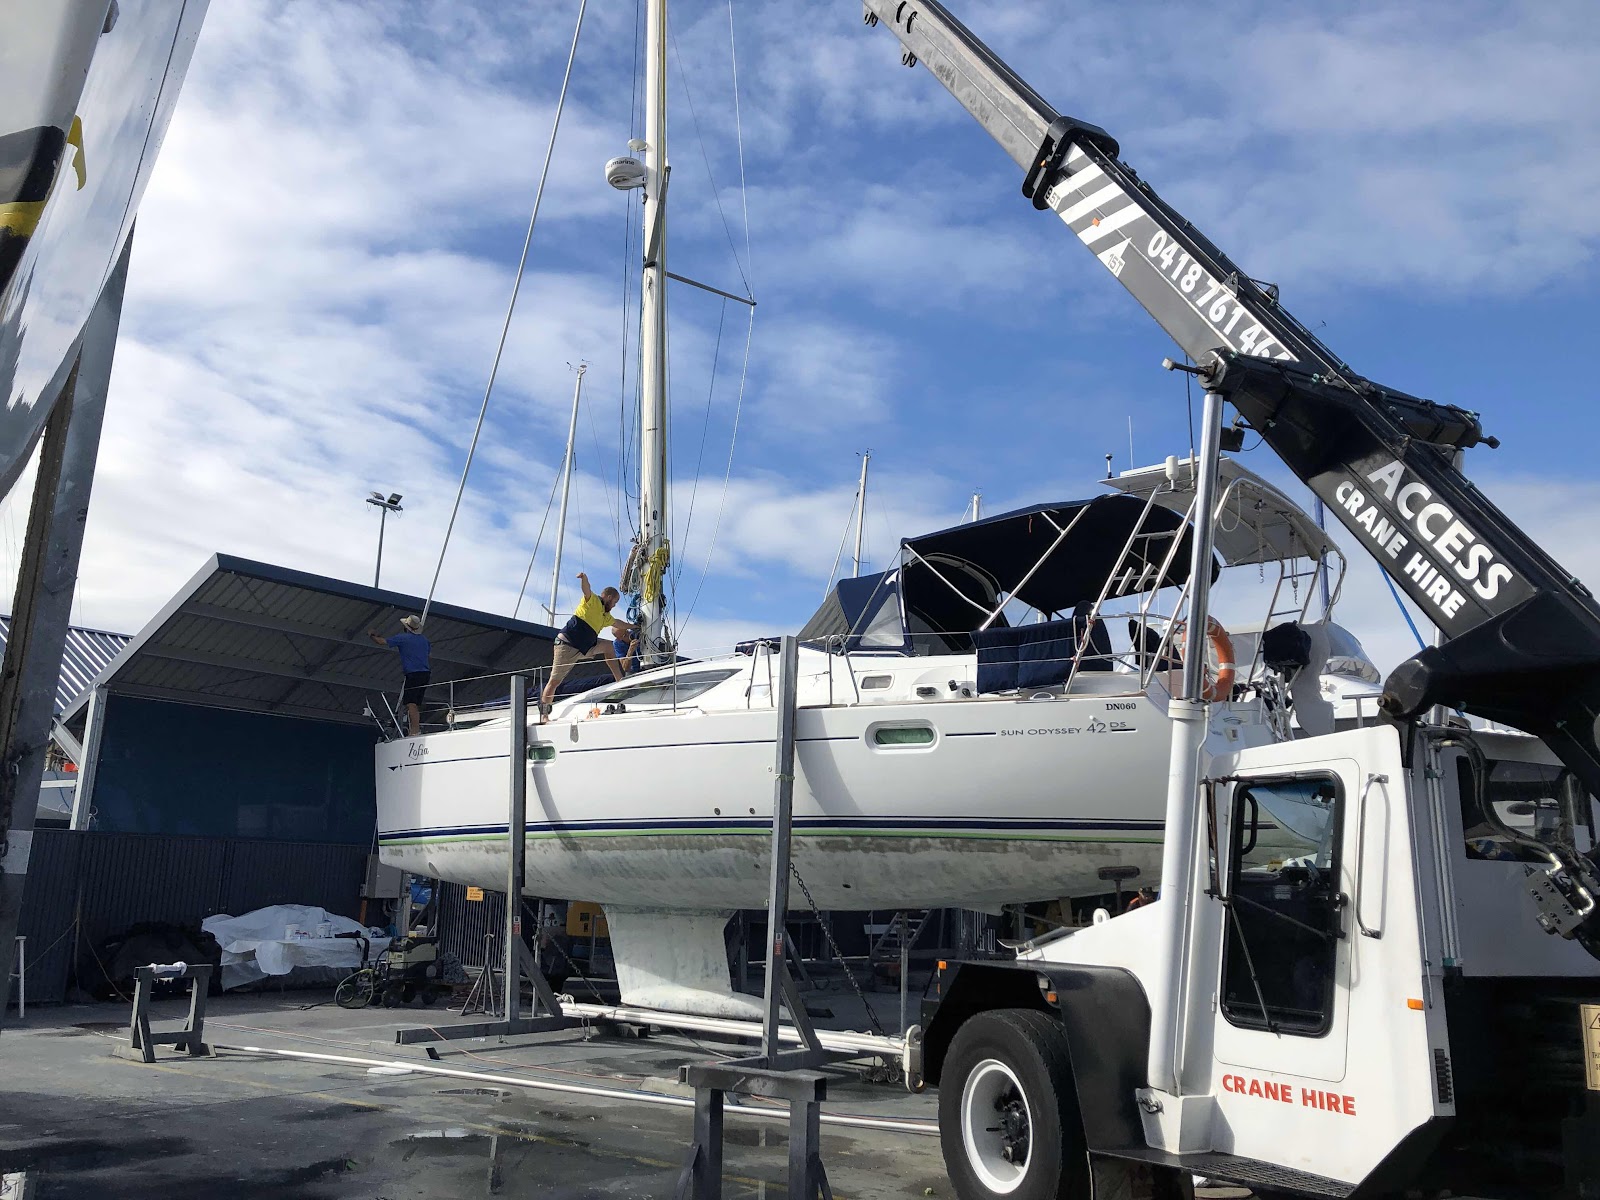
We’ve never had to completely re-rig before. Sure, we’d added an inner forestay and replaced the lower outer stays with a heavier gauge but never re-rigged as such or taken the mast down. The crane was booked for 8am and ‘Cookie’ from S&H Spars was there ahead of time with his off-sider to disconnect the boom. To be honest,  we could barely watch and made a retreat to The Galley for our, by now, daily morning coffee and breakfast roll!


Disconnecting the boom
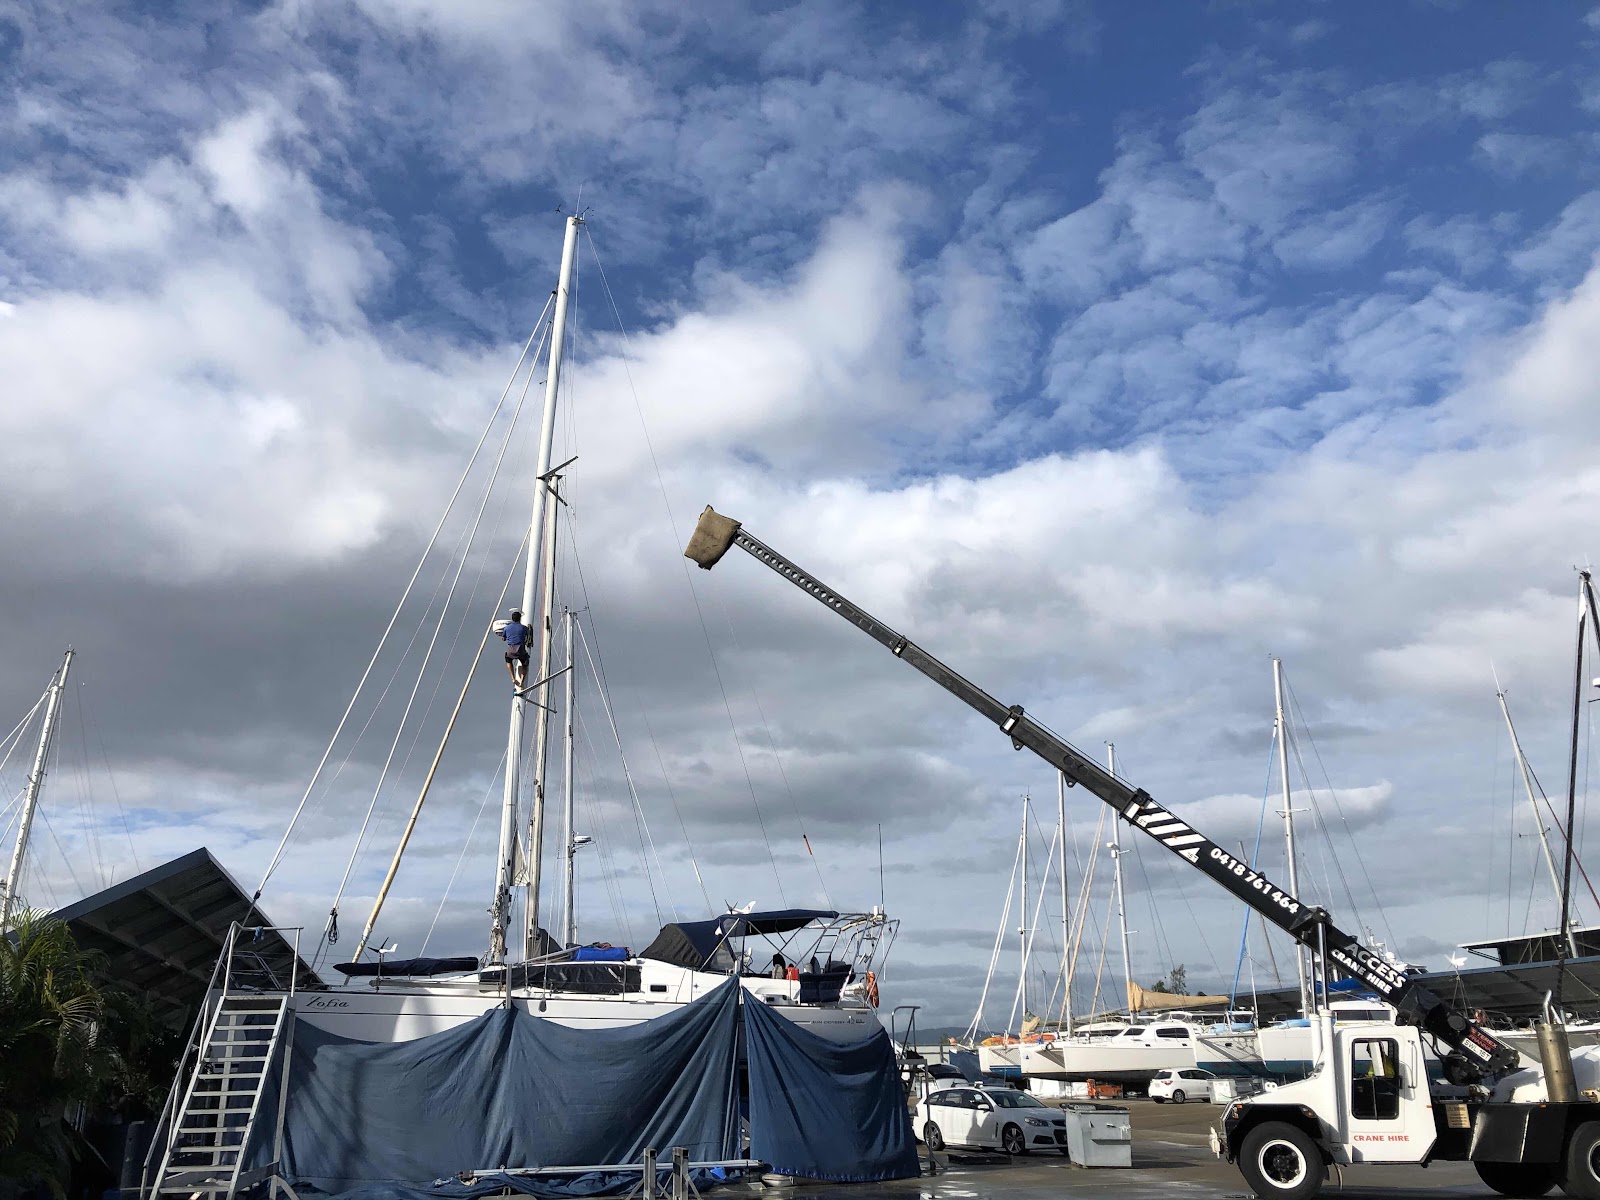
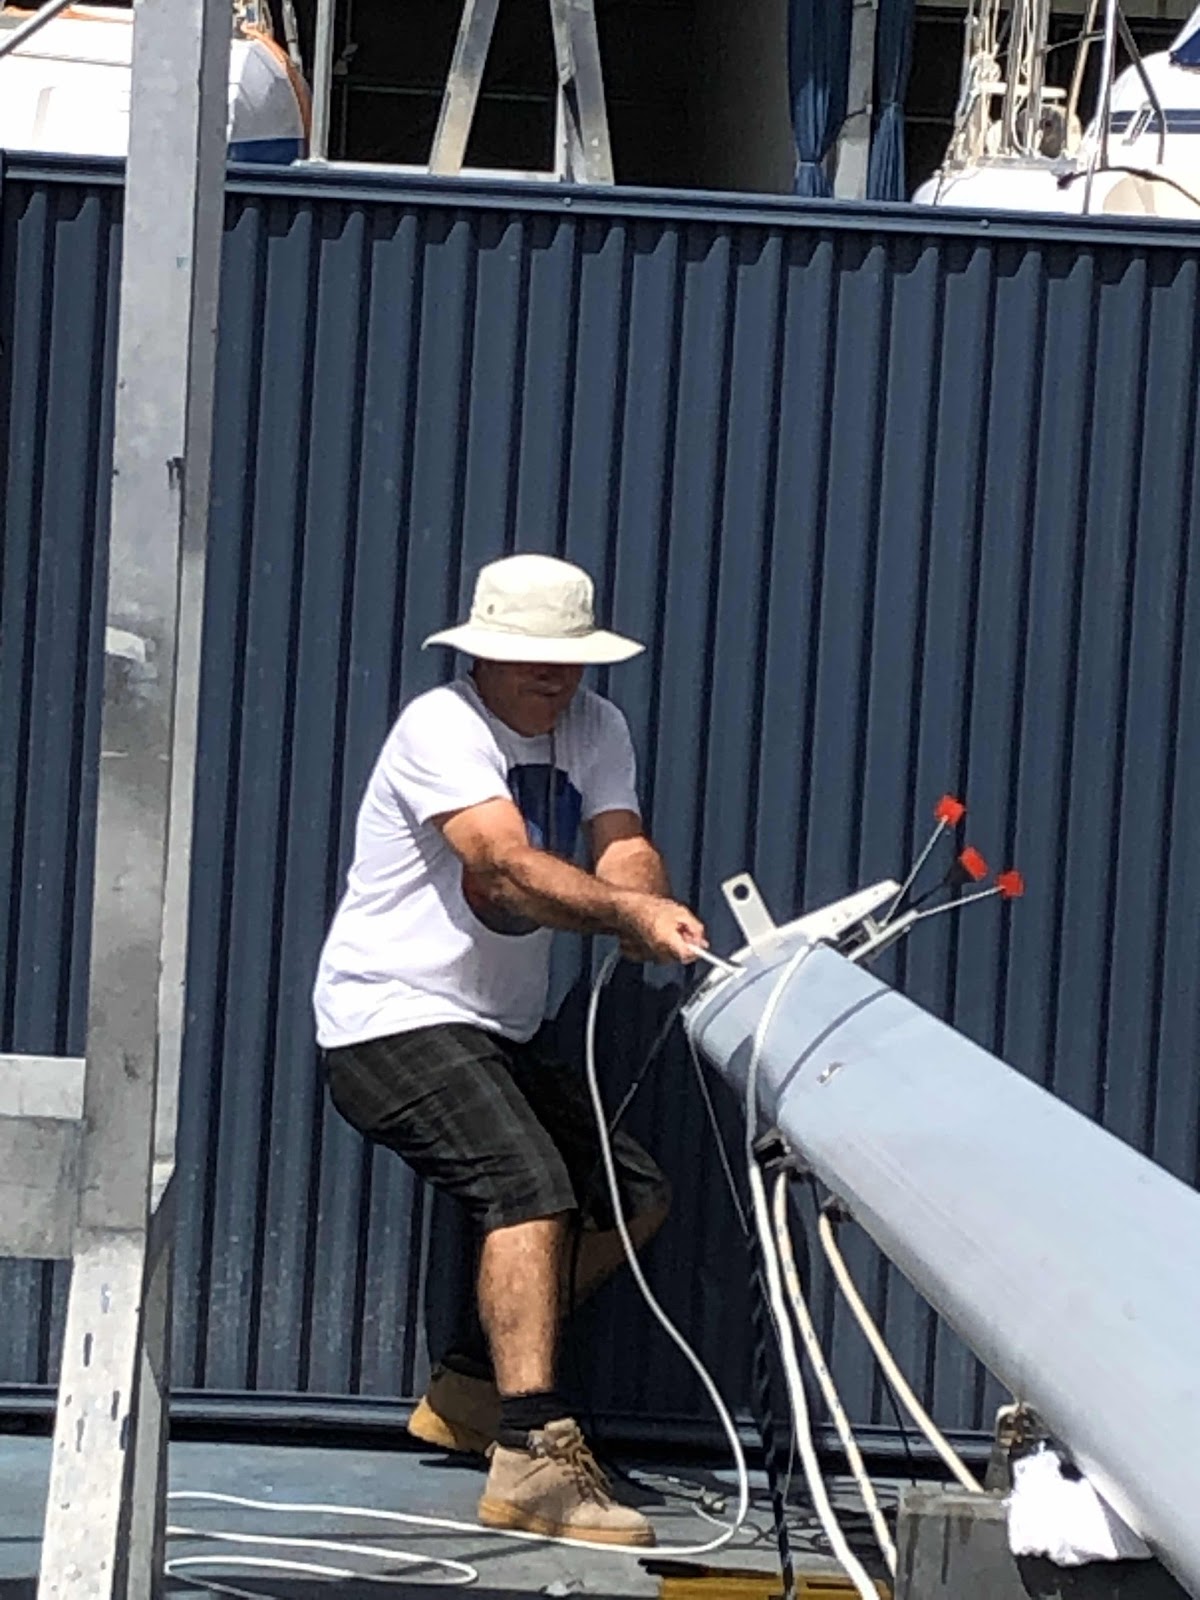
Now to unite the crane boom with the mast


Now just a stump - all gone!

We felt a bit like an amputee with our mast on trestles alongside the boat. Unlikely for this to ever happen again during our ownership of Zofia, it presented the perfect opportunity to rewire the mast. 


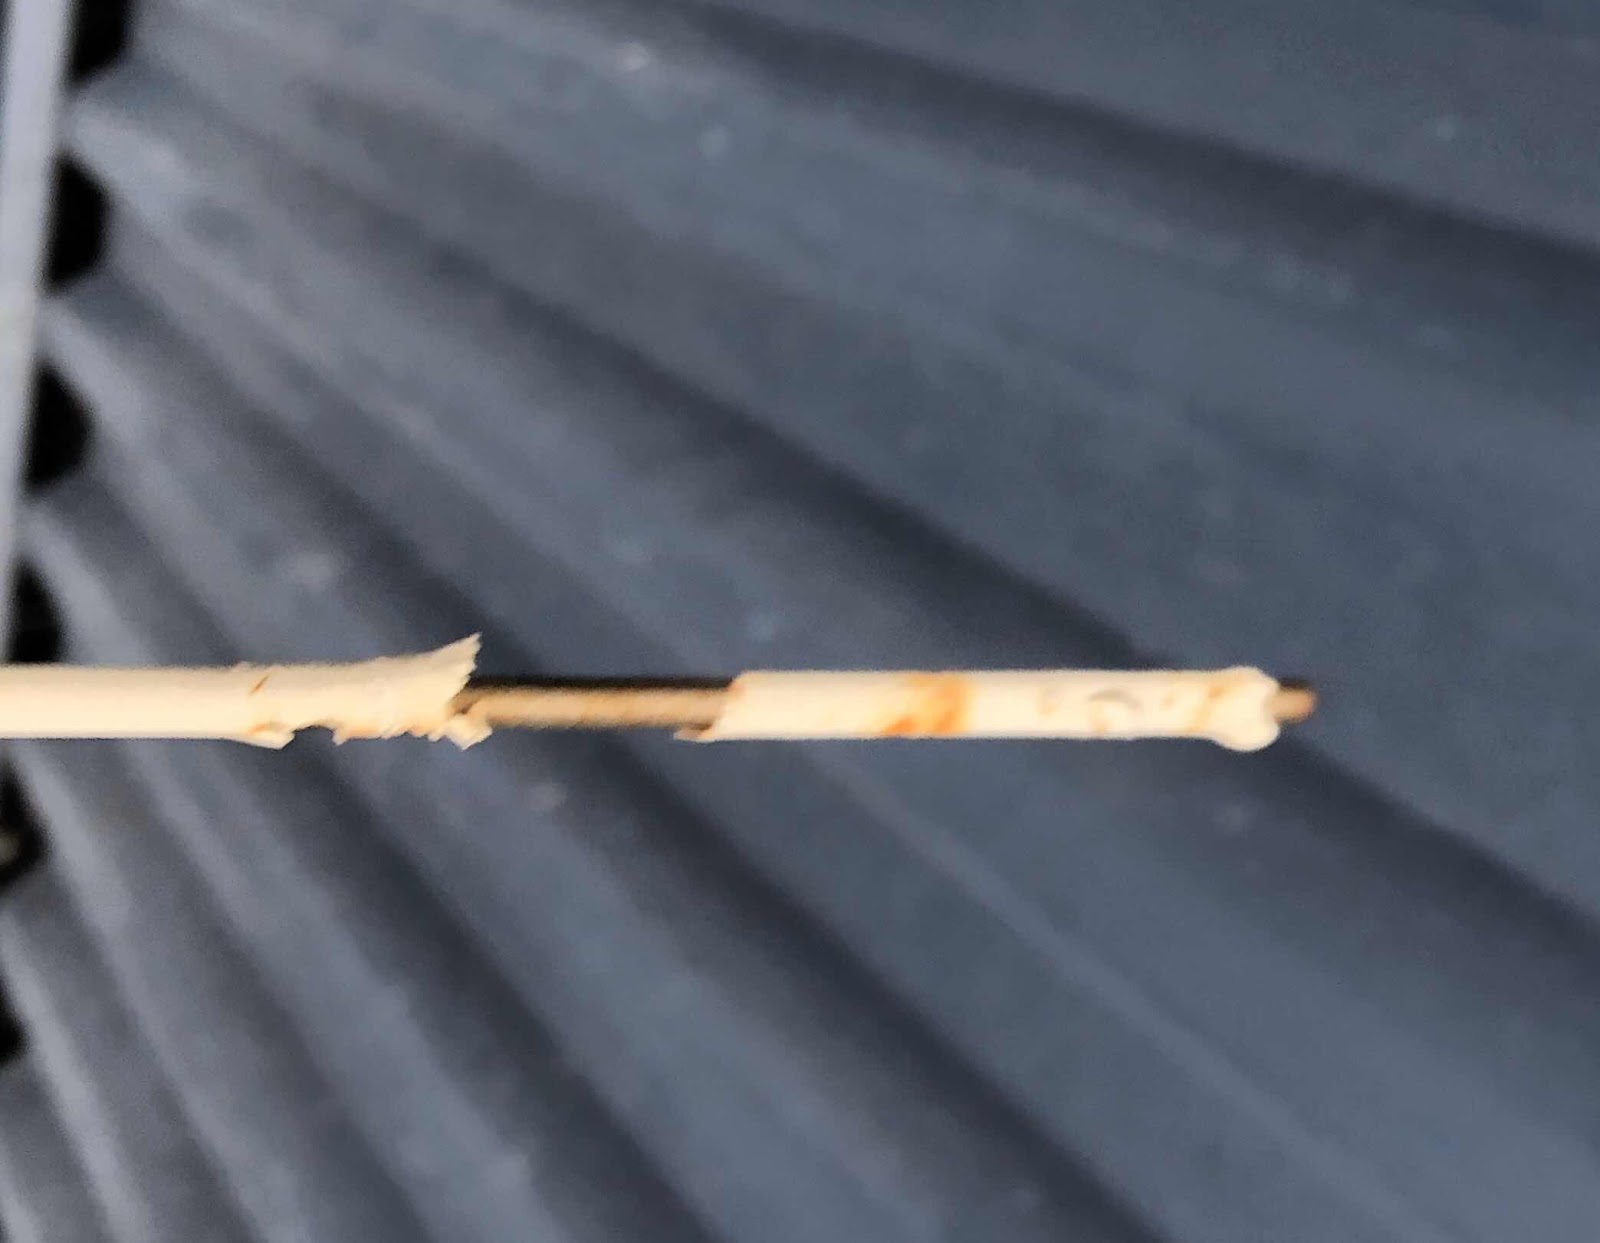
When Zofia was first commissioned, the first of a series of what we term as ‘axe-murderers’  , practiced their sloppy arts. A so-called ‘Marine Electrician’ ran cable up the mast but not specialised tinned cable, just regular 3 strand house cable.  It must have been what he had in his van that day. We discovered this almost immediately after handover because some of the mast lights didn’t work and if they did, the switches on the Schreiber control panel were wrong.  The Bloke has been quite handy in the electronics department since a student, and his trouble-shooting with the multi-meter revealed that by the time the electrician had finished wiring the top of the mast, they’d forgotten which colour wire they’d used for the masthead light, deck light and motoring light. In fact they hadn’t even installed the deck light although that panel switch was connected to what turned out to be the masthead light. The mix-up of cabling was resolved easily but the legacy was the ticking bomb of un-tinned wire. Eventually it would corrode. 


Mousing the new wires through the mast was no fun and a few naughty bad words were scooped from the F@&k Box. 

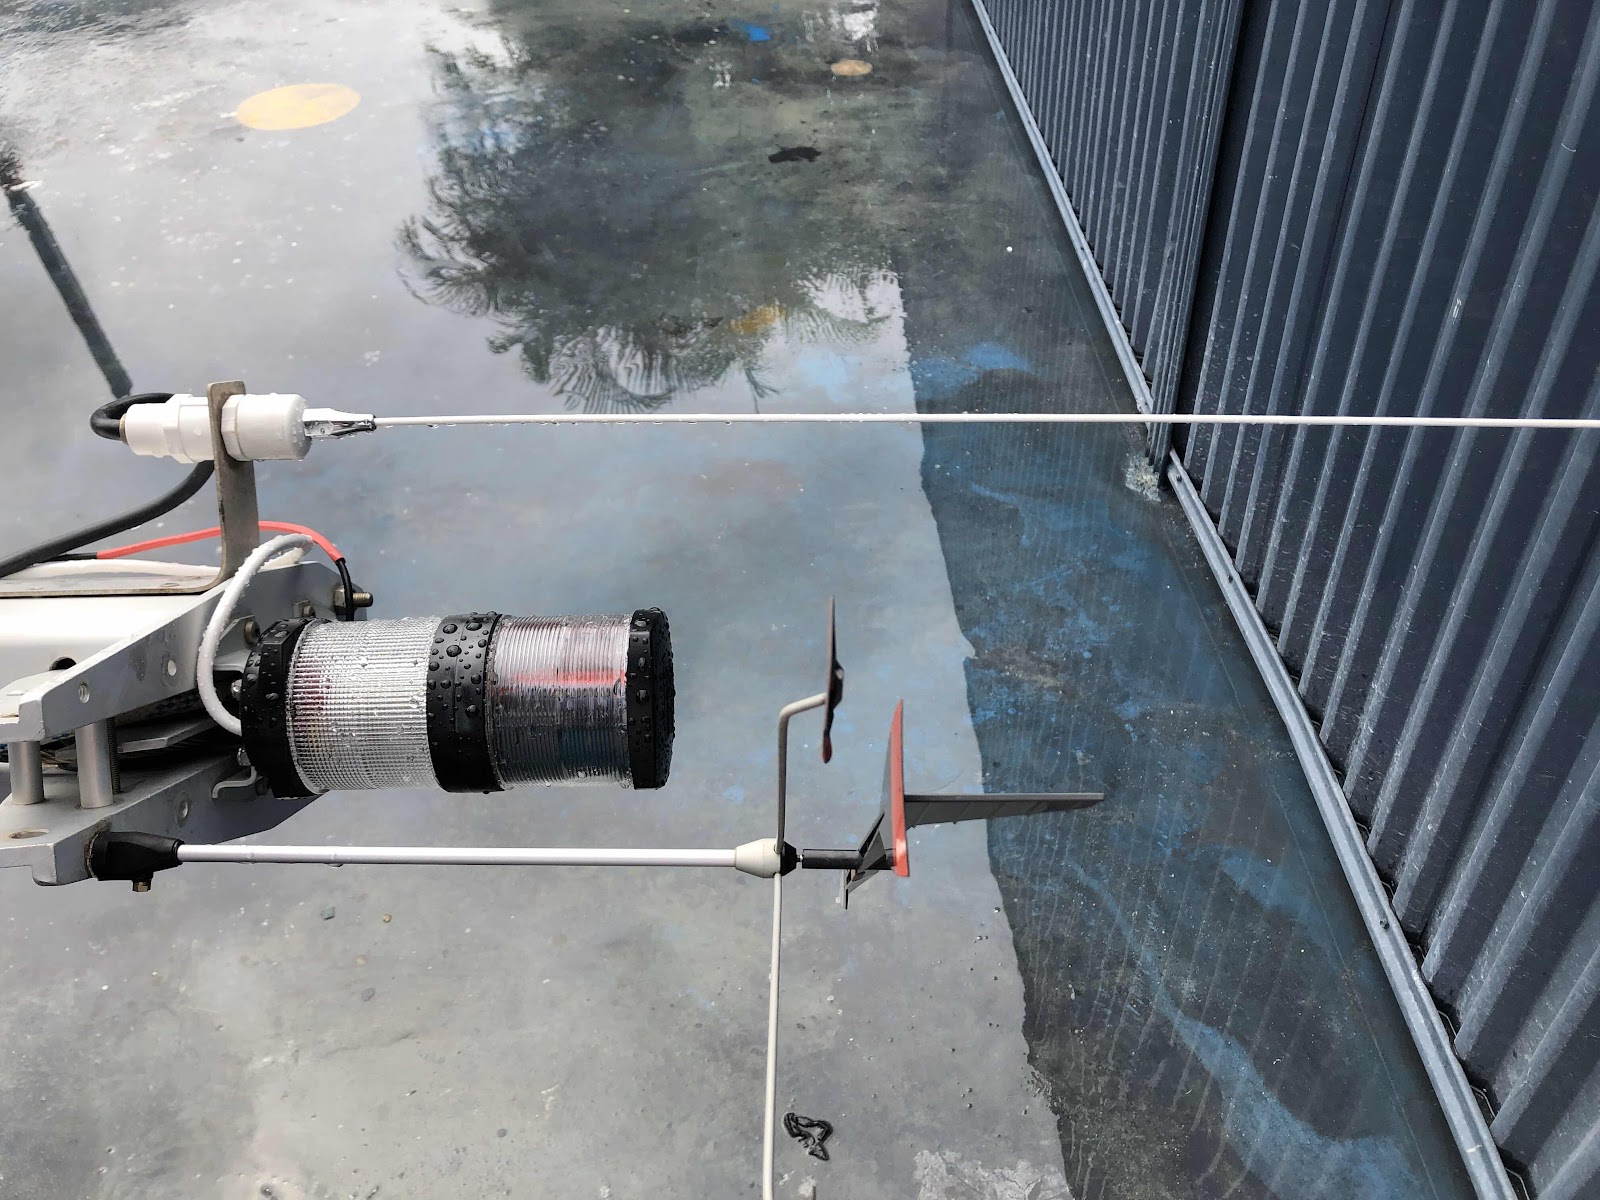
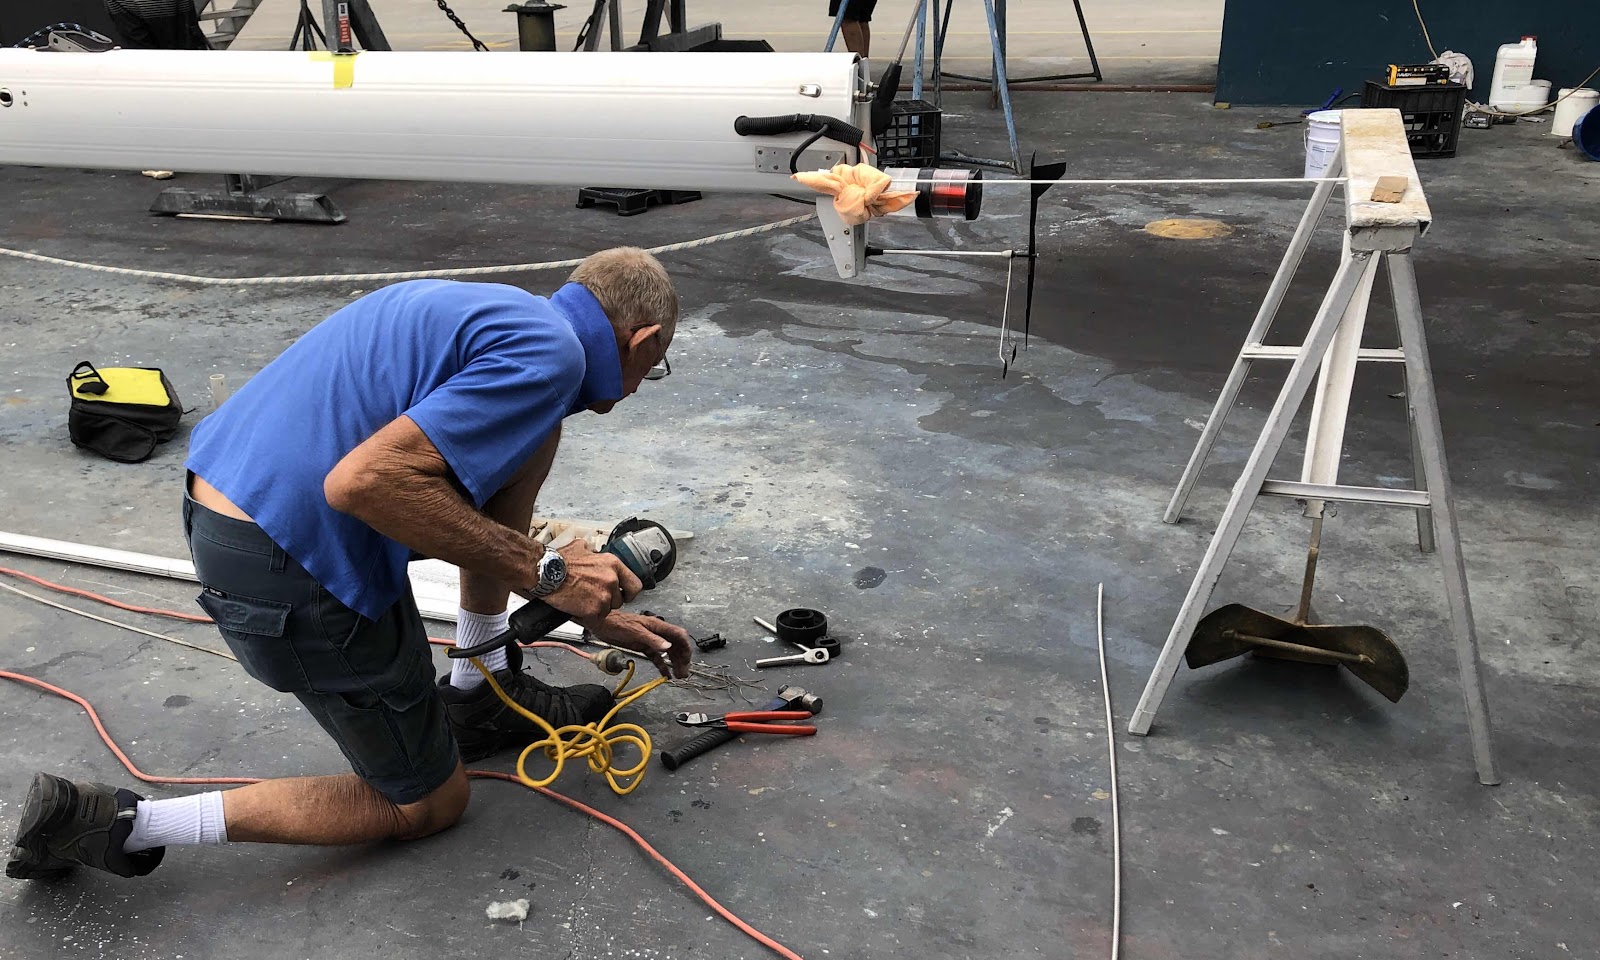
Here at last was our best opportunity to remedy the wiring. Additionally, I really wanted a tri-colour masthead light for our off-shore passaging. I’d bought one a couple of years ago for this very moment. It was taking up space in the bilge, just waiting. Inspired, The Bloke also replaced the deck/motoring light array to a new LED version. To top it off, a new VHF aerial was fitted seeing as ours had been troubled by birds; had lost it’s coating and become rather deformed. Australian Cockatoos are to blame.
Tasks completed between rain showers.

The peeling  powder-coated paint on the radar dome support was also sanded back and replaced with a lick of two-pack. The Bloke had really embraced the rejuvenation option.

We had specified with the rigger that we wanted Selden turnbuckles. Last time he had used Ronstan ones on the outer stays and they didn’t match the rest of the rig. This selection generated some delay as they were to come from Germany. While whispers intensified about the implications of increasing Covid19 restrictions, we began to wonder if this were not a huge mistake. The longer we were stranded on the hardstand the more chance we’d get trapped by a shut-down. Would our Selden parts arrive at all?!  

In the finish we were a bit like a frog in a pot of water. We became accustomed to the threat of a shutdown and just got on with things. Which is not to say that Cookie didn’t receive multiple neurotic phone calls requesting an update; especially when boats were being re-rigged around us and returning to the water!

Eventually we received the happy news that the riggers were returning to prepare the mast.

Creating a new halyard outlet


The Bloke had arranged for a few alterations. New exit points were made for the Code Zero and inner headsail. This would make for a more conventional looking cutter rig as well as prevent chafing between the furled genoa and Code Zero. Sadly we completely forgot about the radar reflector and chafe tubes. Never mind!

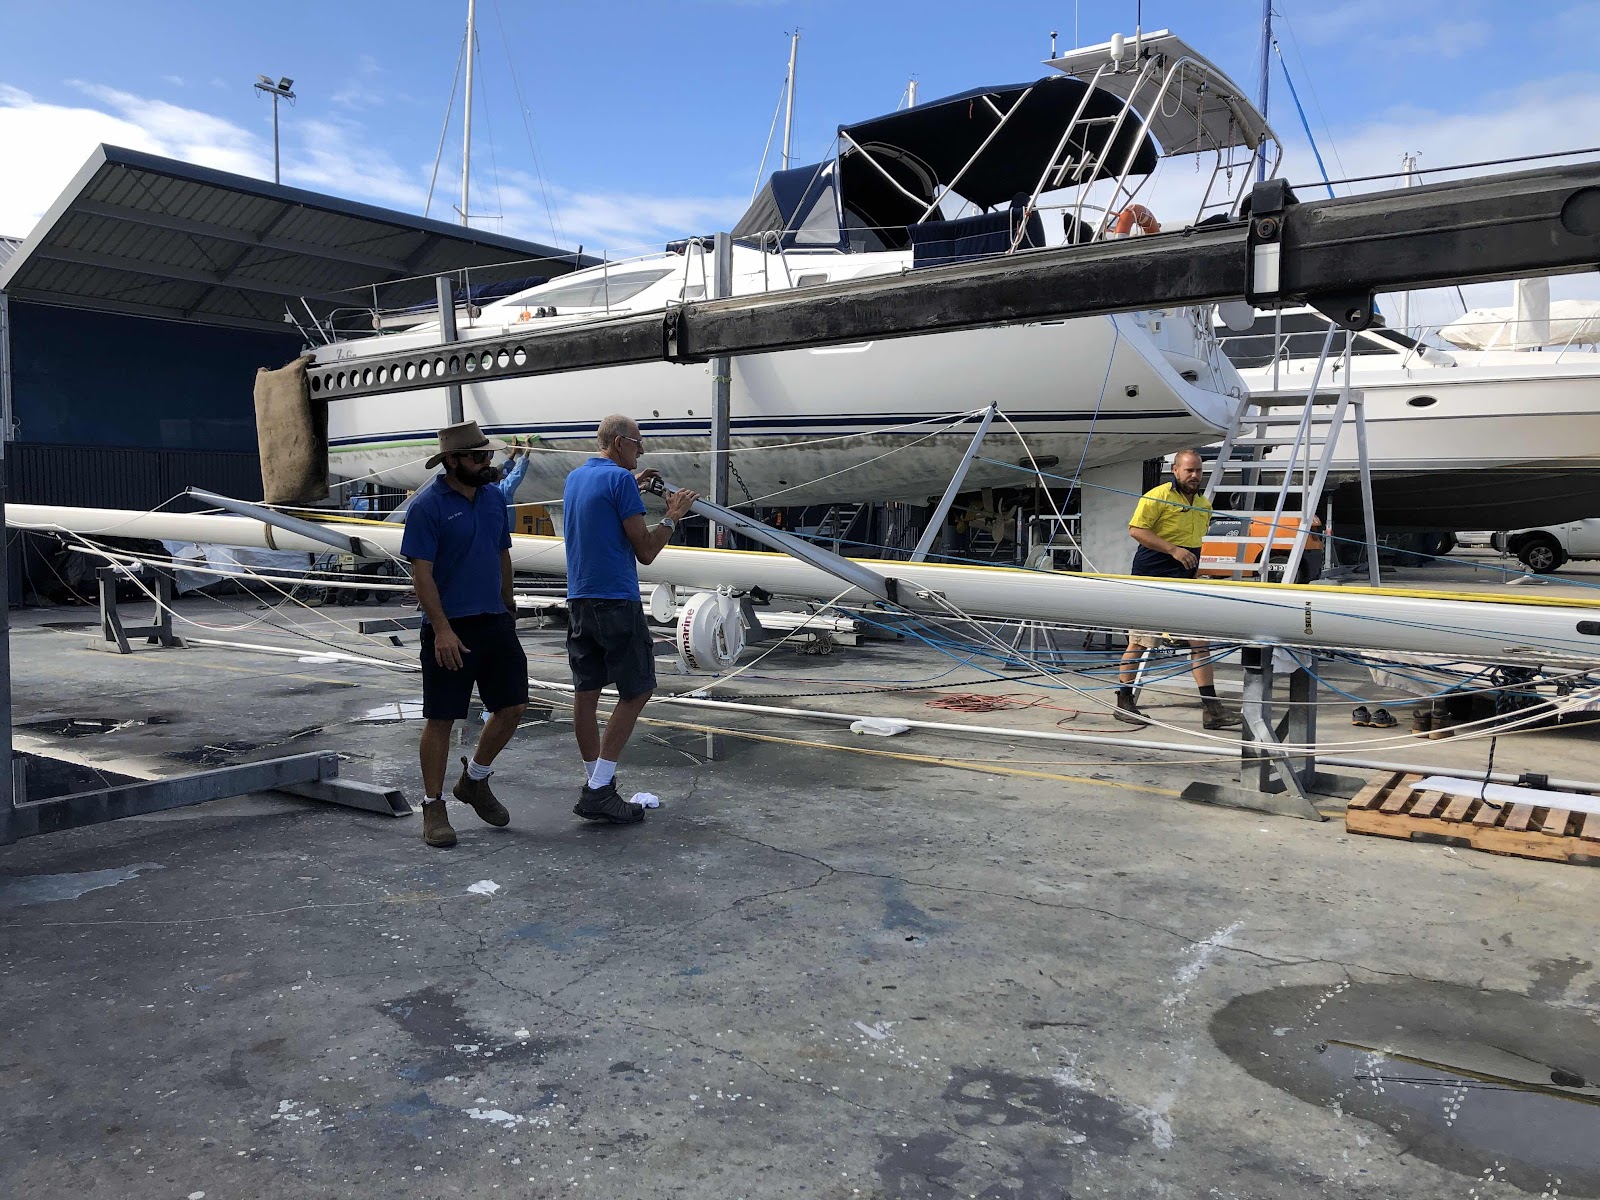
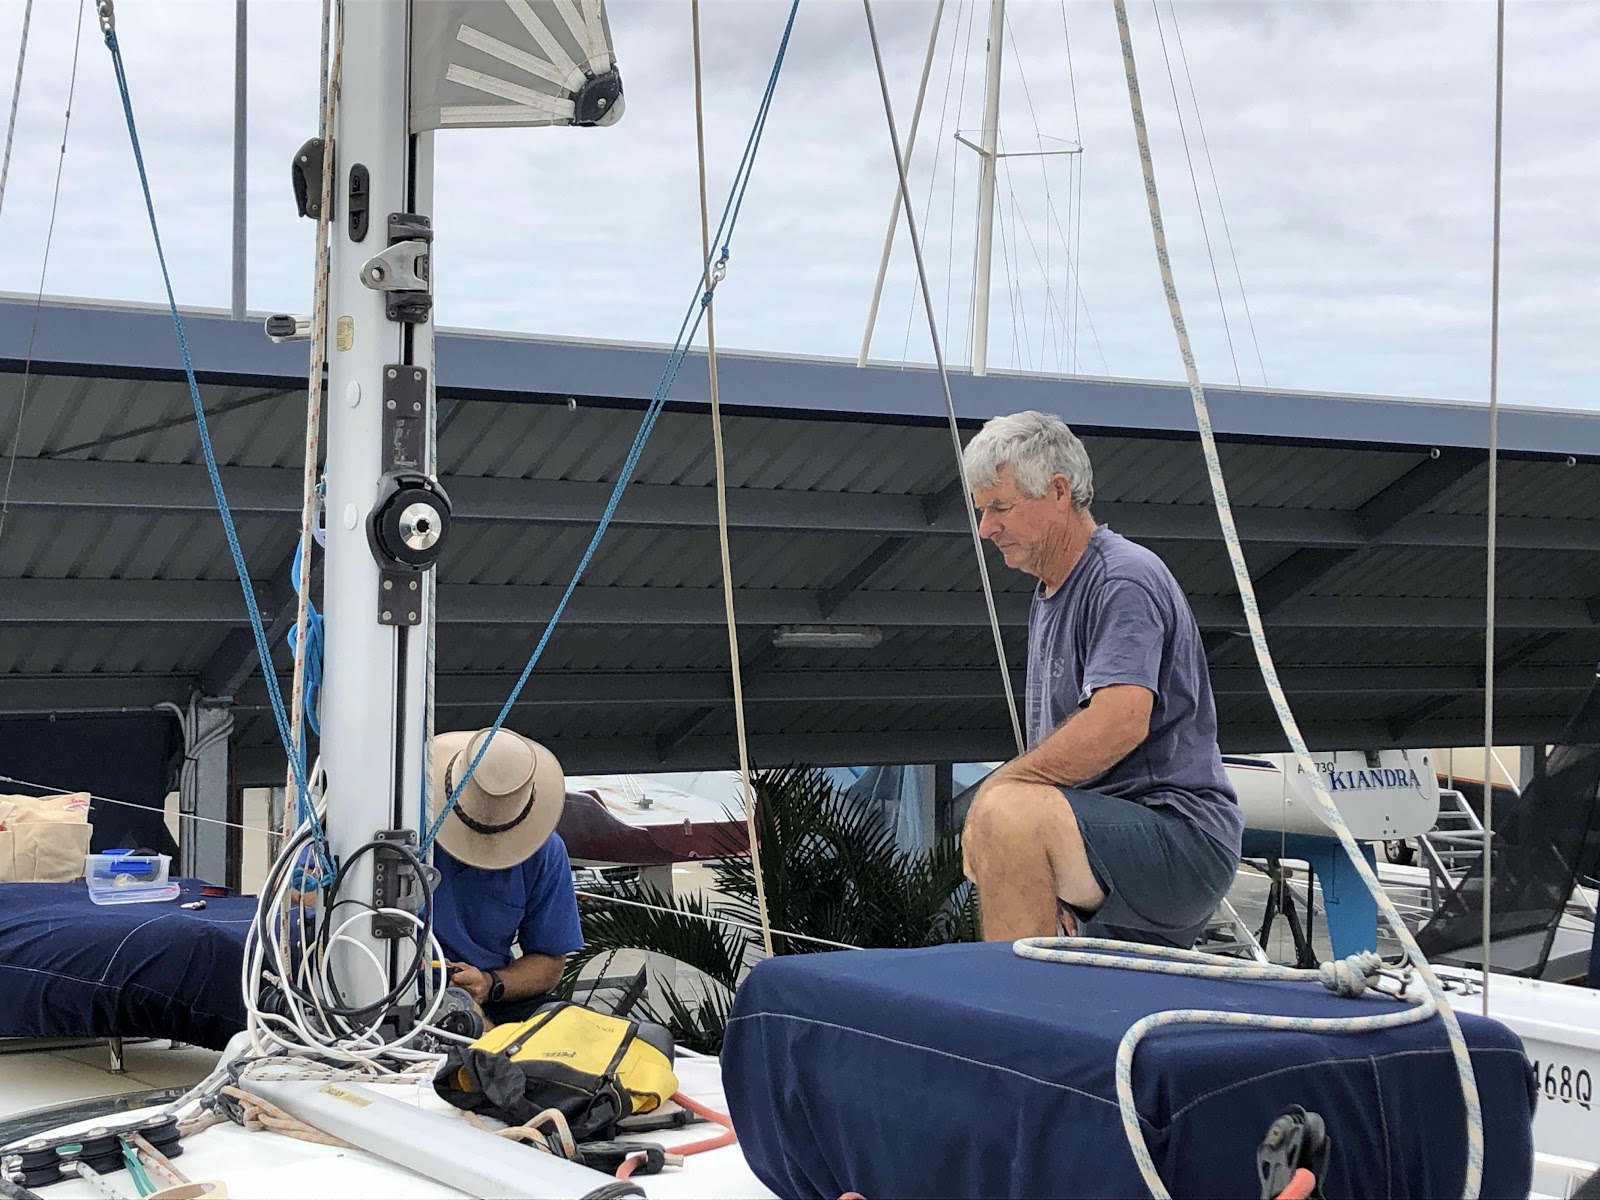


We rapidly looked like a yacht again. The boom wasn’t put back on until after we’d returned to the water. The only mast step wiring The Bloke was unsuccessful reconnecting was the 18-wire radar cable, so it was delegated to a professional. Much to our surprise, this big job came in under budget which was a pleasant surprise seeing as we were, by this time, feeling like we were supporting the whole SE Queensland economy!

Hardstand 2020 Week 1 ... continued

It rained for 7 of the first 10 days of our hardstand time. This was a significant disruption. Additionally it meant that The Bloke’s methodical habits as a serial operative were shattered. Instead of completing a task and moving onto the next, multiple projects were started, resulting in what seemed like every part of the boat in some kind of deconstruction. We were living in total chaos.

Some masking and caulking removal around our side windows was begun. Then we had to cover the area over with black sheet plastic to stem the rain ingress. The windows had become leaky which was why we were undertaking the project in the first place.


If it was raining, The Bloke made a start on disconnecting the mast wiring. The rigger and crane were booked and there was a deadline for this job because the mast was coming down to facilitate re-rigging. New rigging is pretty much mandated by the insurance companies after 10 years and in any instance we’d well and truly eclipsed the other metric of 15,000nm.  The re-rigging constituted our biggest project with the biggest budget allocation.


The Bloke soldering new connectors at the base of the mast.
Well that fat cable was for the Radar which until then was a continuous length.


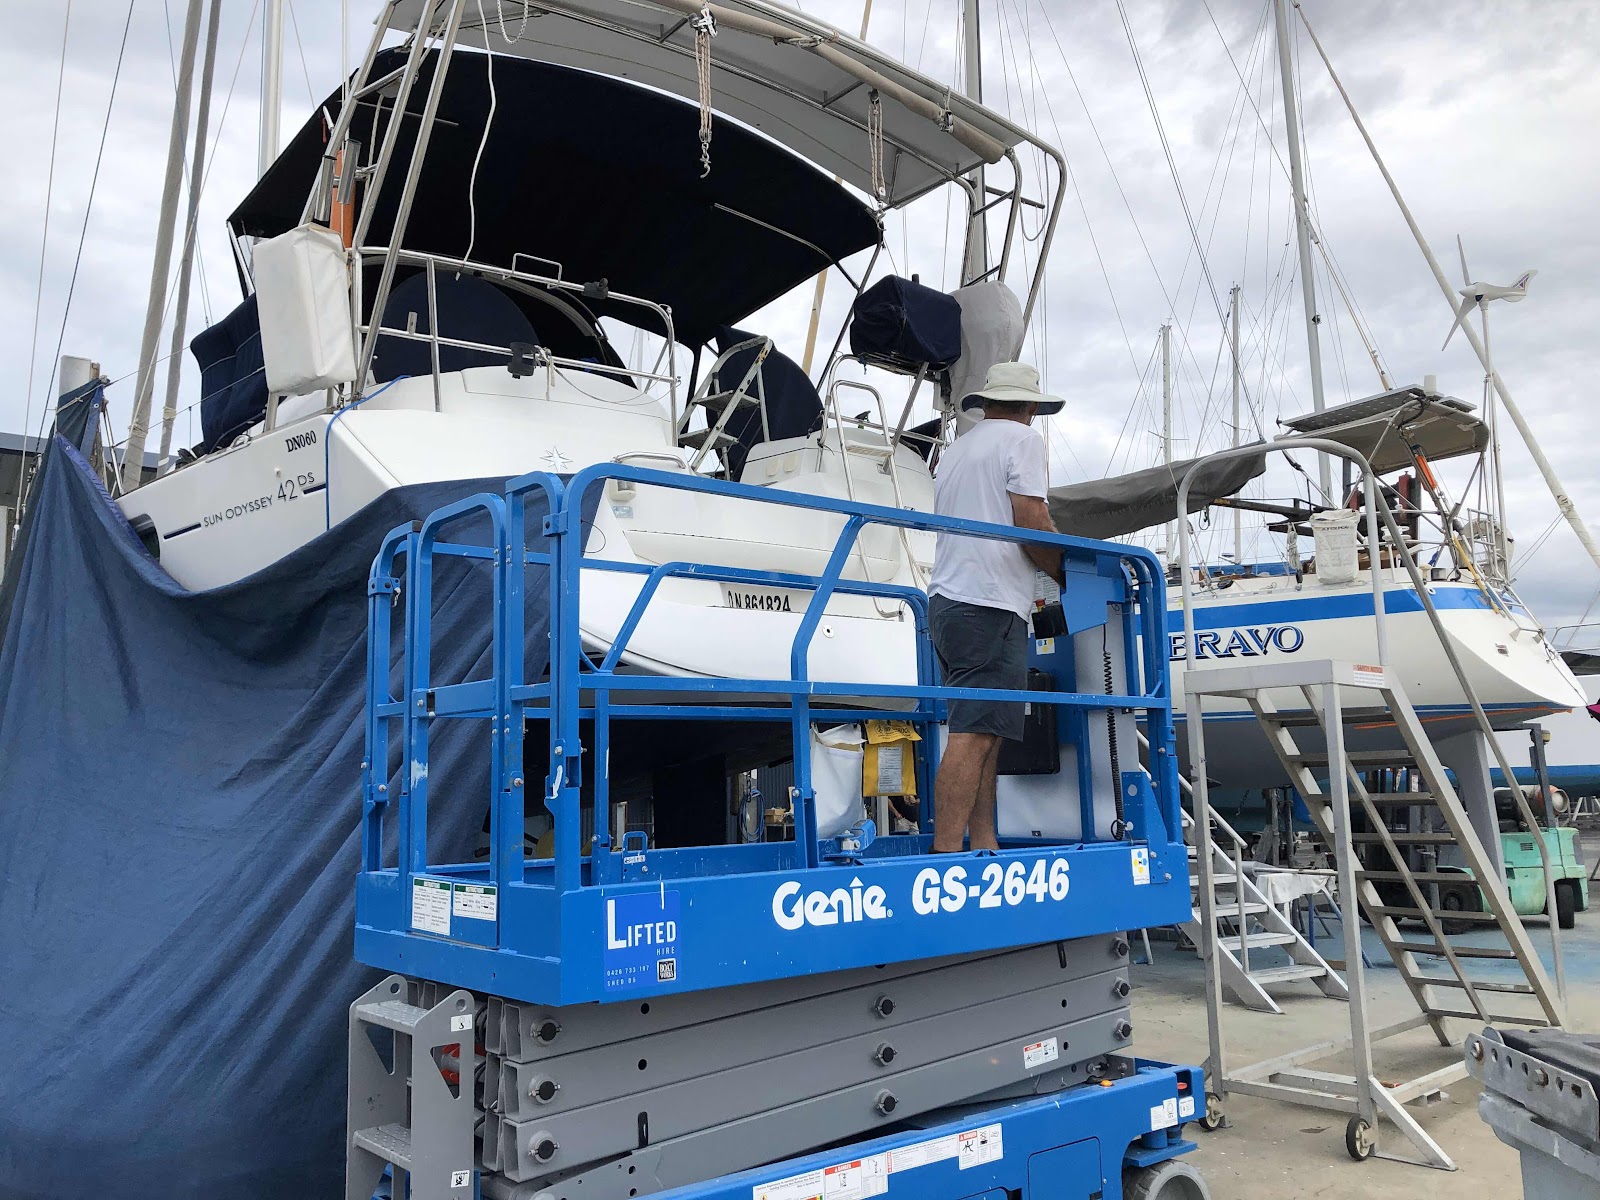
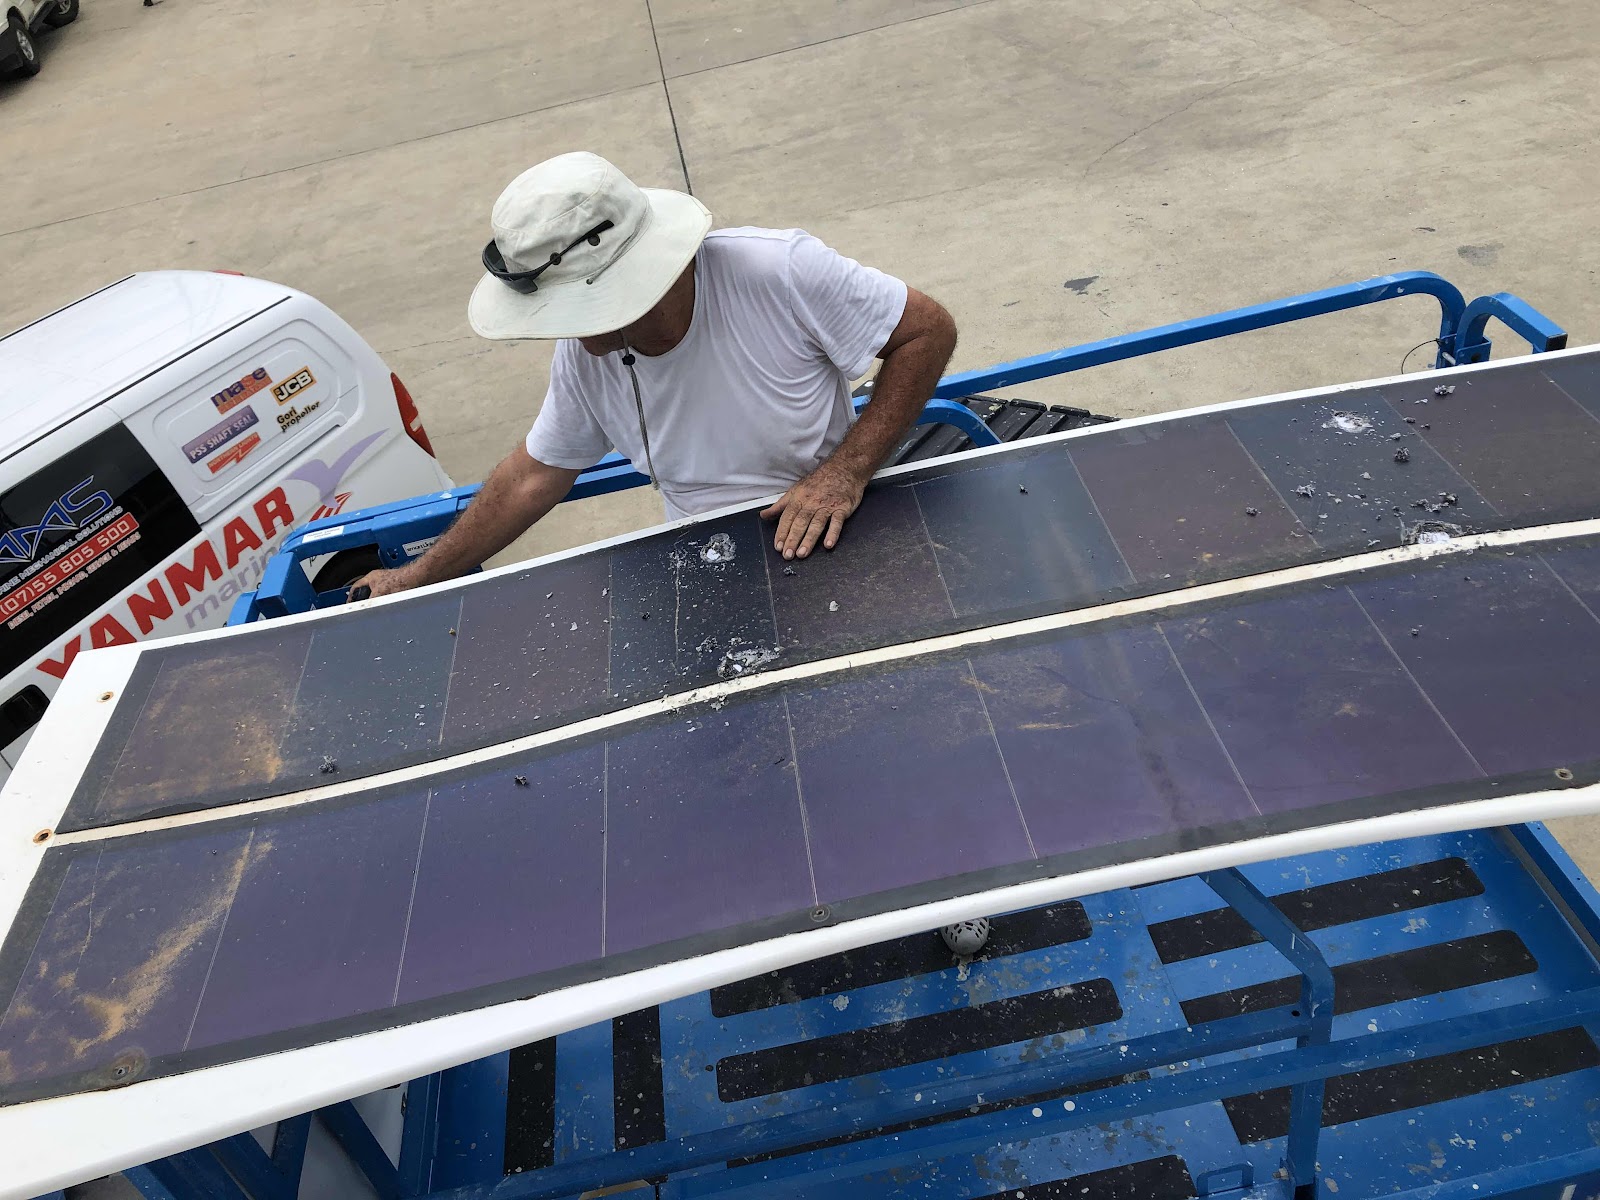
Having made a mess of the decks and the salon, further half started chaos came in the form of removing the solar panels. Mr Fastidious felt it was appropriate to replace the signex (mounting material) for the solar panels. It needed to be wider and represented an opportunity to replace and rewire the downward facing LED strip. The old flexible solar panels were never removed when we upgraded to solid solar panels. Now we could be rid of them and lighten off. A one-day hire was arranged for a scissor-lift which was spread over an afternoon and a weekend. There was no other way to access this area.


Going up


Down came the old flexible panels. The mounting board had become deformed by their heat. 

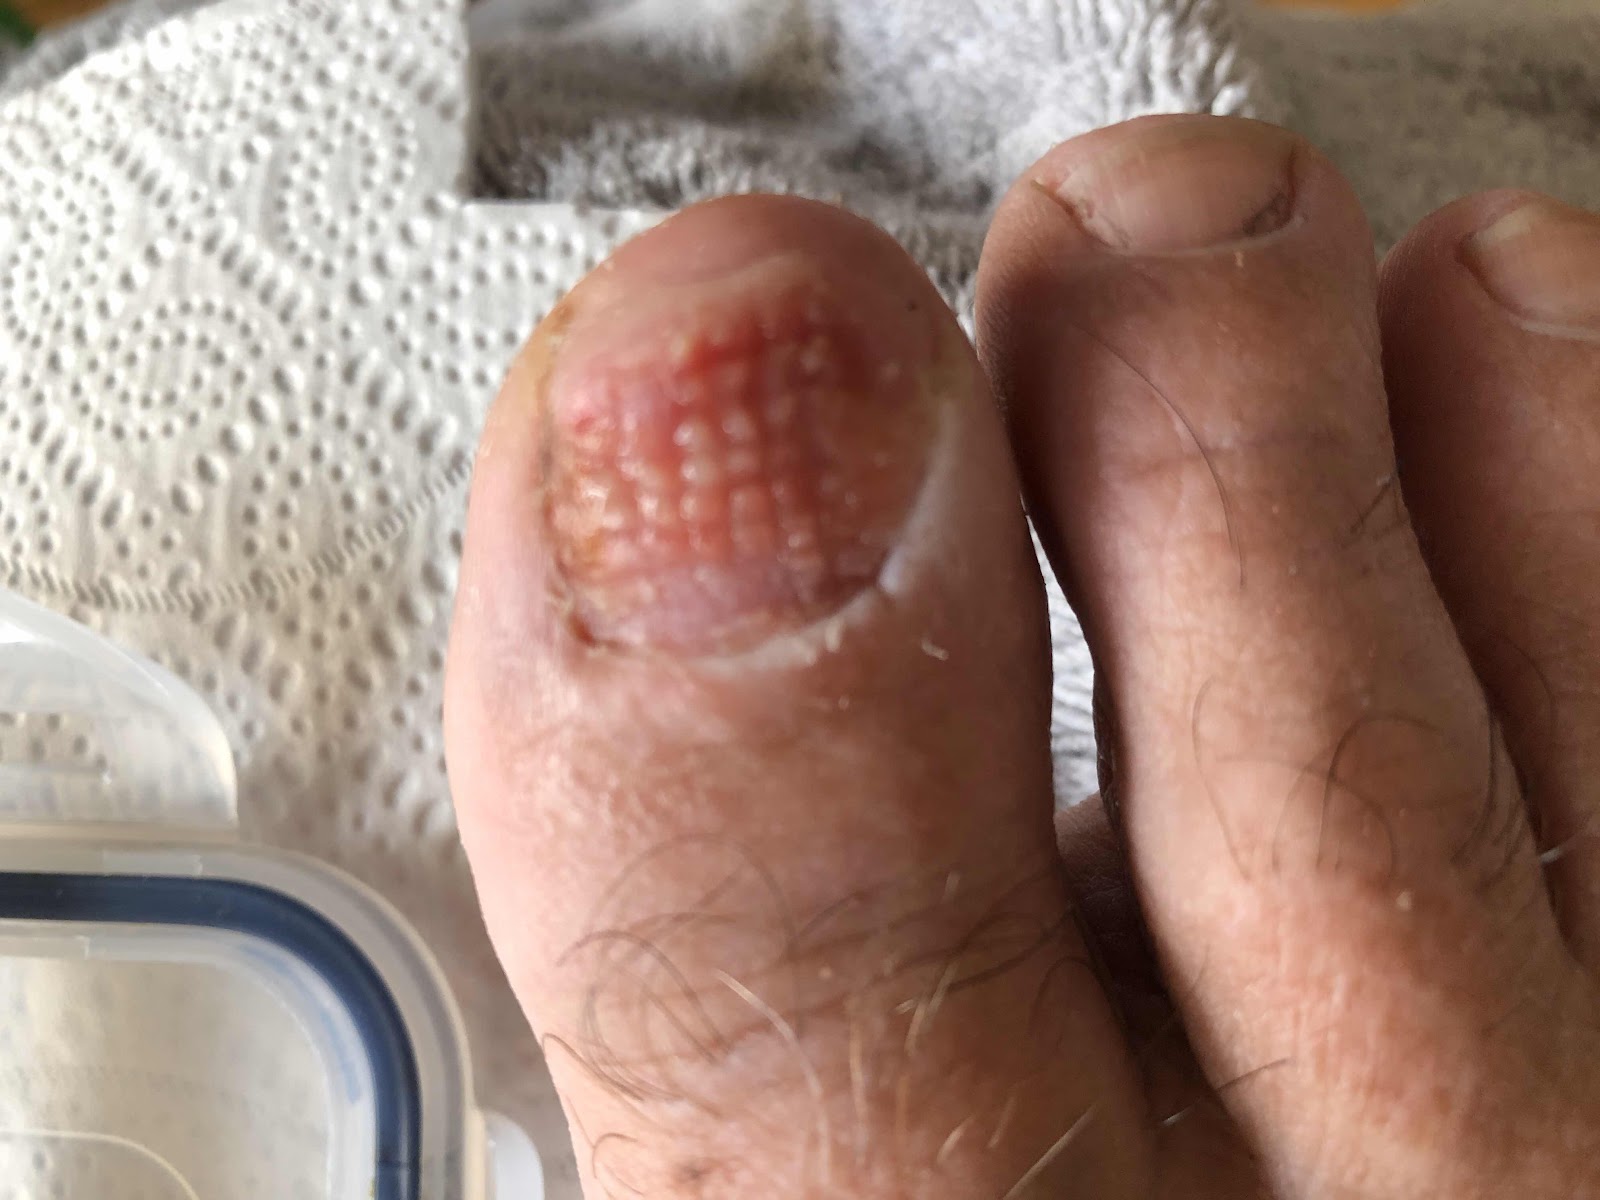
Luckily by the end of the rainy period, the daily temperatures had declined helping to make our physical exertion more bearable. The Bloke’s toe was healing well and daily dressings no longer required. If you don’t begin, you’ll never finish. We dreamed in exhausted and aching sleep of the trip to New Caledonia.


Hardstand 2020 - Week 3 Side Window Repair

Zofia is a very distinctive Jeanneau design with what we call ‘cats-eye’ side windows. They are responsible for giving the interior a very open and bright feel. However, from our reading of owner internet groups, it was apparent that eventually these big panes would need re-seating. The adhesive used to secure the panes was not UV stable and in time, once the decorative black paint trim deteriorated, so would the adhesive material it was intended to protect. 


We discovered a drip of sea water on the chart table during a particularly gusty passage from Port Hacking to Jervis bay en route to Tasmania. Westerlies that delivered red Australian topsoil across the Tasman Sea to New Zealand.  Our standing rigging looked liked it had rusted in a matter of hours although it was just caked-on salt spray and dust. It suggested we were at the start of problems. At the first opportunity we made a stop-gap fix with whatever Sikaflex we could obtain. We continued with our trip and resolved to properly research a ‘best repair’ and get it done at our next lift. We needed to remove and re-glue the panes then restore the protecting decorative painted border.

From the outset, we determined that re-painting the perimeters of the panes was way out of our league but that adhesive black vinyl could work well. We tested a small area ahead of our 3 month layover. The trick was making an appropriate template and cutting the material. The Bloke stewed over that for the whole 3 months of our absence. We’d already decided that we’d try UV stabilized VHB tape as an adhesive. We made sure that it was in our baggage so that as much as possible was to hand and ready for use.

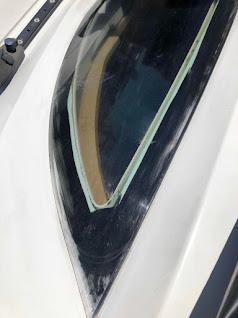
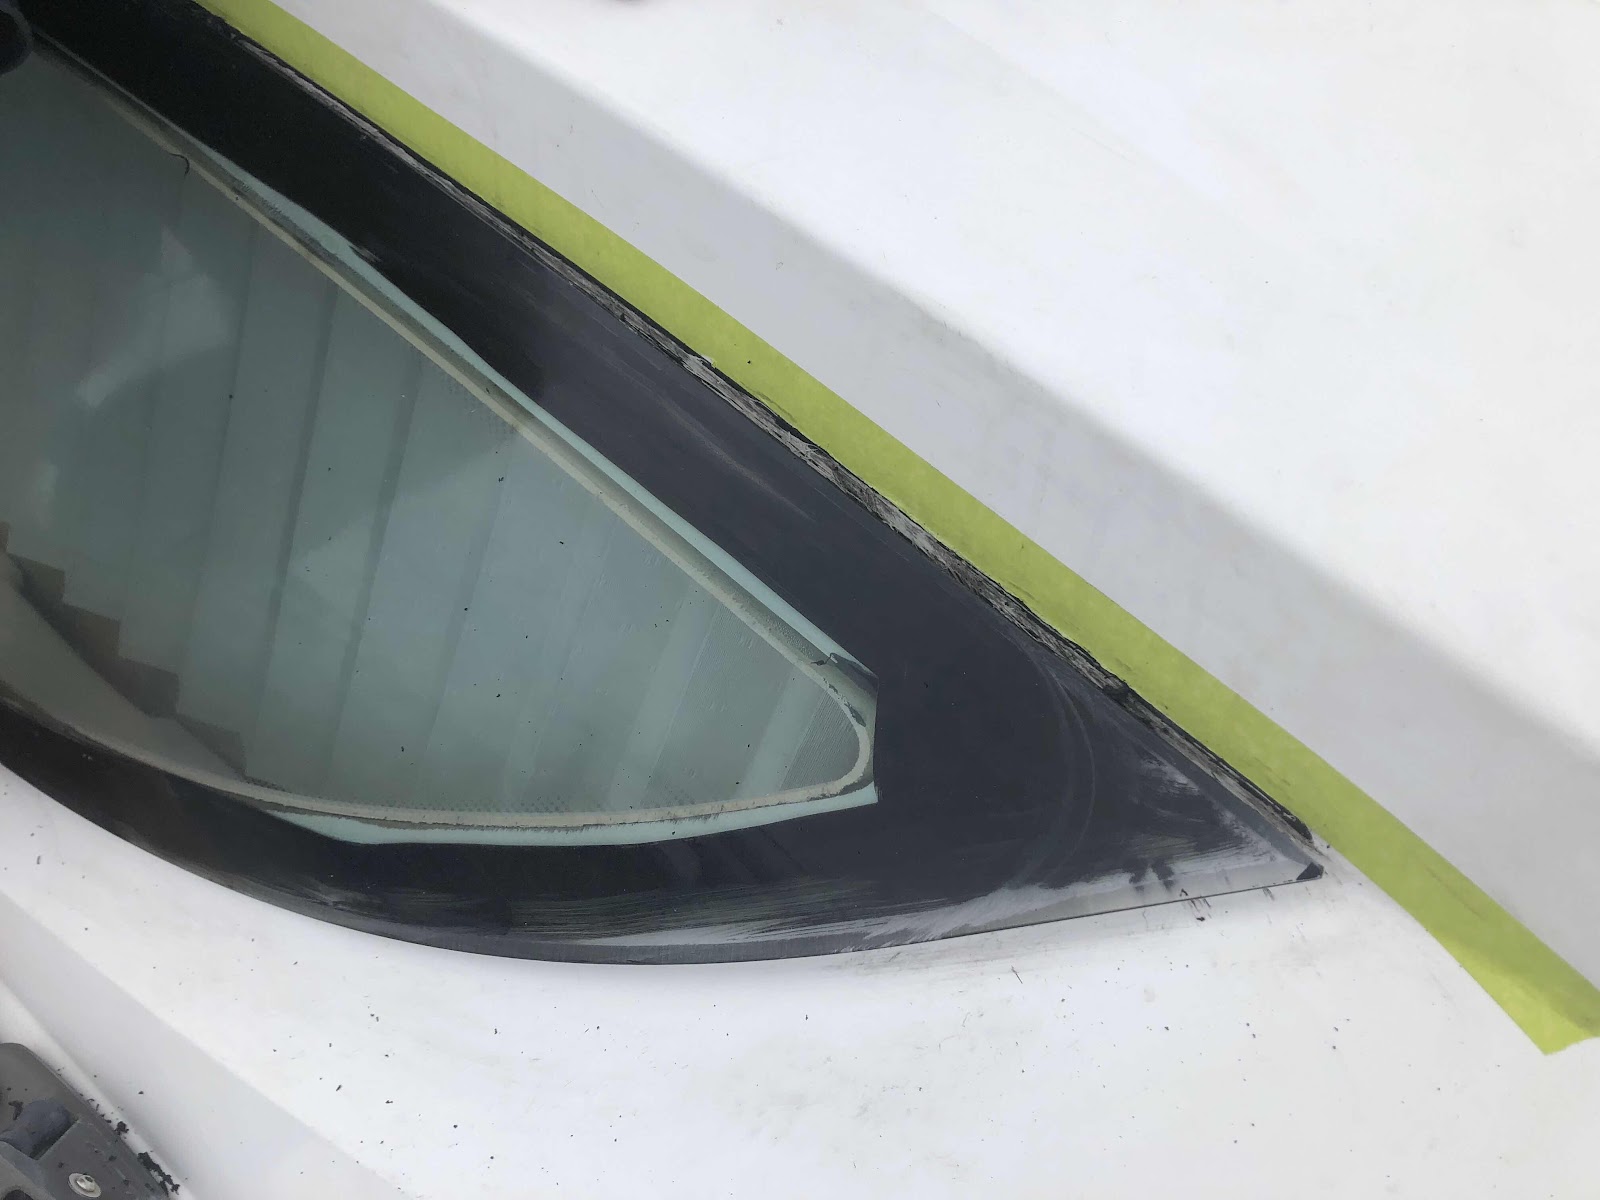
View of the first of 4 panes with the temporary Sikaflex layer removed
and most of the original paint trim cleaned off.

The rigging was still down so we had uninterrupted access to the side windows. The cabin interior was as dark as a bat cave. Since removing the temporary Sikaflex, the windows were now very leaky and required black plastic sheeting to keep afternoon tropical rain showers out. There was nothing for it but to get on with it.

Step 1 was to remove the windows so that the old adhesive could be removed and VHB (very high bonding) tape applied in it’s place. Glaziers use VHB tape to secure sheet glass to the facades of high rise buildings apparently. Sounded like a good thing.  The Bloke wrestled with a wire saw for over 2 hours trying to remove a single pane before giving up. It seemed that there was some kind of fiberglass lug that may have been there to help place the windows during construction. Gelcoat damage was now a real possibility. Step 1 became an immediate dead end and was quickly re-evaluated. How it was that others removed their panes without either breaking them or damaging their hull shall remain a mystery to us.
 
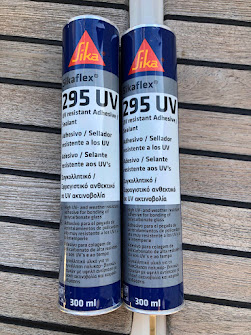
So onto Plan B. We were always going to totally re-fill the gap between the panes and the hull. The panes are not actually flush with the hull so there is a narrow channel behind the pane. We had observed this channel is filled in newer models. Pragmatically we’ve left the original adhesive and reinforced it with an extra adhesive layer above it. The VBH tape is now stored with our ever-growing collection of spare parts.  Instead we’ve used a task specified UV-stable Sikaflex and applied the 2 primers/ activators suitable for binding to gelcoat (the hull) and to polycarbonate  (the window). This was one hell of a messy task and one the Bloke had hoped to avoid by using the VBH tape.  We knew it would be messy but were still surprised. Everything is toxic too and timing critical as different elements ‘go off’ at different times. We waited for a day with less than a 50% chance of rain.

Sikaflex 295 UV

Sika Primer & Sika Aktivator


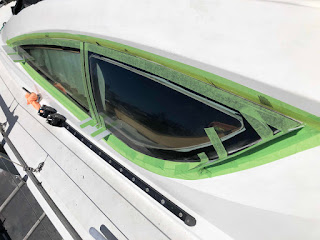
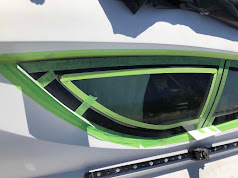
The Bloke taped the areas around the windows and created dams at the bottom to catch the runny activator. The taping proved to be far less than optimal. It might have been better if totally draped as if for surgery. Escaping dribbles and drops and smears found their way everywhere. 


The various ‘gluing’ elements are nasty, nasty chemicals so the Bloke got suited up for the task. The various elements ‘kick’ at specified times so everything had to be prepared ahead and run the whole process ‘on the clock’.  


We were reminded of Dr Zeus and the red spot. The black stuff got on your glove, then on a cloth, then on the hull and as fast us you tried to clean up it would smear a new surface - probably just like a Coronavirus!
 
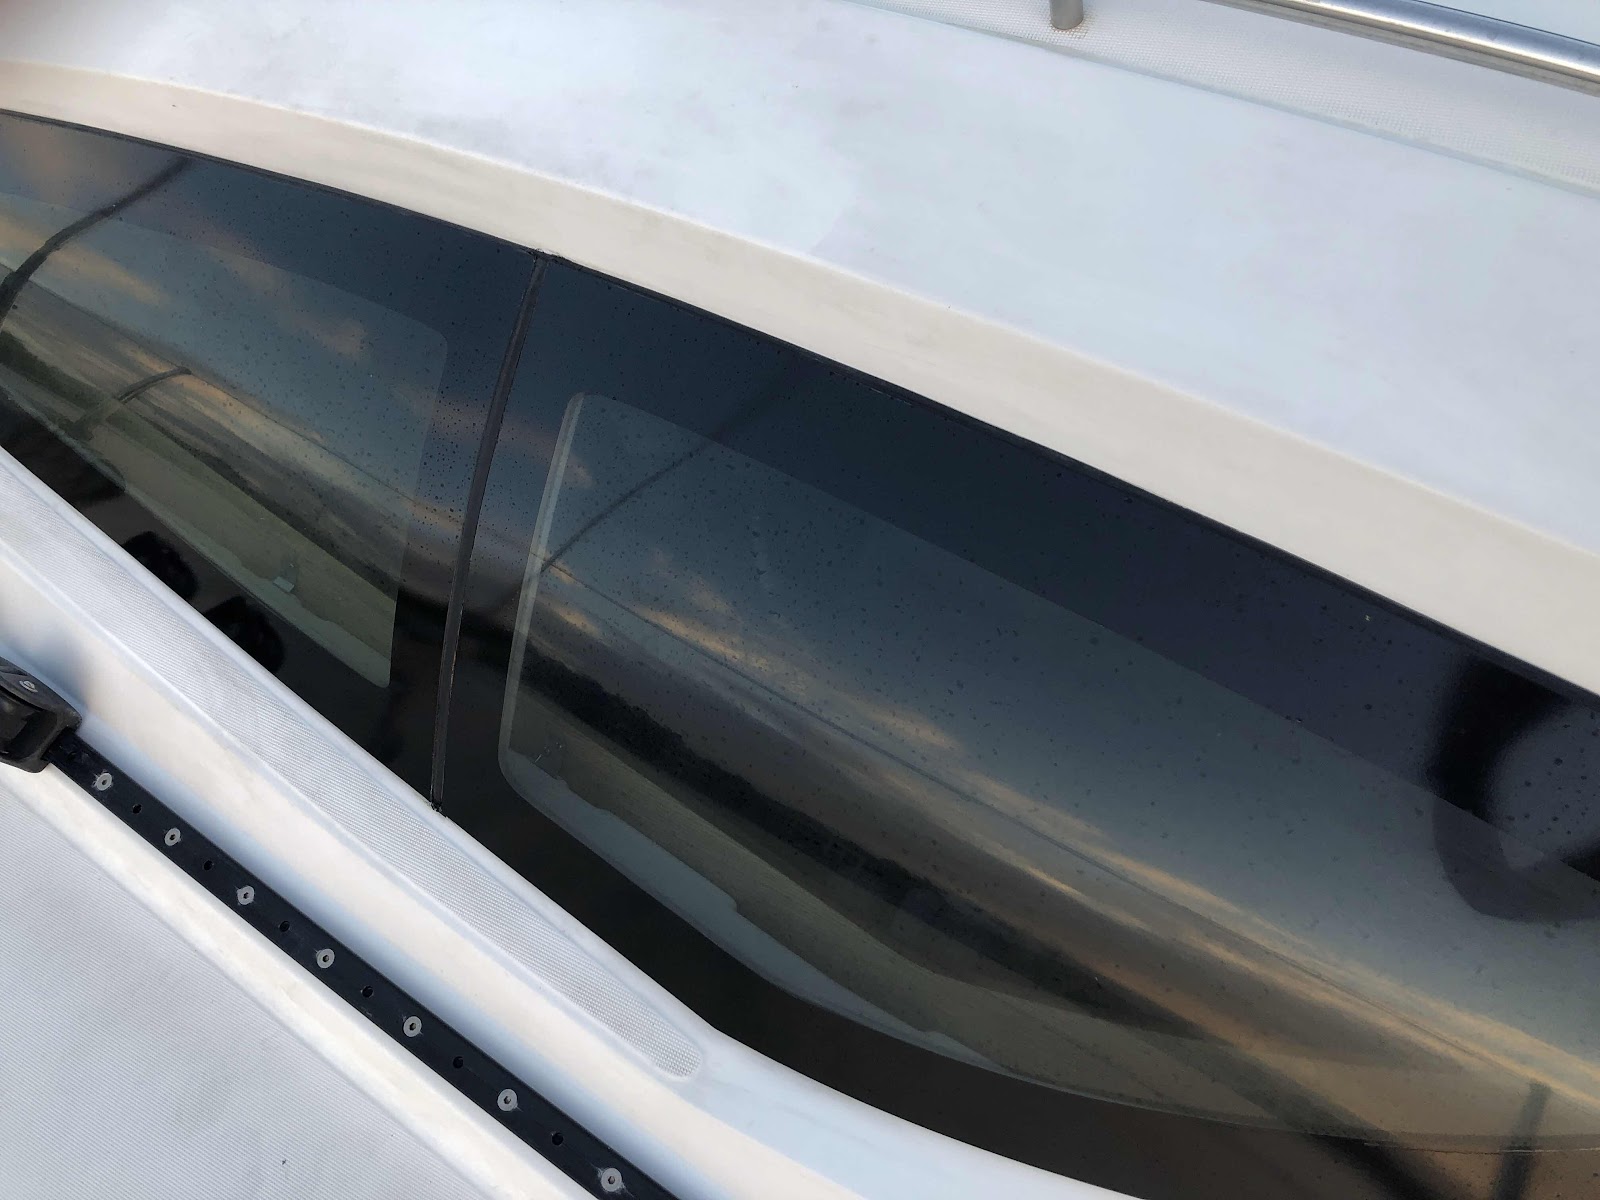
Step 2 involved cutting and applying black adhesive vinyl to form the cosmetic, and more importantly, protective border around the windows.  
 
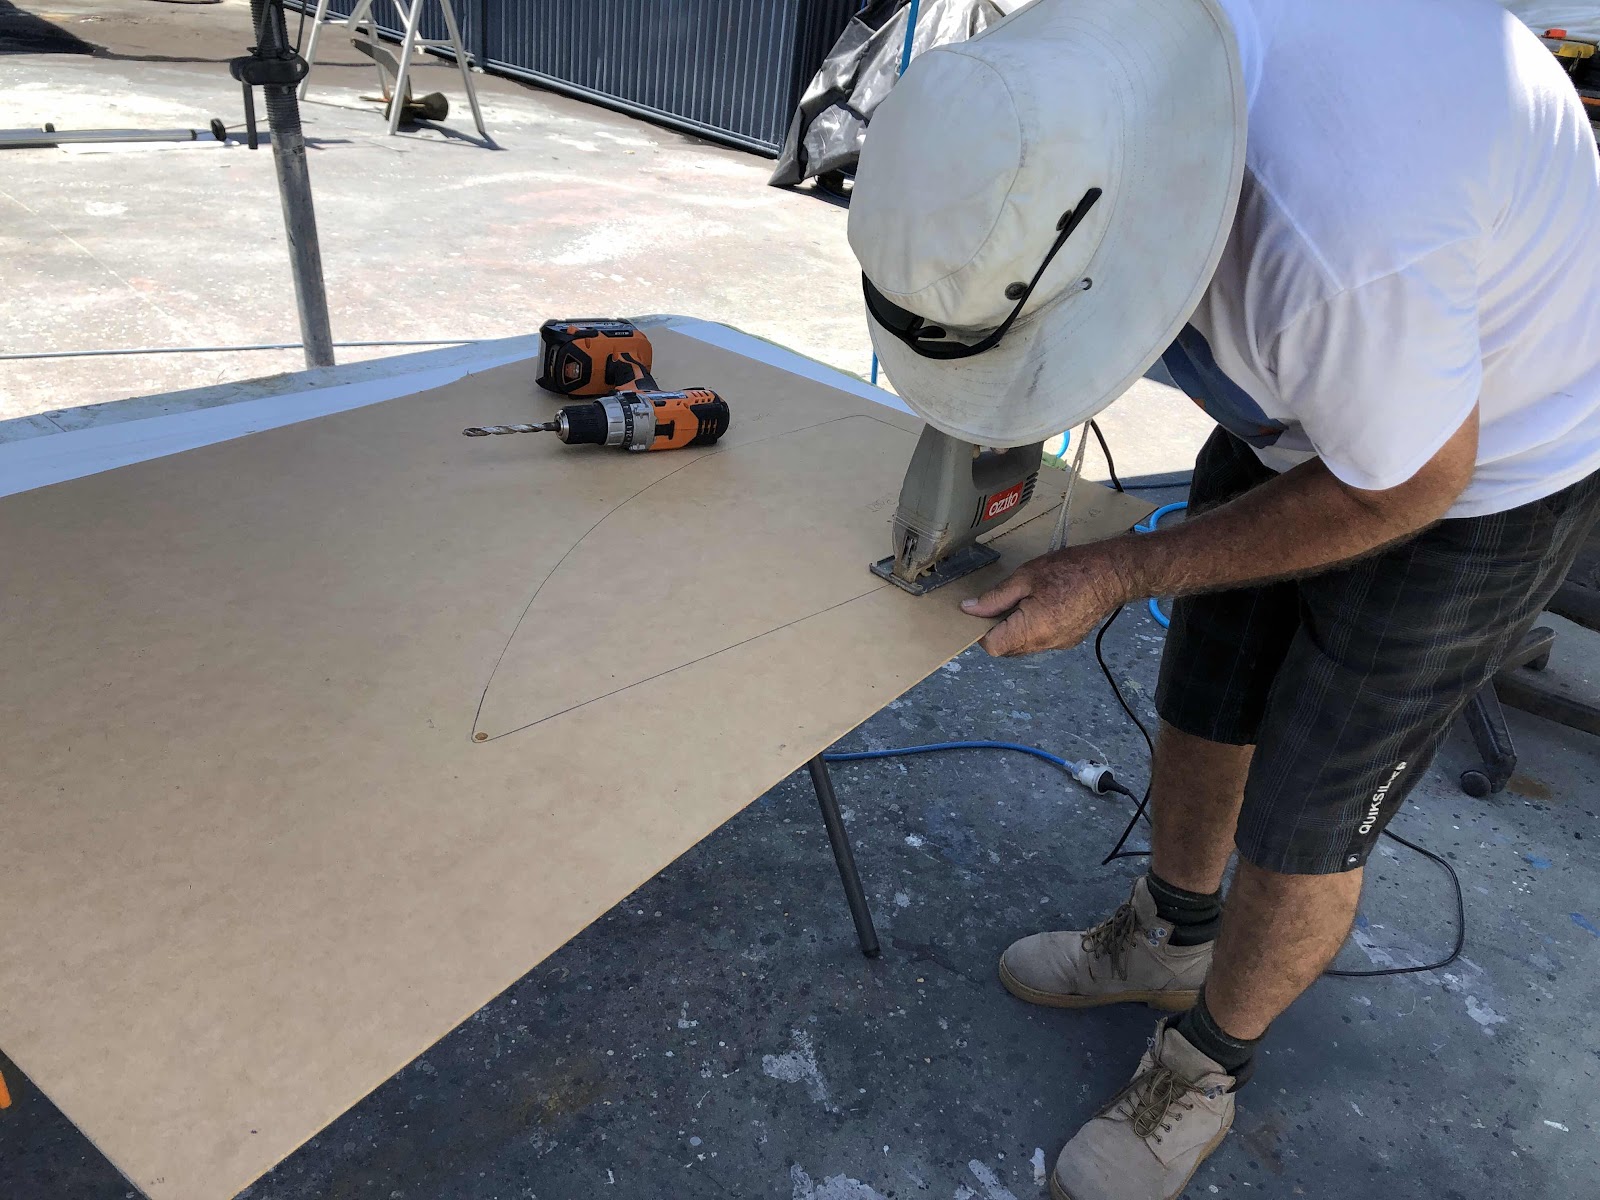
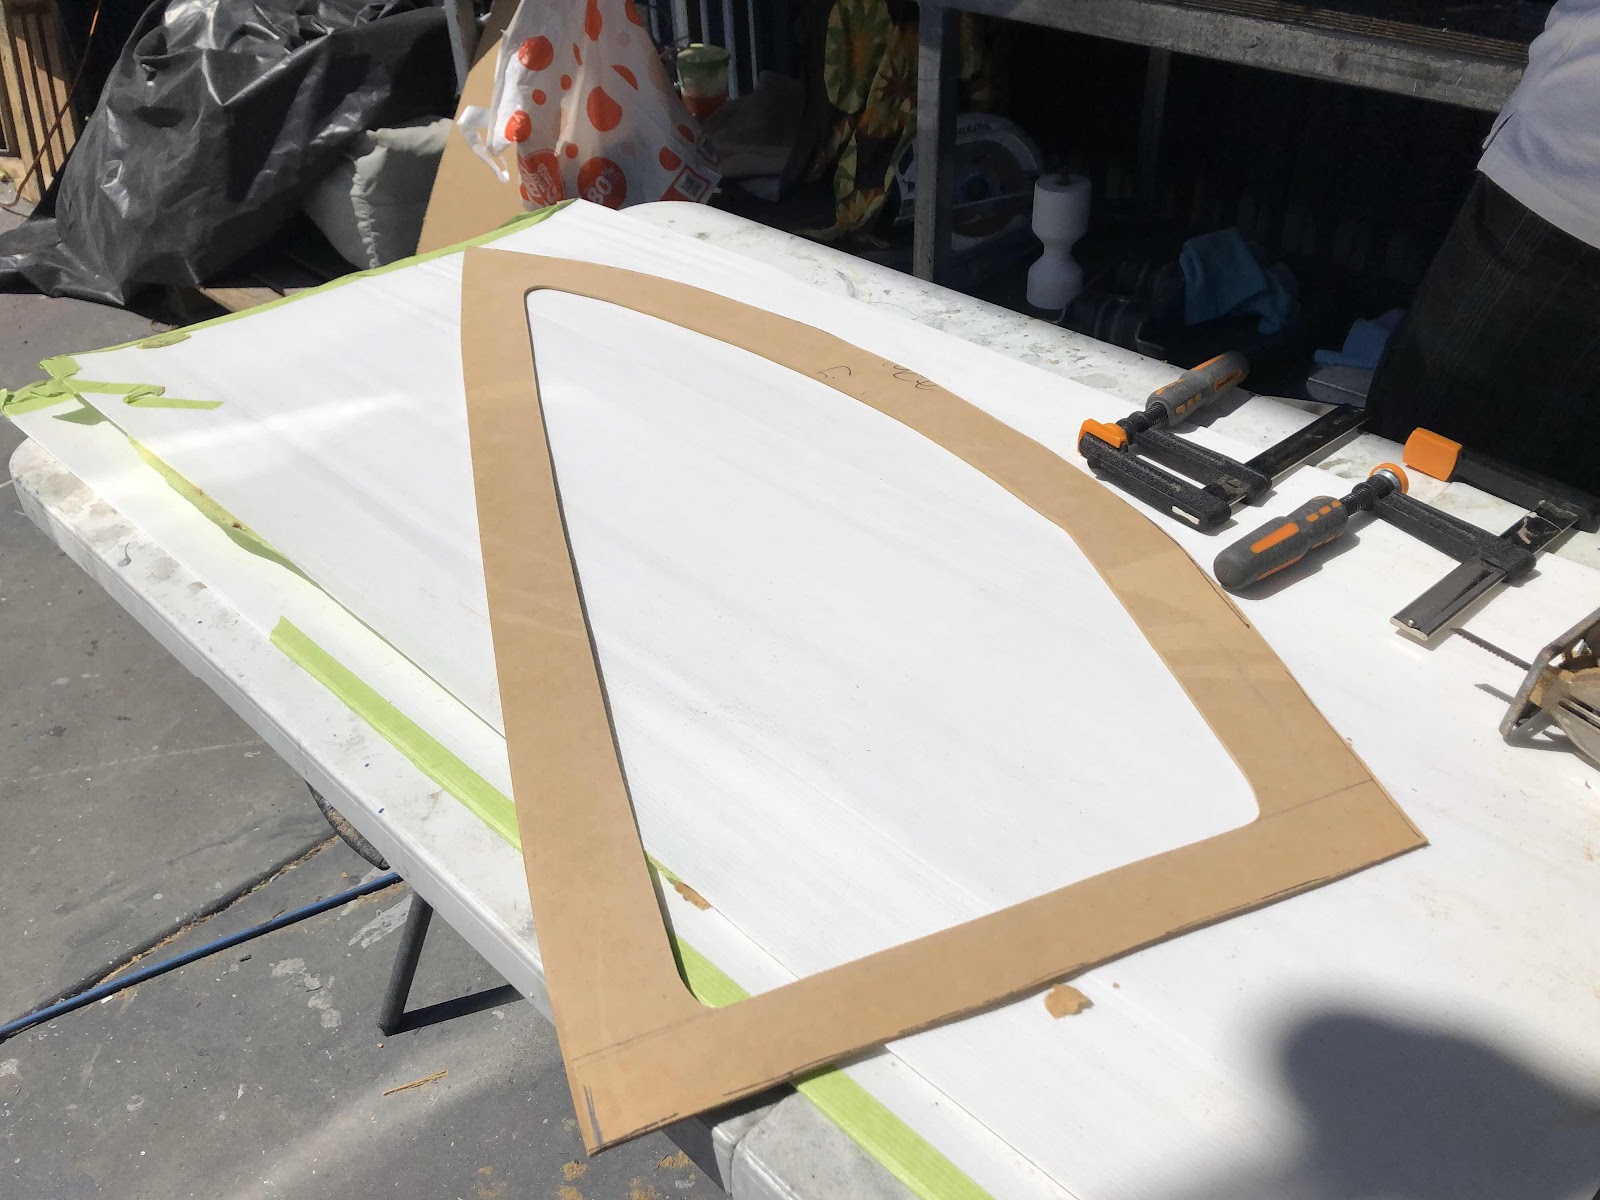
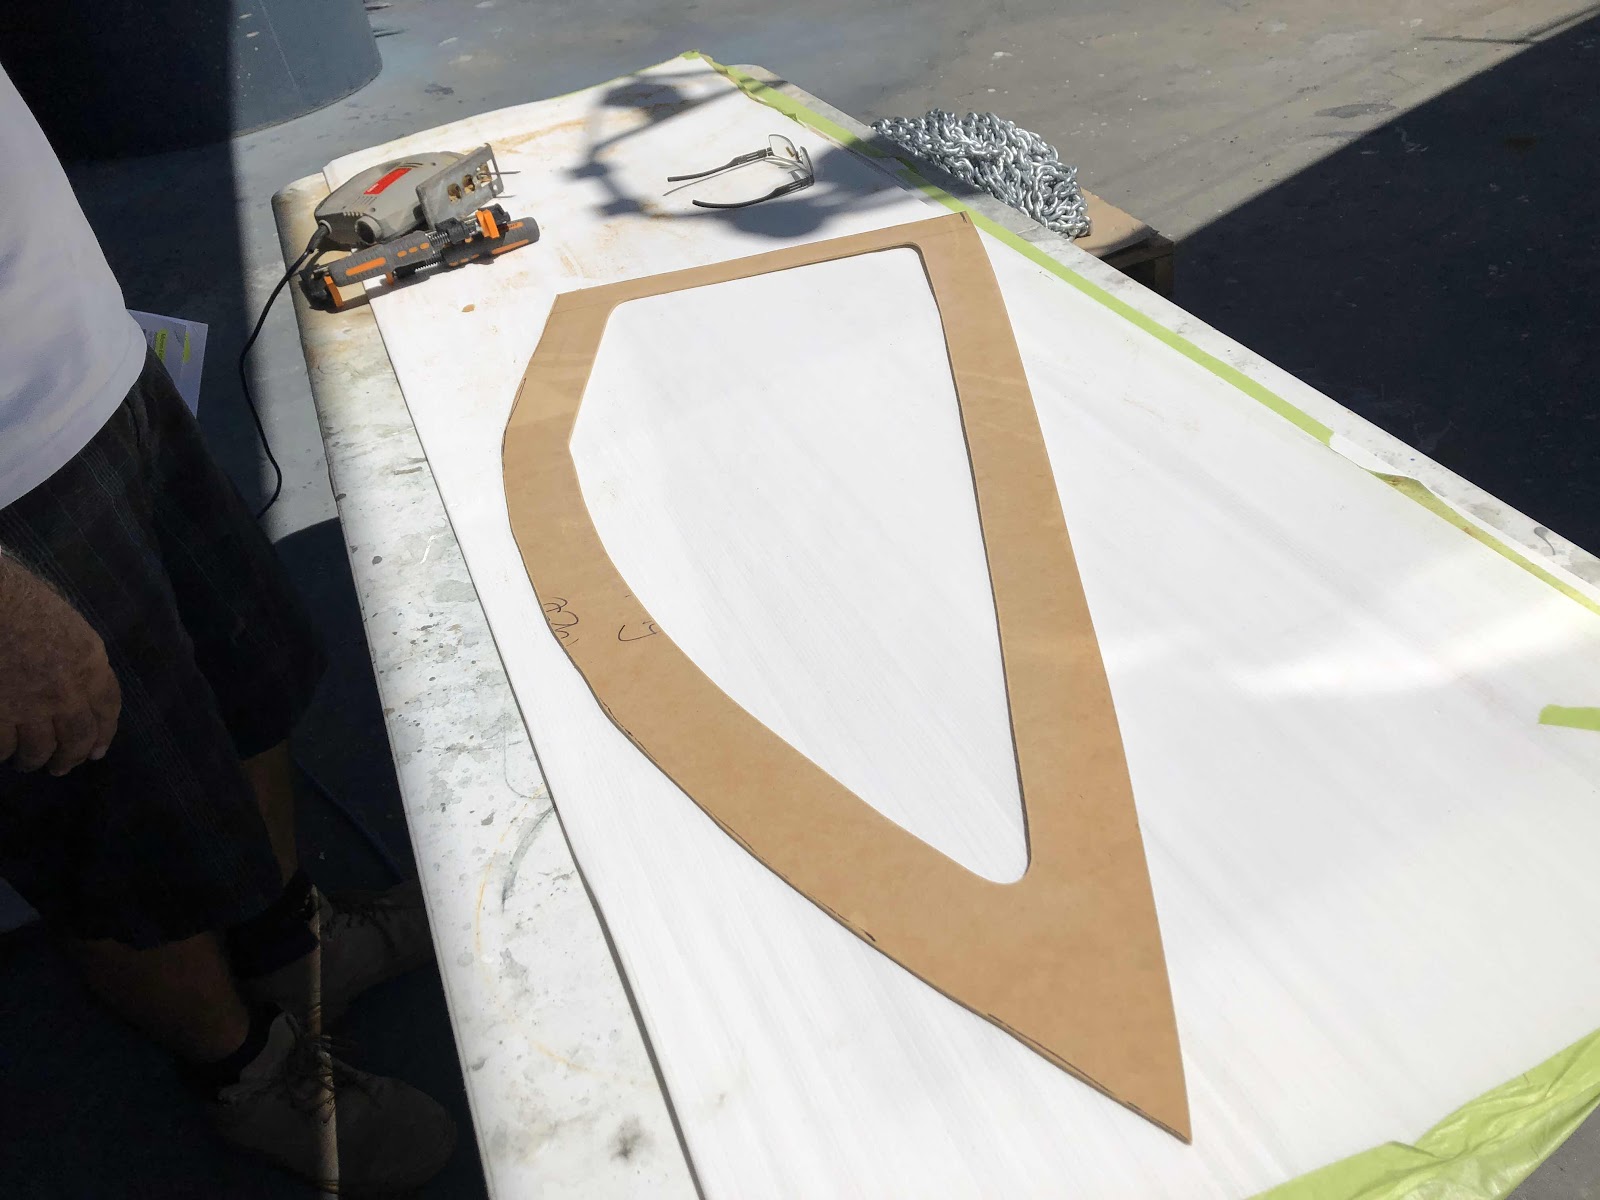
Creating the 2 cutting templates took a couple of days. The bloke began by drafting with paper then cutting a sheet of particle board. Up and down the steps he went declaring the mantra ‘Measure twice, cut once’!
 

 Drafting up the cutting templates
 
Using the vertical mid-point of the cats-eye was a helpful reference point for aligning the cut-out area of the templates. We used a stanley knife to cut inside the template frame. Since the vinyl was at this point a rectangle with the window shaped middle cut out, we found that it was easier to trim off the excess around the outer borders once in position. Of course, learning on the job and perfecting the technique meant that that we went through a bit more vinyl than strictly necessary. The local sign shop saw a forlorn Bloke reappear a couple of times to repurchase ‘just another metre please’.  


We learned that liberal spraying of the windows as well as the sticky side of the vinyl changed the characteristics of the vinyl into something very manageable. We eased the excess water and air bubbles out using a grouting float and soft cloth.  We did have a couple of bloopers; notably when we tried applying the vinyl after the sun was fully risen and begun heating the windows. The vinyl bubbled too much so we condemned it and bought another strip.


With still a bit of cleaning up to do off the gelcoat - we think it’s an acceptable job aesthetically. Is it water tight? From the rain we’ve experienced to date, we are pretty confident that we’ve ‘nailed it’ but are still to confirm success in ocean conditions.  Time will tell.


Post script : Watertight so far as at August 2020.

Thursday, April 23, 2020

Hardstand 2020 Week 1

Use it or loose it they say. It became immediately evident that our fridge was not operating properly. We’d turned it off ahead of our departure in December. The compressor  was running nonstop but the temperature was not coming down. We faced the prospect of warm beer, no ice for sundowners and worse still, my shopping was at risk of becoming landfill. Bags of ice were purchased as a stopgap and as much food as possible stuffed into the Engles which we run as a freezer.

Calls were made and messages sent to cruiser contacts. Who could we get hold of to save us from this predicament? One much praised boat refrigeration practitioner, when contacted, could fit us in on April 14th. How would that suit?  Hmmm 6 weeks. No thanks. 

The search continued for a couple of very hot and humid days which certainly didn’t help at all. Whispers were starting around the boat yard about the potential for shut downs which fed our anxiety. And then we struck the jackpot - Laurie from DC Fridge (0413 684 658). He happened to be down the road at another marine facility (Riviera) and would call past in 10 minutes. And he did!

We hurriedly emptied the cupboard under the sink and adjacent to the below-bench fridge. We’d already removed the panel to provide access to the compressor to help with ventilation in the oppressive conditions. We were so relieved to greet the slim man who would need to be Houdini's twin to access the compressor etc. 

Laurie diagnosed that it was likely that the refrigerant gas had leaked out. Turning the empty fridge off had allowed the gas to warm and expand and escape through a tiny undetectable leak. We’ll leave the fridge operating in future. Unable to detect any leaks at the compressor end, he suspected our somewhat battered up looking evaporator box. The paint had flaked off in places and the aluminum edges were wonky. He didn’t have his refill gas with him but he’d leave and get it. Our hearts sank. So near yet so far we thought. He’d leave and not return - but he left his tools.


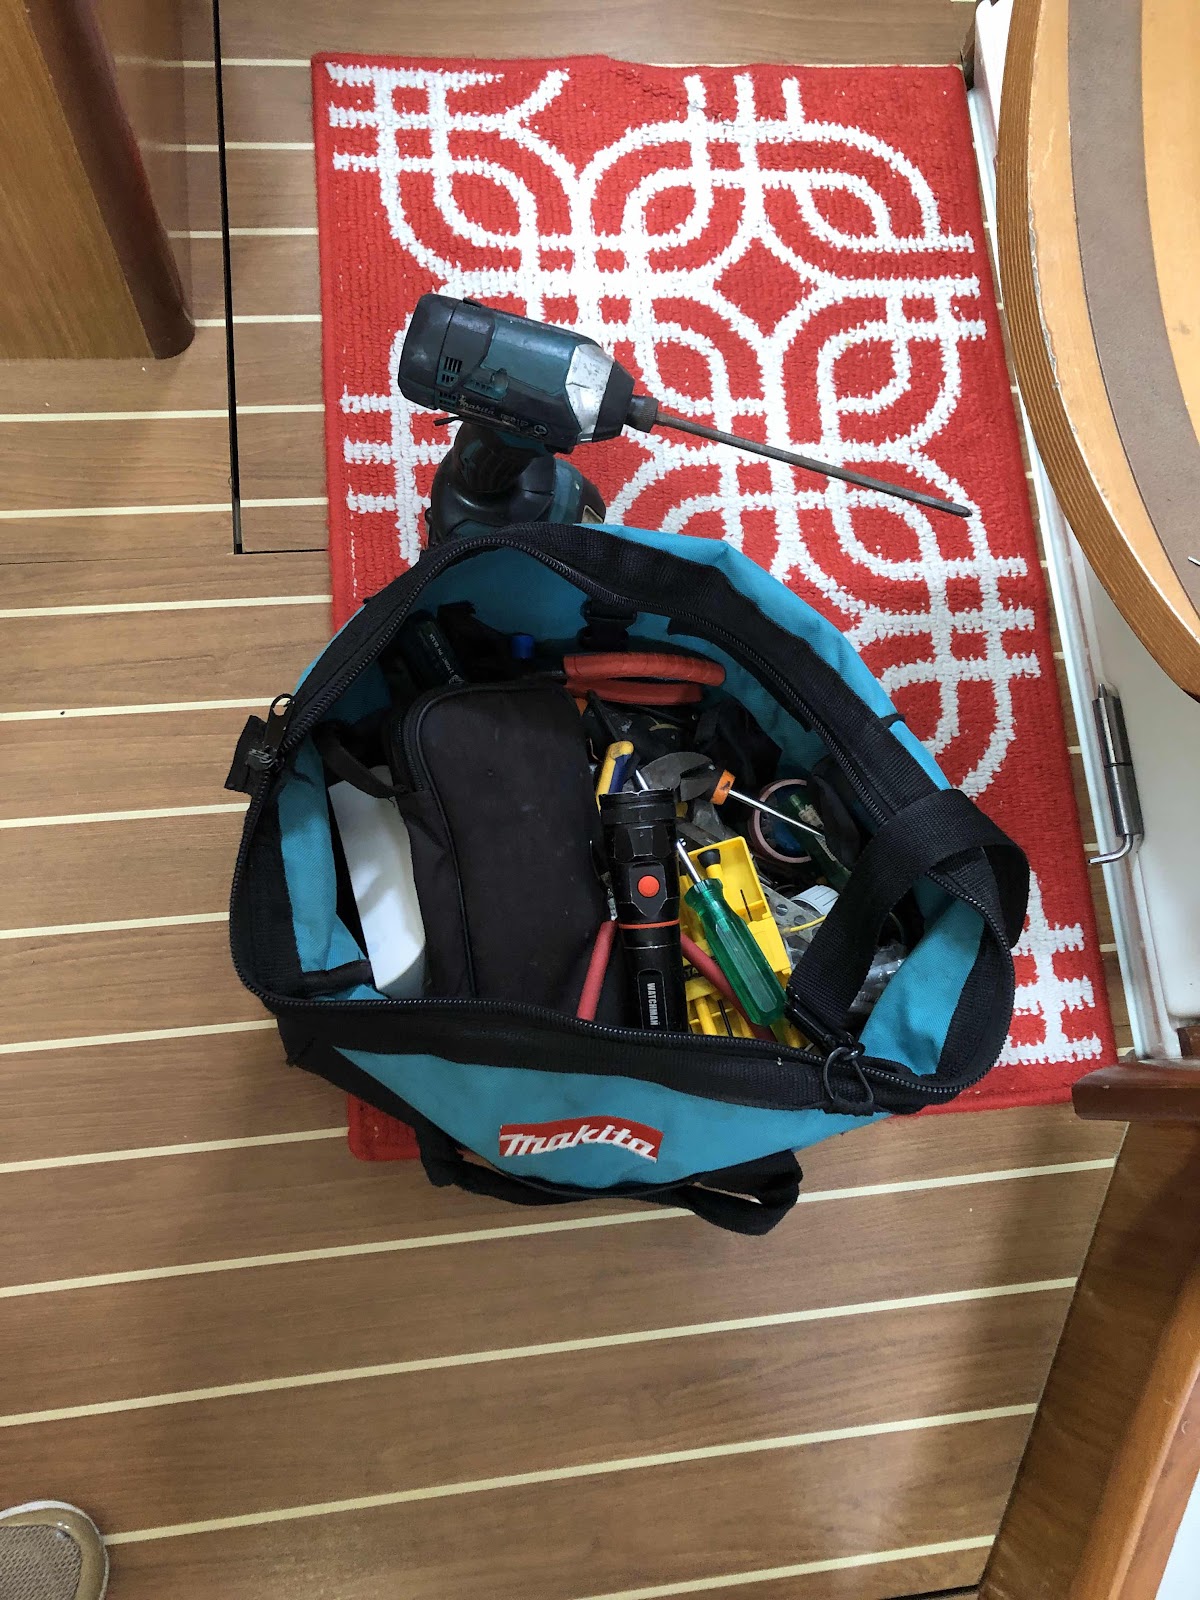
The toolbag left as re-assurance of return!

Laurie duly returned and re-gassed the fridge. It might be sufficient to keep us going for a long or a short time. The alternative? Replace the evaporator plate. He had one in stock. Great! we declared. No supply chain issues and we certainly weren’t prepared to entertain refrigeration issues in New Caledonia.


Laurie returned, as promised the following Tuesday. The stopgap re-gas worked a treat so we could enjoy cold beer and icy gin and tonic at the end of a work day and that’s how we spent the first unexpected sum of $600 for Hardstand 2020.


Tuesday, April 21, 2020

Bowsprit for Zofia


Having purchased a second hand "Code zero"eand never used, it we decided to fly it on a recent passage to Fraser Island. It was a great experience, the sail just worked wonders and gave us extra speed. So we then started to investigate how we should set up a bowsprit so this magic sail could always be available for use.

We investigated a number of possibilities, which in the end, came down to three options.

OPTION 1
Diagram 1
To build or purchase a simple pole that would be attached to the bow. Selden make an off the shelf pole (Diagram 1) and several Jeanneau owners have home made variations of this design. Ironically Zofia was purchased with just such an attachment. It was intended for flying a spinnaker. We sold it almost immediately because of it's key disadvantage - they obstruct the use of the anchor locker.


OPTION 2
Diagram 2
Purchase a ready made bowsprit. Of those available, the Swedish BÃ¥tsystem design (Diagram 2) is the most attractive and very functional. This bowsprit can be tailored to the boat and has flexible design for sail attachments and anchor placement. The issue for us with this option was the cost. This was not only the purchase value but also the shipping costs.


OPTION 3
The final option was to design our own bowsprit and get it constructed in Australia. After a lot of discussion, this is the way we choose to go. So started the process of designing a bowsprit and getting quotes for its construction.


The first step was designing the bowsprit. The critical decisions were,  where to attach the bowsprit to the hull and how long it should be. For our boat and in our opinion, to maintain the line of the hull, the bowsprit needed to attach to the hull at the leading edge of the fairleads of the forward mooring ropes. To get the Code Zero sufficiently separated from the main headsail, the bowsprit had to be 1500 mm or 1.5 meters long. Once these parameters were set the rest was simple design juggling to get supports in the correct place so the anchor rollers would function and the anchor would not interfere with the bowsprit. The diagram below summarizes our final solution to the bowsprit problem.


Final design


Anchor roller assembly


QUOTATIONS

Having designed the bowsprit it was time for quotations. To do this we sent the following email, along with the diagrams above, to 7 different metalwork fabricators.

Please find attached the design of the bowsprit for our yacht. We envisage the main frame being constructed from approximately 42mm stainless steel that is 3mm thick. The inner supporting base would be approximately 34mm stainless steel. As discussed if you can see better ways of doing any part of the design then please consider this in your quotation. Finally we would be responsible for the fitting so you do not need to consider this when quoting this job.

Only 5 replied and their quotations varied from $3,000AUD to $1,000AUD for this job. We found this extremely surprising given the detail of the specification. After much deliberation we decided to employ Choice Stainless, a resident business at 'The Boat Works', Coomera, Queensland, to do the work. We were familiar with their standard of work and because they were on site already it seemed the best option. In the end the work cost just in excess of $4,000AUD, however, this included the fitting of the bowsprit to the boat, incorporating a support back to the bow and small adjustment in design to incorporate a new larger anchor that we purchased prior to the work commencing.

WORK COMMENCES


Images of Gene fitting the major frame. Great care was taken to maintain the line of the hull with Gene deciding to mount it slightly lower down the hull than we had specified. This was a good decision.


Once the major frame was constructed Gene fitted the other supports as specified. On his recommendation we removed the small support at the front of the bowsprit and took the central pipe through to the forward end of the bowsprit. This involved less welding and produced a better result, in that it produced a bigger space through which the anchor could rotate when being deployed or recovered.

Finally, Gene moved the small forward hull supports further forward than we specified. This gave greater stability, and although increasing the size of these structures, it was a good modification.


Image of major hull support. The workmanship was superb. All fastenings were internal with no visible nuts nor bolts. Internally large steel plates backed all supports.
Backing plate for major hull support

Forward hull support
Backing plate for forward support
Backing plate for Bow-to-hull support
  

Almost finished. This image shows the bowsprit in position and fixed to the bow. You should note the three small brackets atop of the structure. These are were to carry the anchor roller assemble and the spare roller. Originally designed to be below the supports, they were moved to the top to achieve better anchor alignment.

Also note the support to the bow. This was modified to be a single molded structure, welded to the bowsprit and bolted through the bow. The hull molding of this support was simple genius.


Image showing the anchor assembly in position. Once in place it was decided we needed a small rolled piece of stainless steel at the front of the anchor assembly to prevent the anchor chain from falling of the rollers. The alignment of anchor chain, anchor and the anchor locker entry was achieved with spacers ether side of the roller assembly. This required some trial and error adjustments being a very bespoke piece of work.


Chain guide on anchor assembly

The final outcome was fantastic and at the time of writing we have been able to use the anchor and it all worked VERY well. Due to travel restrictions associated with Covid-19, the real test of how it performs flying the Code Zero is yet to determined.