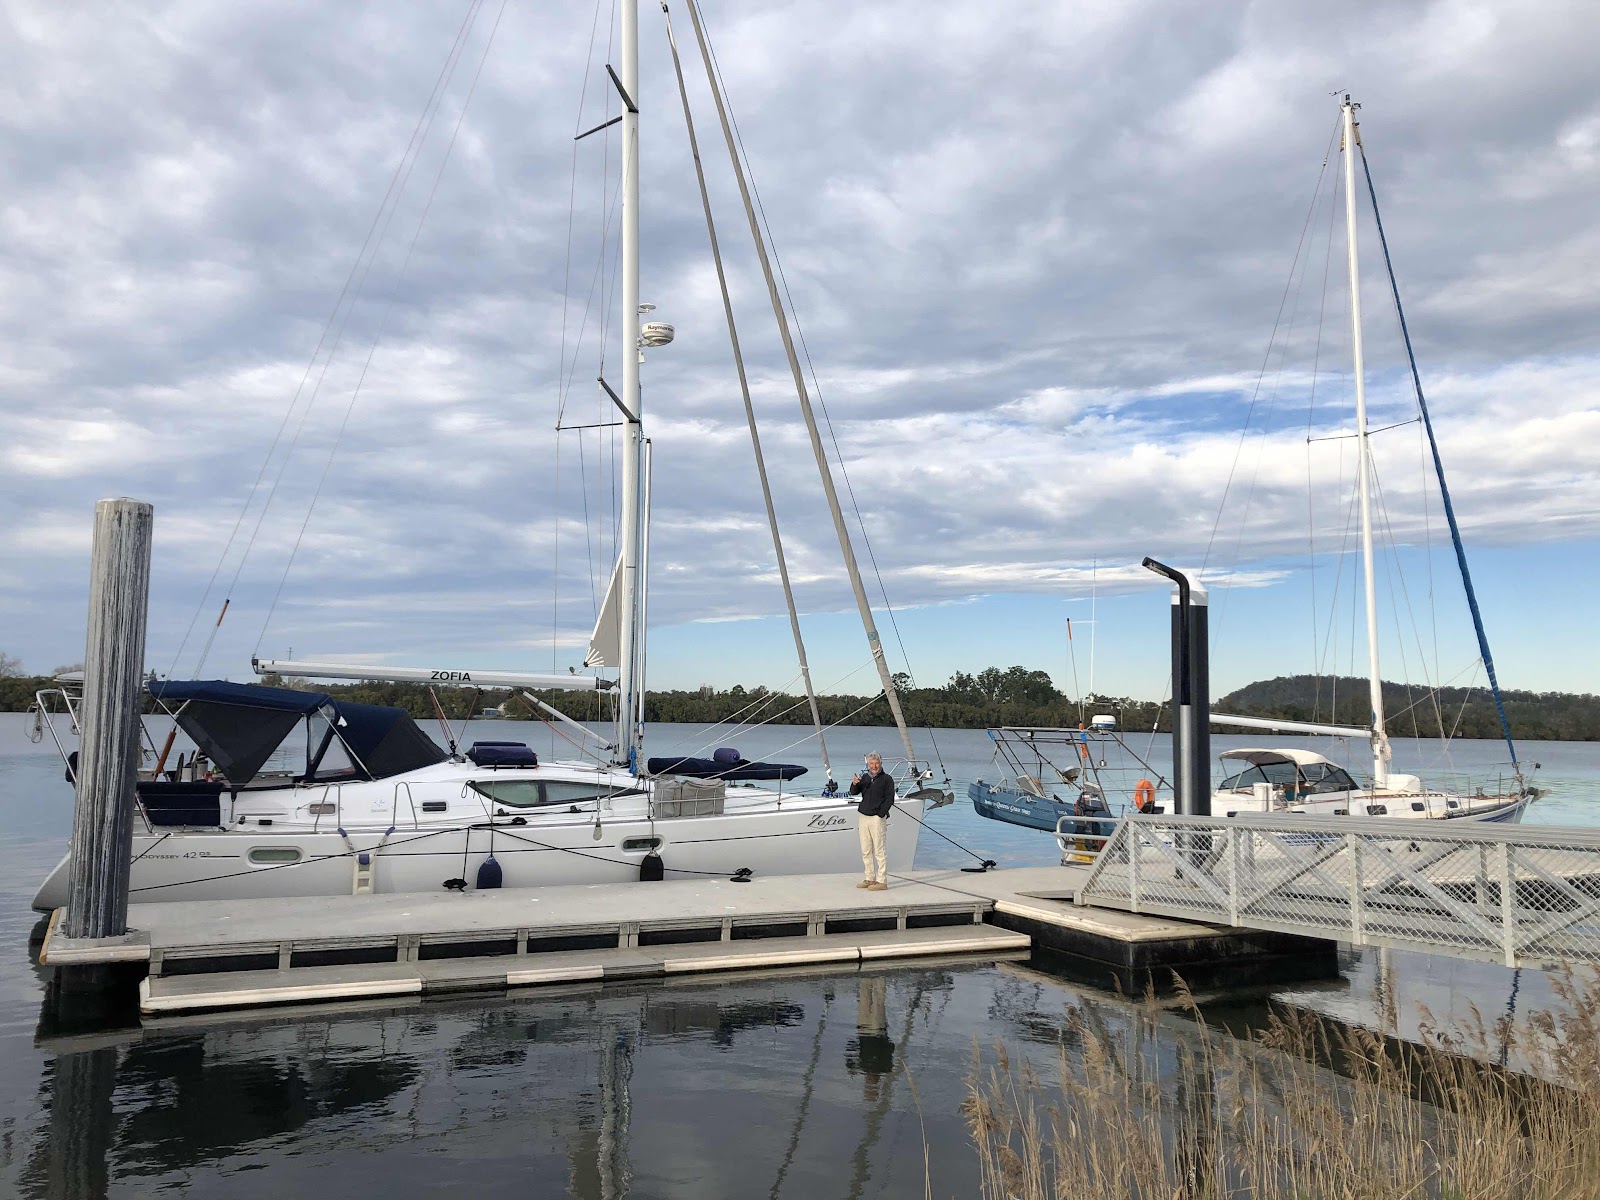
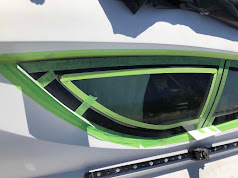
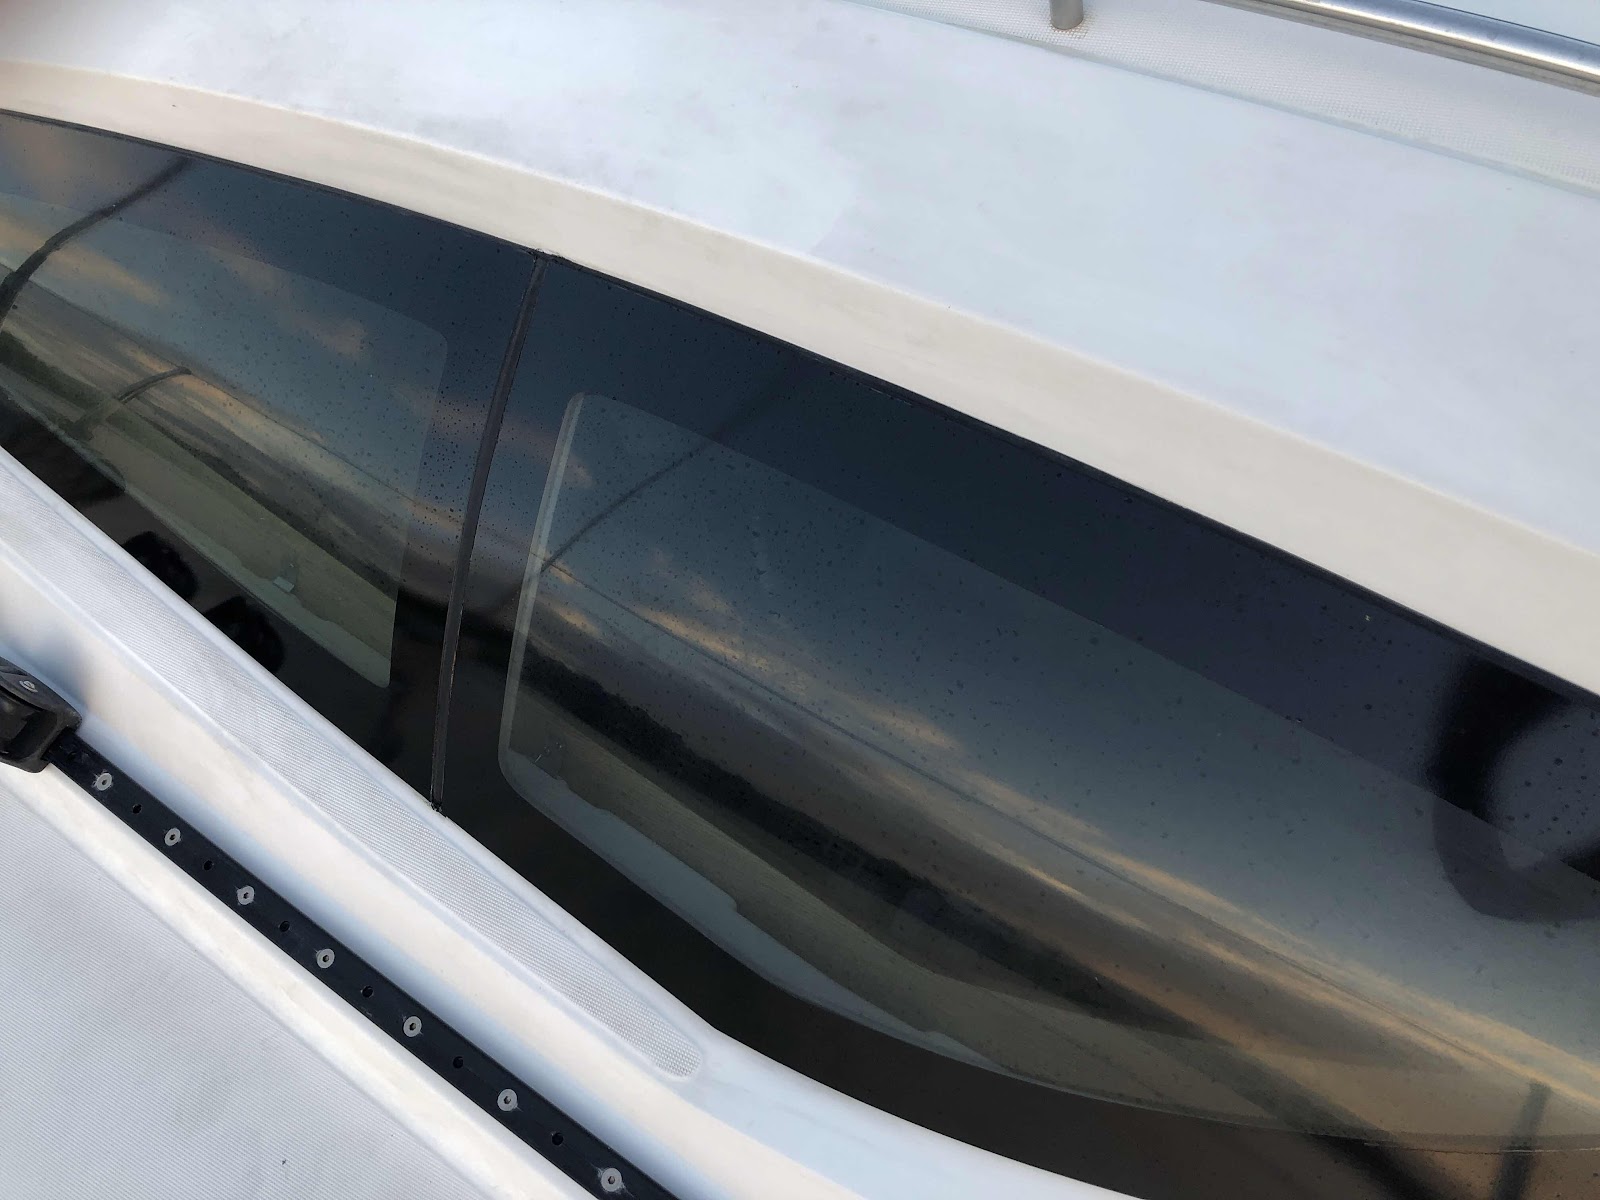
Zofia is a very distinctive Jeanneau design with what we call
‘cats-eye’ side windows. They are responsible for giving the interior a
very open and bright feel. However, from our reading of owner internet
groups, it was apparent that eventually these big panes would need
re-seating. The adhesive used to secure the panes was not UV stable and
in time, once the decorative black paint trim deteriorated, so would the
adhesive material it was intended to protect.
We discovered a drip of sea water on the chart table during a
particularly gusty passage from Port Hacking to Jervis bay en route to
Tasmania. Westerlies that delivered red Australian topsoil across the Tasman Sea to New Zealand. Our standing rigging looked liked it had rusted in a matter of hours although it was just caked-on salt spray and dust. It suggested we were at the start of problems. At the first
opportunity we made a stop-gap fix with whatever Sikaflex we could
obtain. We continued with our trip and resolved to properly research a
‘best repair’ and get it done at our next lift. We needed to remove and re-glue the panes then restore the protecting decorative painted border.
From the outset, we determined that re-painting the perimeters of the
panes was way out of our league but that adhesive black vinyl could work
well. We tested a small area ahead of our 3 month layover. The trick
was making an appropriate template and cutting the material. The Bloke
stewed over that for the whole 3 months of our absence. We’d already
decided that we’d try UV stabilized VHB tape as an adhesive. We made
sure that it was in our baggage so that as much as possible was to hand
and ready for use.
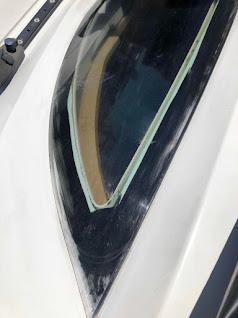
View of the first of 4 panes with the temporary Sikaflex layer removed
and most of the original paint trim cleaned off.
The rigging was still down so we had uninterrupted access to the
side windows. The cabin interior was as dark as a bat cave. Since
removing the temporary Sikaflex, the windows were now very leaky and required black plastic sheeting to keep afternoon tropical rain
showers out. There was nothing for it but to get on with it.
Step
1 was to remove the windows so that the old adhesive could be removed
and VHB (very high bonding) tape applied in it’s place. Glaziers use VHB
tape to secure sheet glass to the facades of high rise buildings
apparently. Sounded like a good thing. The Bloke wrestled with a wire
saw for over 2 hours trying to remove a single pane before giving up.
It seemed that there was some kind of fiberglass lug that may have been
there to help place the windows during construction. Gelcoat damage was
now a real possibility. Step 1 became an immediate dead end and was
quickly re-evaluated. How it was that others removed their panes without
either breaking them or damaging their hull shall remain a mystery to
us.
So onto Plan B. We were always going to totally re-fill the gap between
the panes and the hull. The panes are not actually flush with the hull
so there is a narrow channel behind the pane. We had observed this
channel is filled in newer models. Pragmatically we’ve left the original adhesive
and reinforced it with an extra adhesive layer above it. The VBH tape is
now stored with our ever-growing collection of spare parts. Instead
we’ve used a task specified UV-stable Sikaflex and applied the 2
primers/ activators suitable for binding to gelcoat (the hull) and to
polycarbonate (the window). This was one hell of a messy task and one
the Bloke had hoped to avoid by using the VBH tape. We knew it would be
messy but were still surprised. Everything is toxic too and timing
critical as different elements ‘go off’ at different times. We waited
for a day with less than a 50% chance of rain.
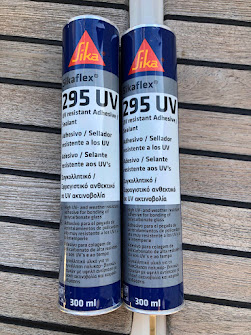
Sikaflex 295 UV

Sika Primer & Sika Aktivator
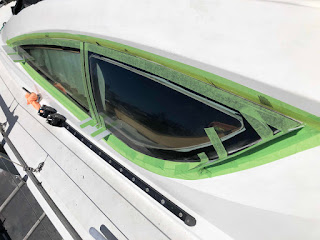
The Bloke taped the areas around the windows and created dams at the bottom to catch the runny activator. The taping proved to be far less than optimal. It might have been better if totally draped as if for surgery. Escaping dribbles and drops and smears found their way everywhere.

The various ‘gluing’ elements are nasty, nasty chemicals so the Bloke
got suited up for the task. The various elements ‘kick’ at specified
times so everything had to be prepared ahead and run the whole process
‘on the clock’.

We were reminded of Dr Zeus and the red spot. The black stuff got on your glove, then on a cloth, then on the hull and as fast us you tried to clean up it would smear a new surface - probably just like a Coronavirus!
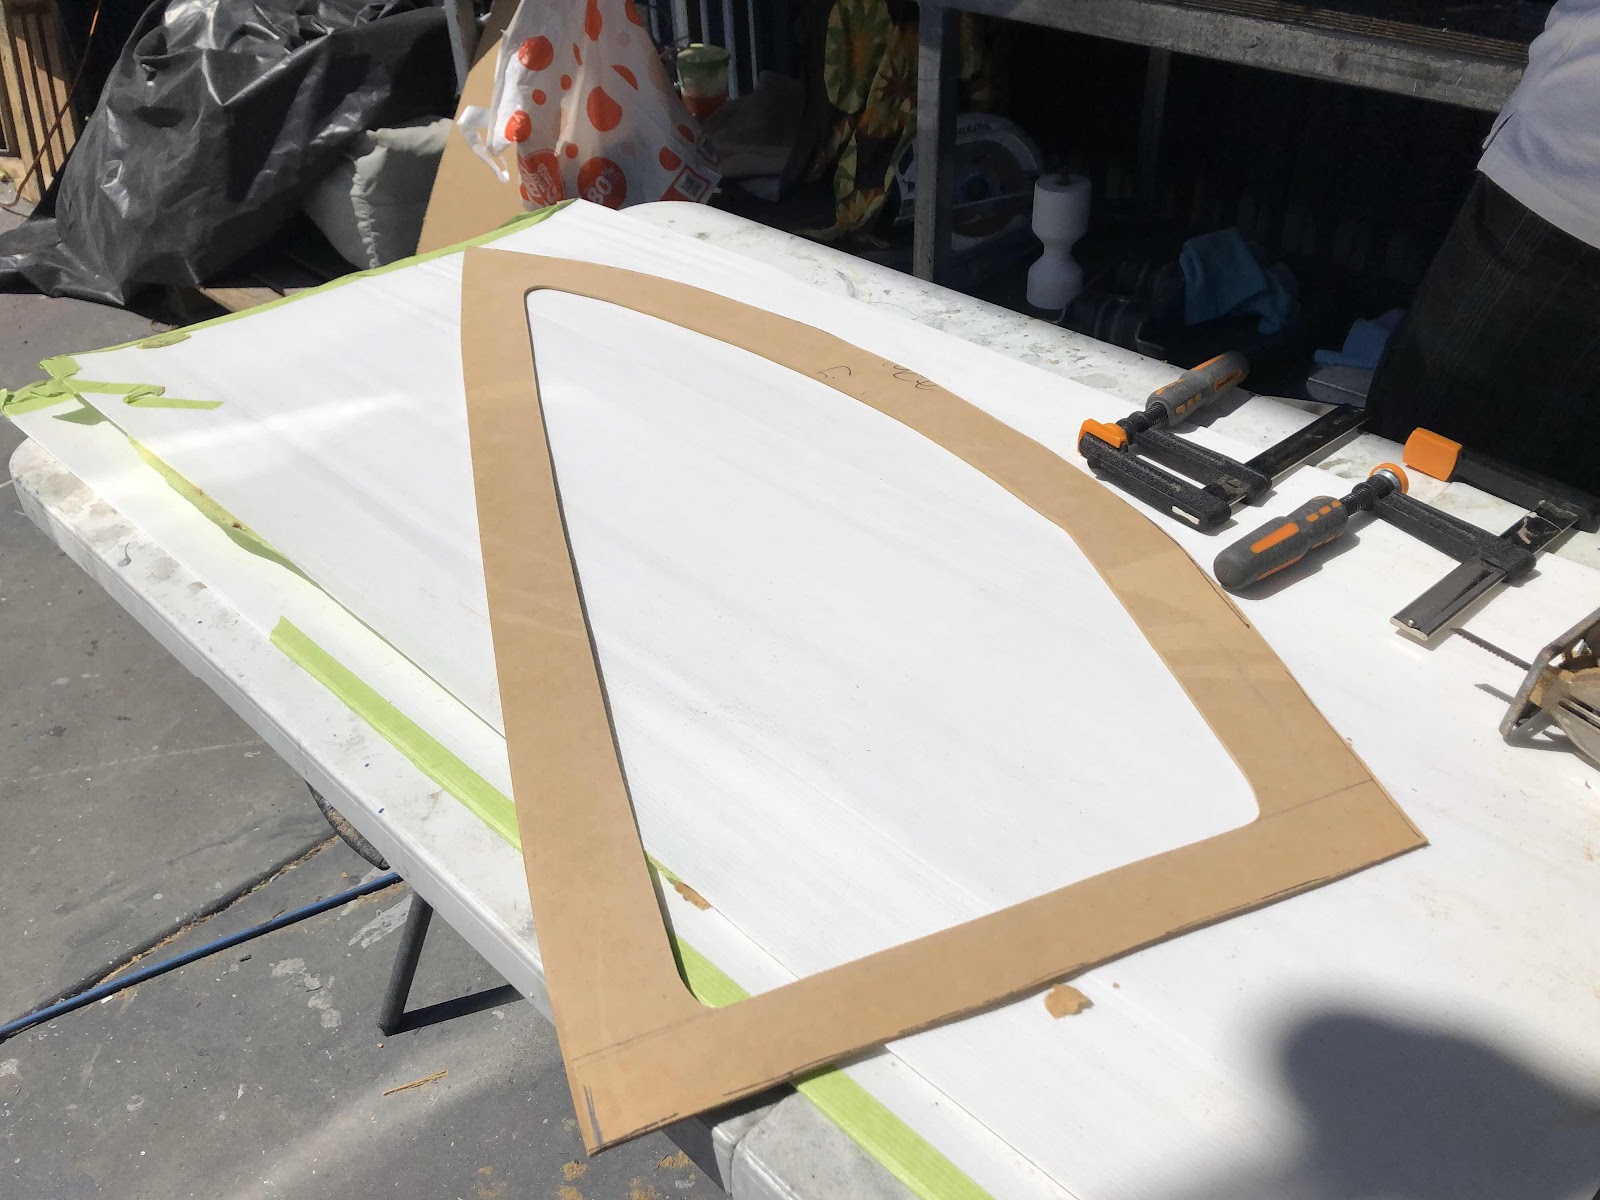
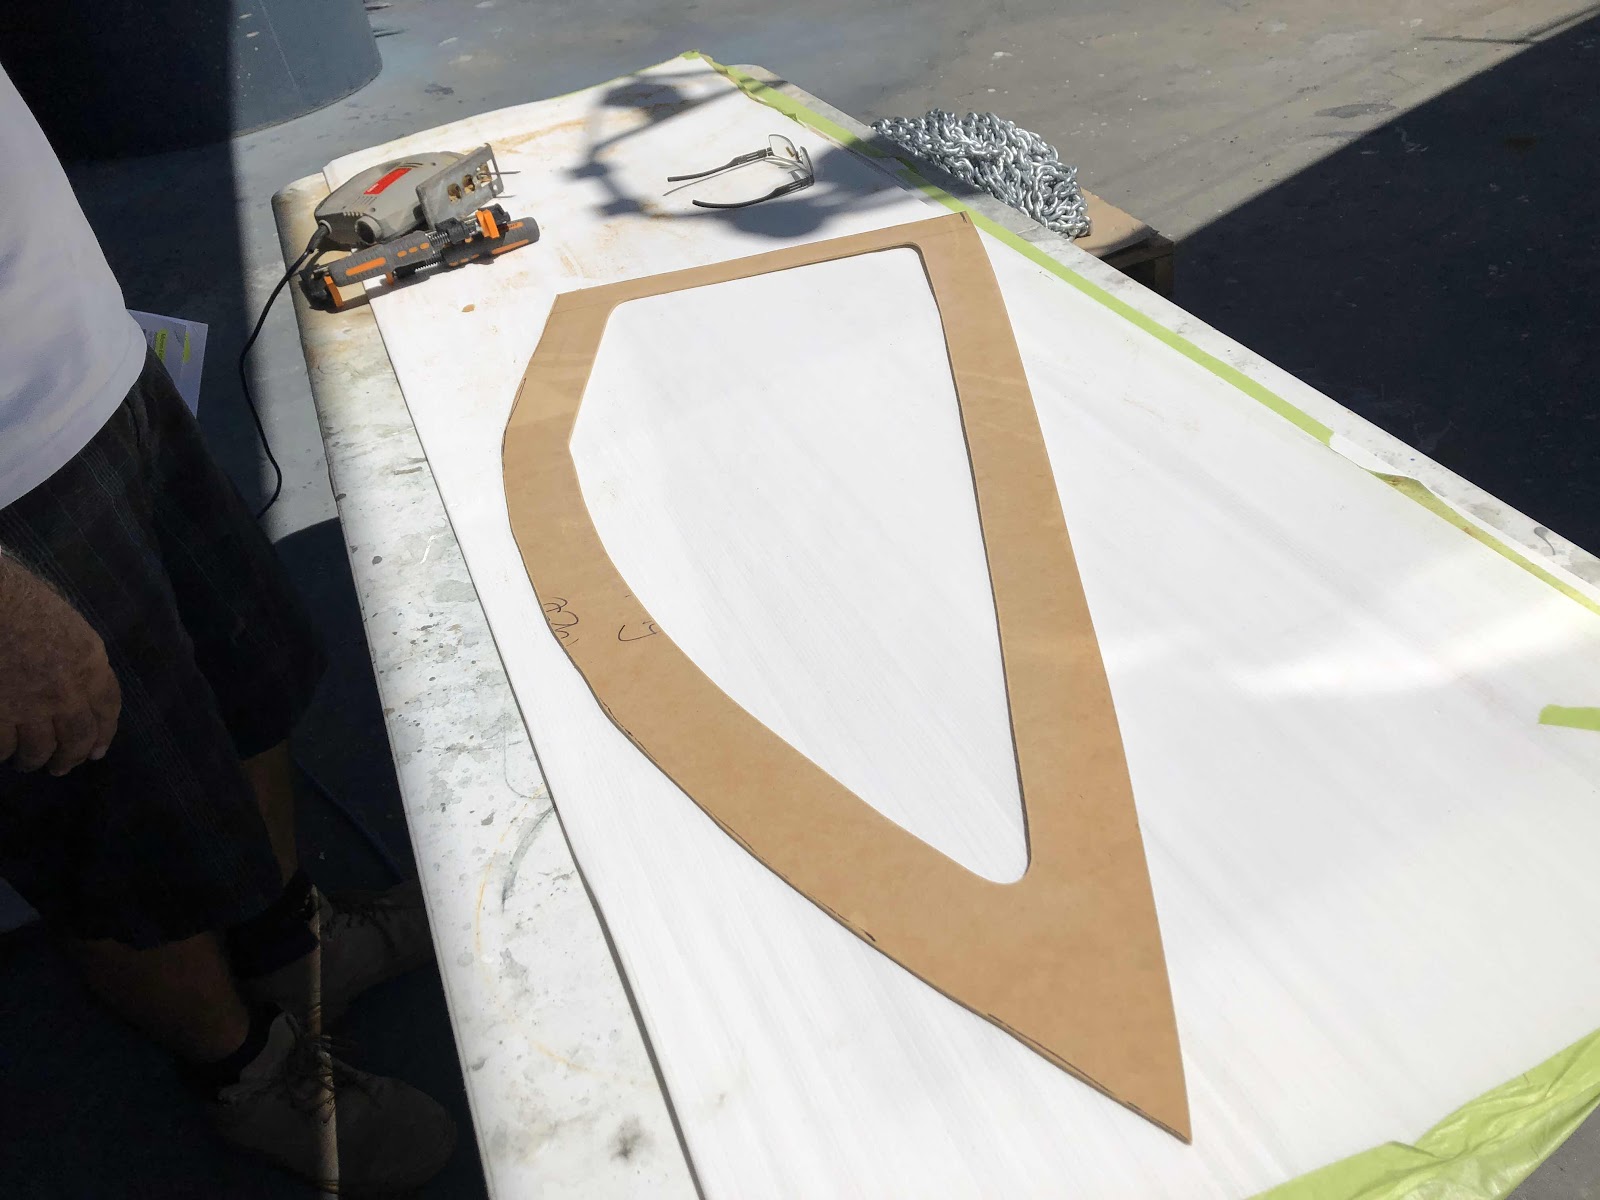
Step 2 involved cutting and applying black adhesive vinyl to form the cosmetic, and more importantly, protective border around the windows.
Creating the 2 cutting templates took a couple of days. The bloke began
by drafting with paper then cutting a sheet of particle board. Up and down the
steps he went declaring the mantra ‘Measure twice, cut once’!
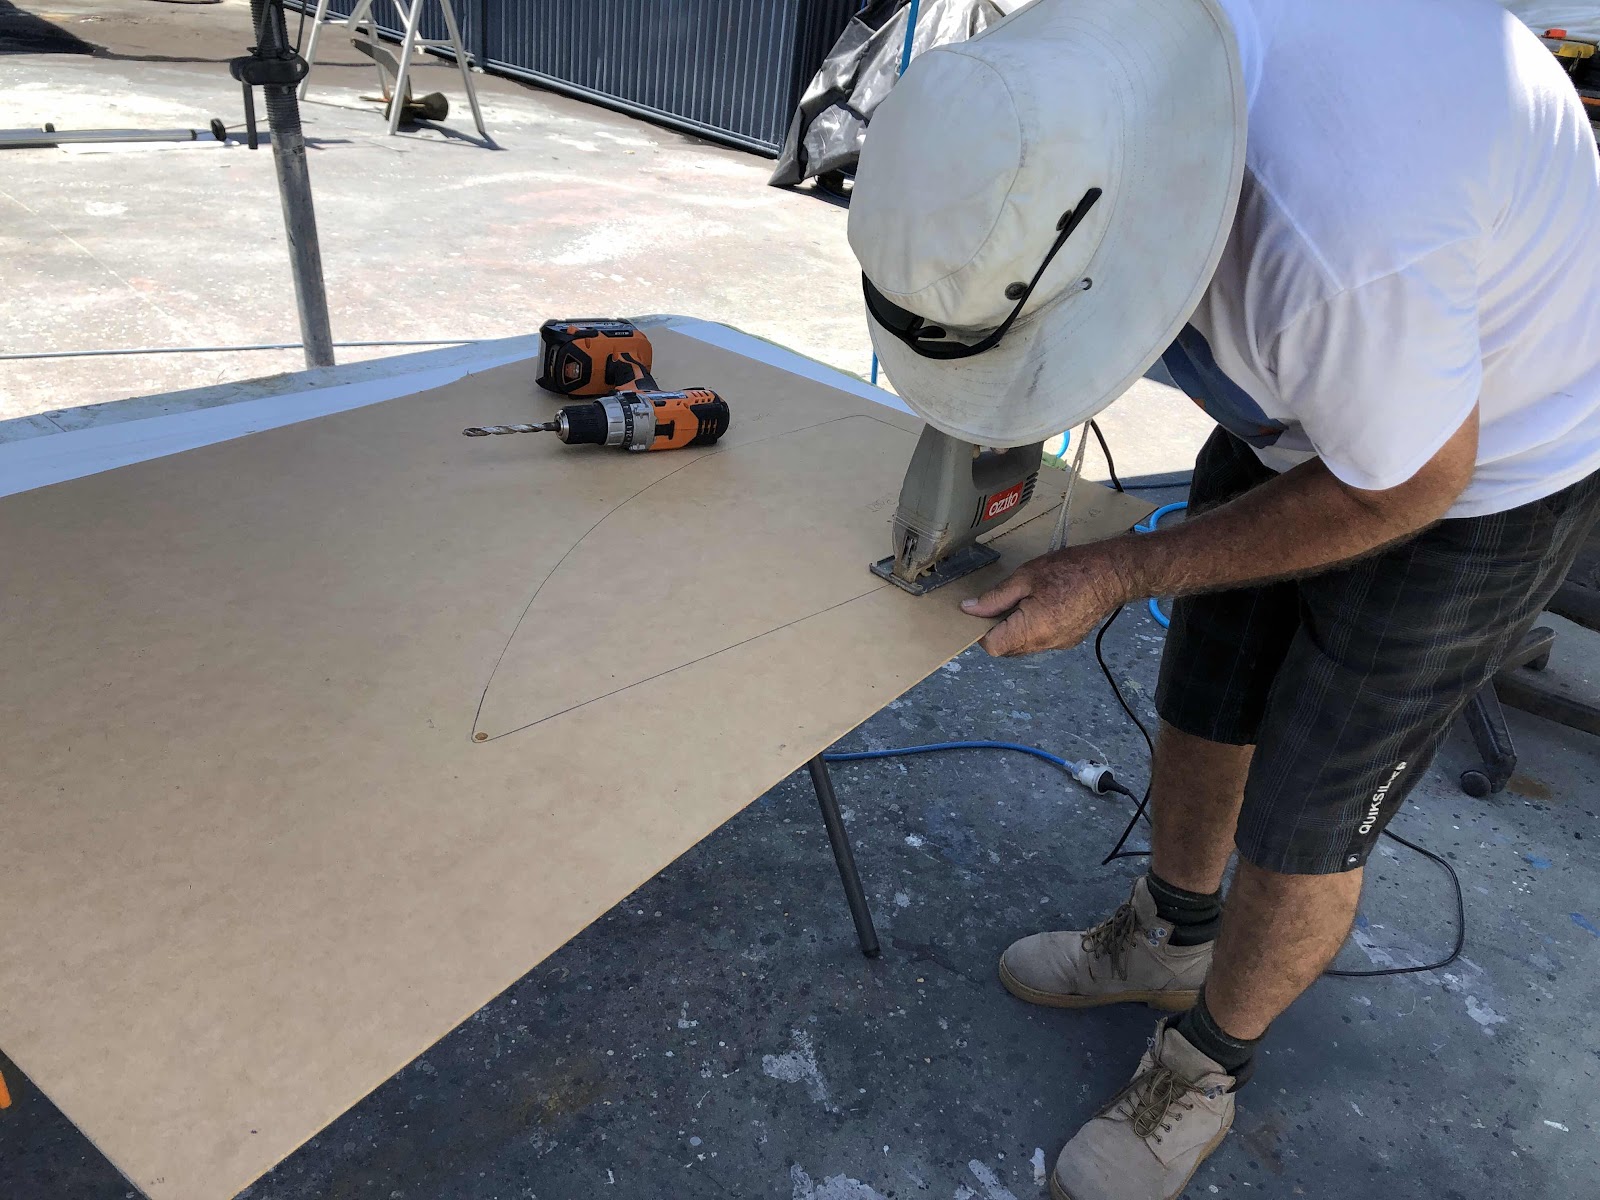
Drafting up the cutting templates
Using the vertical mid-point of the cats-eye was a helpful reference point for aligning the cut-out area of the templates. We used a stanley
knife to cut inside the template frame. Since the vinyl was at this
point a rectangle with the window shaped middle cut out, we found that
it was easier to trim off the excess around the outer borders once in
position. Of course, learning on the job and perfecting the technique
meant that that we went through a bit more vinyl than strictly
necessary. The local sign shop saw a forlorn Bloke reappear a couple of
times to repurchase ‘just another metre please’.
We learned that liberal spraying of the windows as well as the sticky side of the vinyl changed the characteristics of the vinyl into something very manageable. We eased the excess water and air bubbles out using a grouting float and soft cloth. We did have a couple of bloopers; notably when we tried applying the vinyl after the sun was fully risen and begun heating the windows. The vinyl bubbled too much so we condemned it and bought another strip.
With still a bit of cleaning up to do off the gelcoat - we think it’s an acceptable job aesthetically. Is it water tight? From the rain we’ve experienced to date, we are pretty confident that we’ve ‘nailed it’ but are still to confirm success in ocean conditions. Time will tell.
Post script : Watertight so far as at August 2020.
No comments:
Post a Comment