
Ciao Bella making a welcome lap
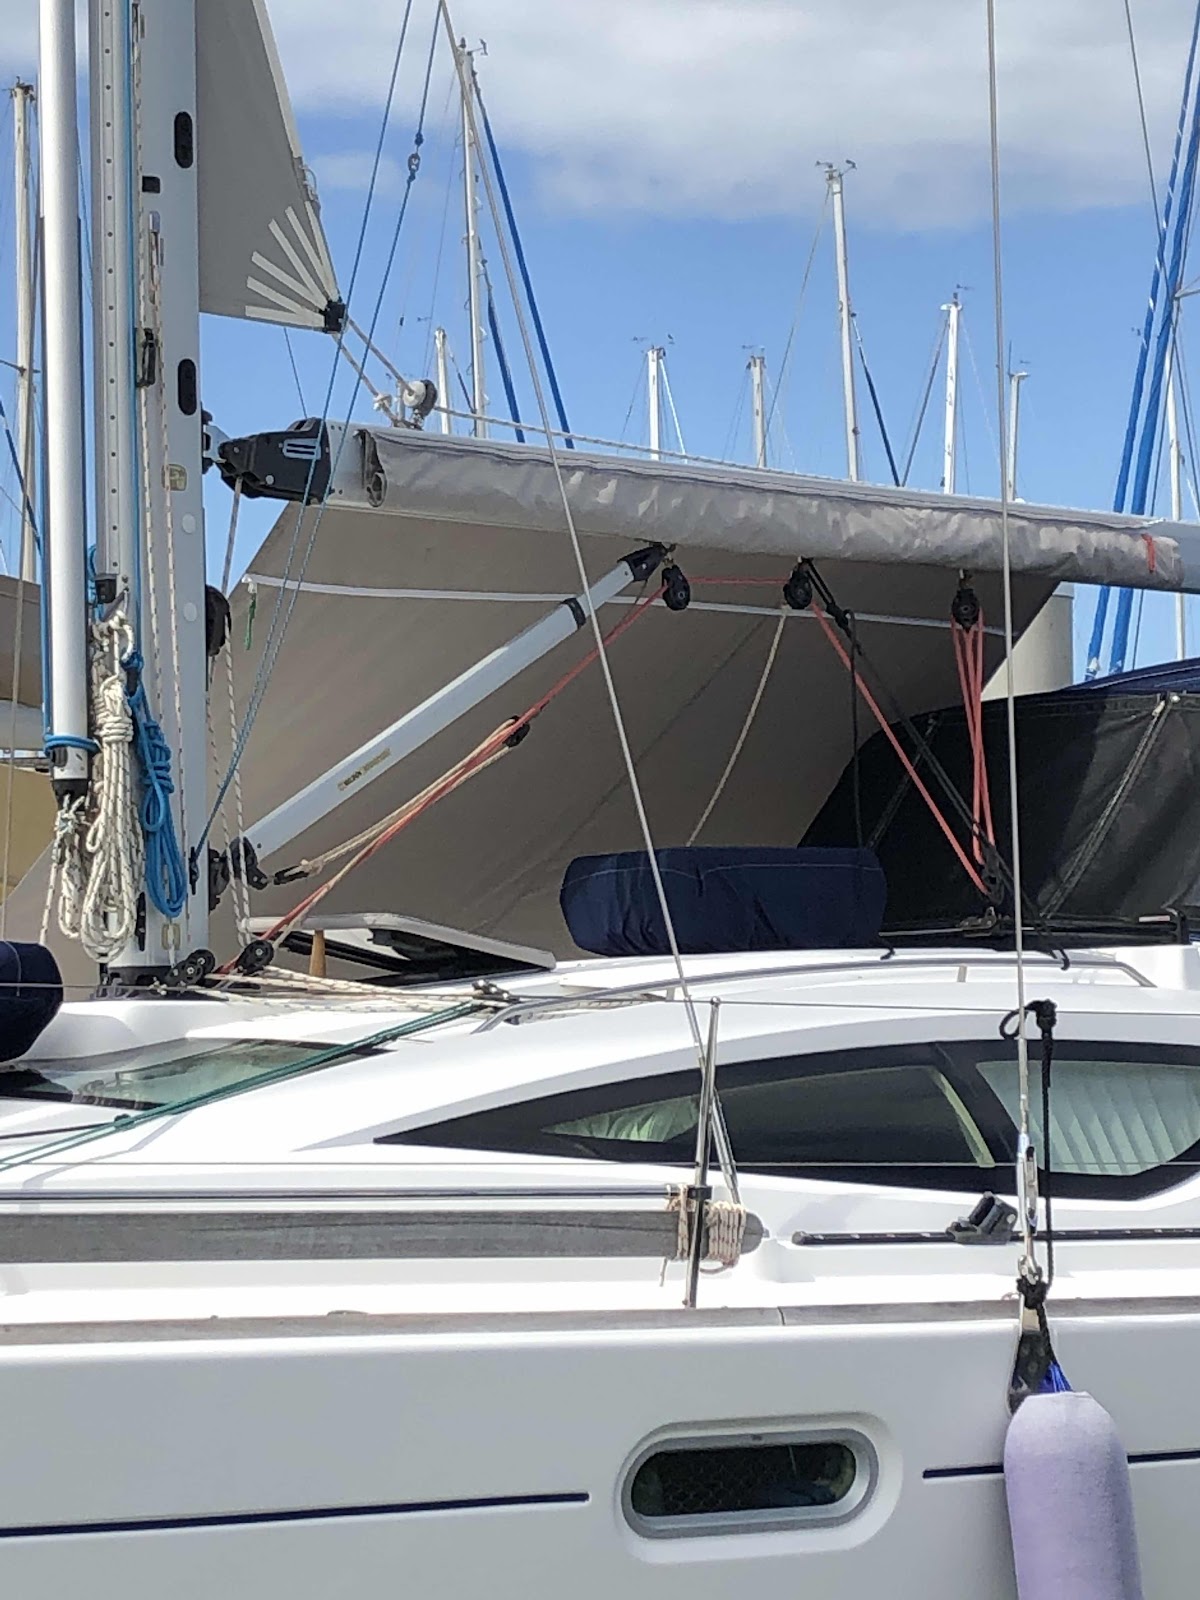
Last year however, after endless COVID-19 related delays, we finally rendezvoused with Gary and Mil on Ciao Bella up at Great Keppel Island. Seeing their boom awning arrangement for the first time, we knew immediately, that their ingenious setup was what we wanted!
We’ve never before spent a Queensland summer on the boat. In the past, even if Zofia was in Queensland for Christmas, we’d be in Perth visiting our family. Like everyone else in these Covid times, we’ve been making home improvements too, seeing as our travel options are restricted. Being temporarily confined to marina life (think unlimited electricity and no weather distractions) plus the use of a car to obtain supplies, our circumstances were perfect to execute a major sewing project, or so The Bloke kept telling me.
Conveniently Ciao Bella came into our marina for a couple of days giving me an opportunity to give their setup an extra good ‘looking at’. Mil was generous with her time and encouragement showing some of the finer details and sharing her tips. So I put on my big-girl-pants and embarked on the process of cutting up 600-700$ worth of fabric!
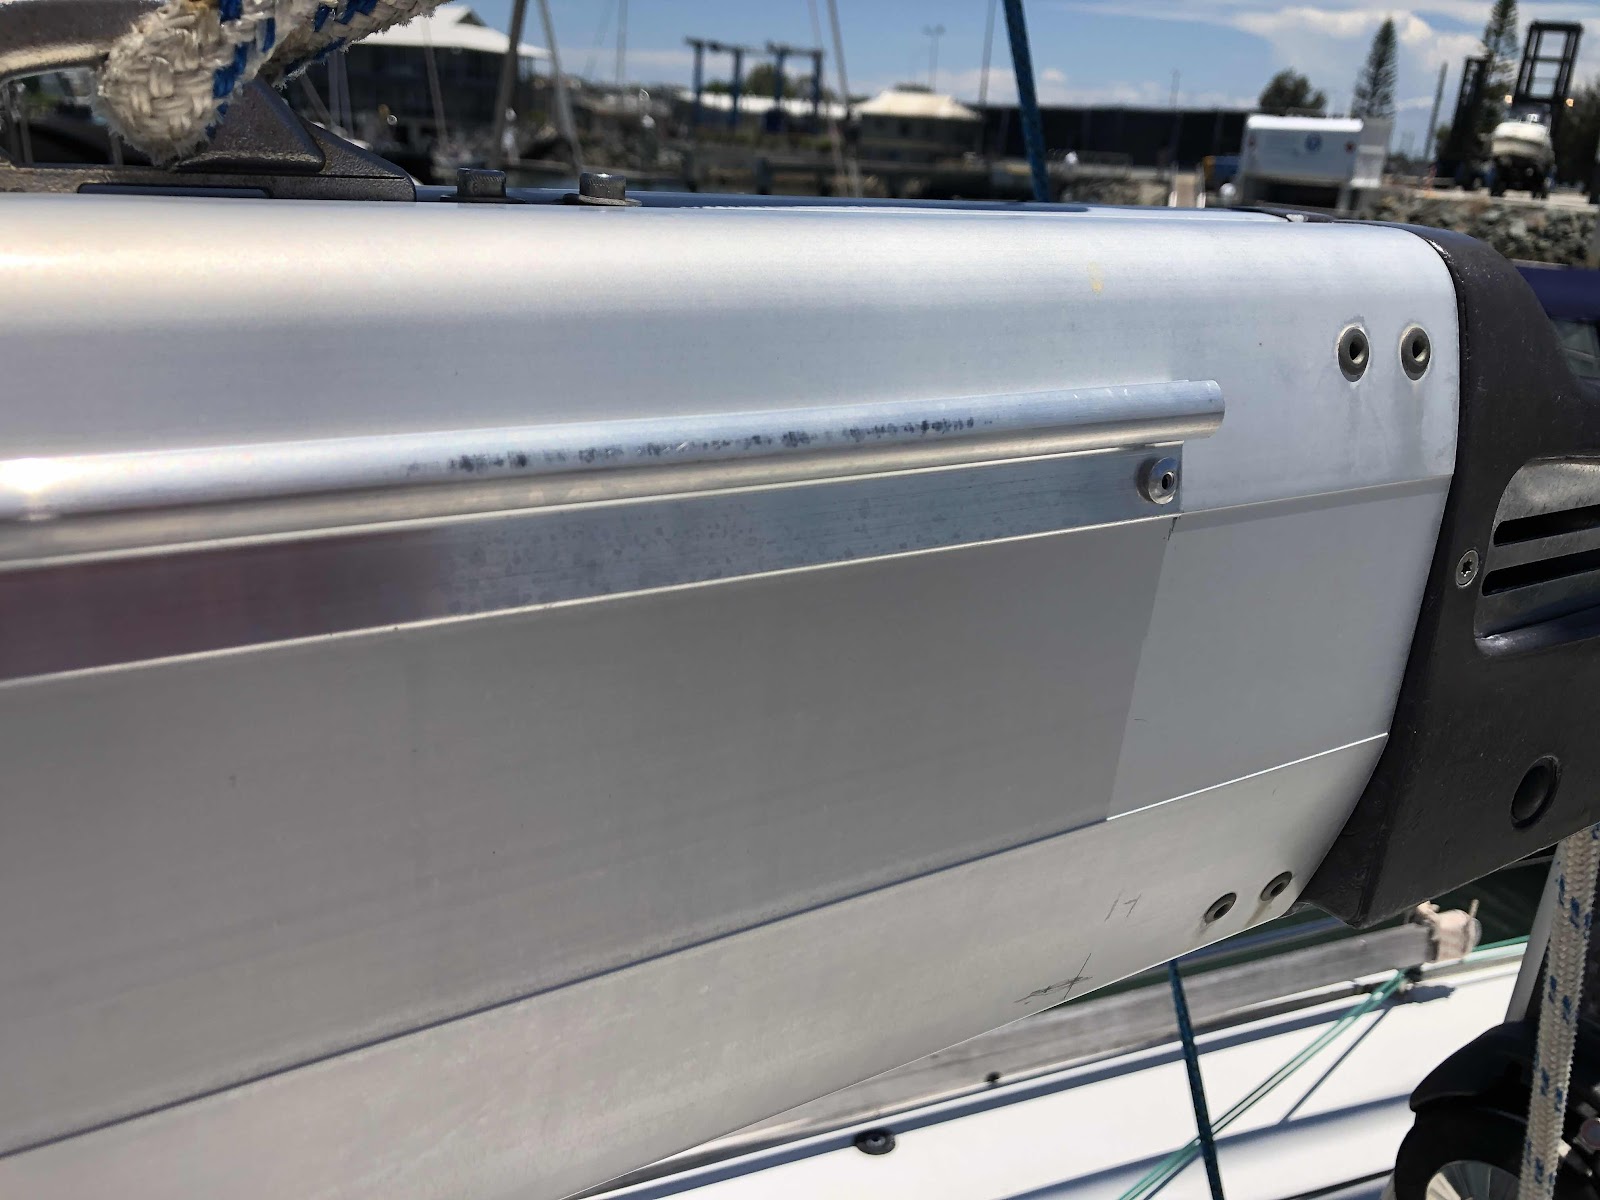
Aluminum sail track pop-riveted onto the boom.
The Bloke set the ball rolling by purchasing and installing a 3m length of aluminum sail track on each side of the boom. Drilling the holes into the boom for the pop-rivets took courage. No turning back now. No performance anxiety allowed. Now it was over to me.

Laying out the fabric
Some kind of sedation is required for working in such a confined space with heat and humidity just to spice it up. Some people suggested working on the jetty but that’s not really an option in the tropical sun and not a great deal wider anyway. Besides, one puff of wind and half the fabric would be blown into the water- that would be way too much excitement!
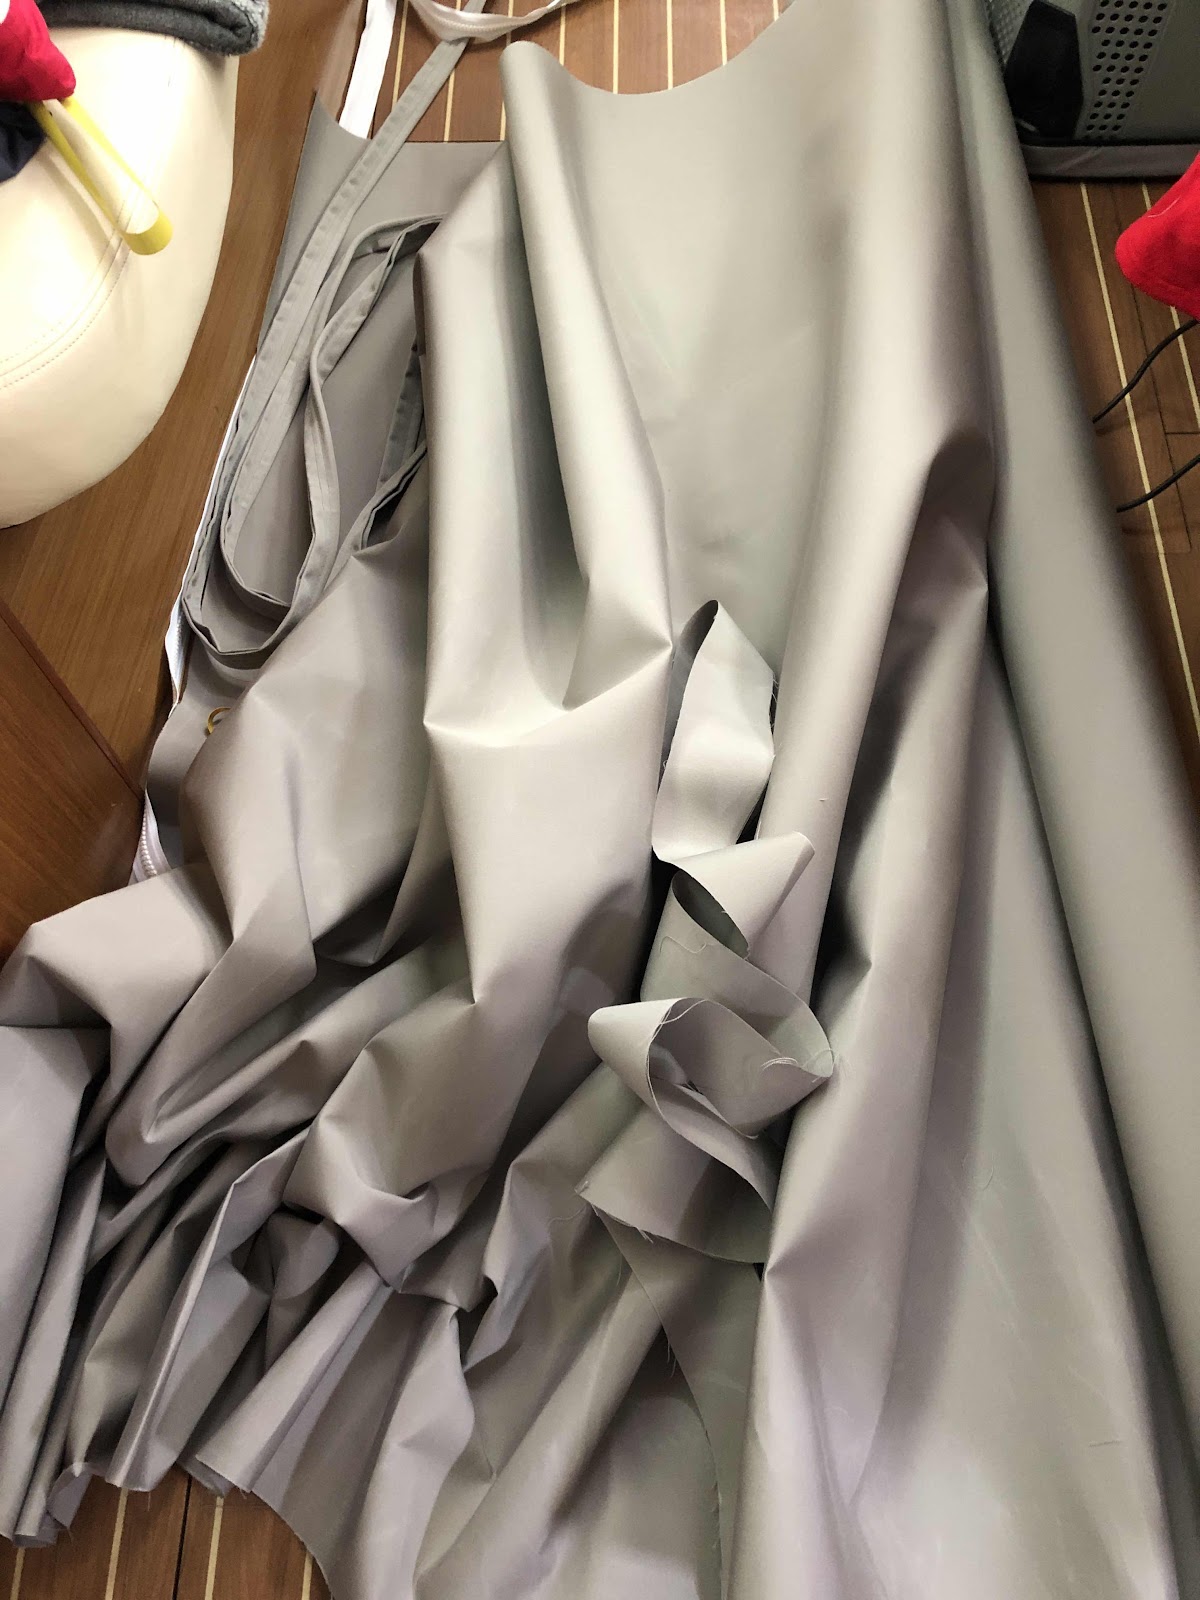
The bolt of Sunbrella fabric (2.005m wide) soon became strips and slab pieces. After cutting, the next task was to sew the bolt rope. The off-the-shelf, pre-made version is called Keder Sail-track Tape but it’s expensive to buy and would have added well over $100 to the cost of the project. My time is free and besides, Mil had already shown me how to construct it.

1.
2.

3.
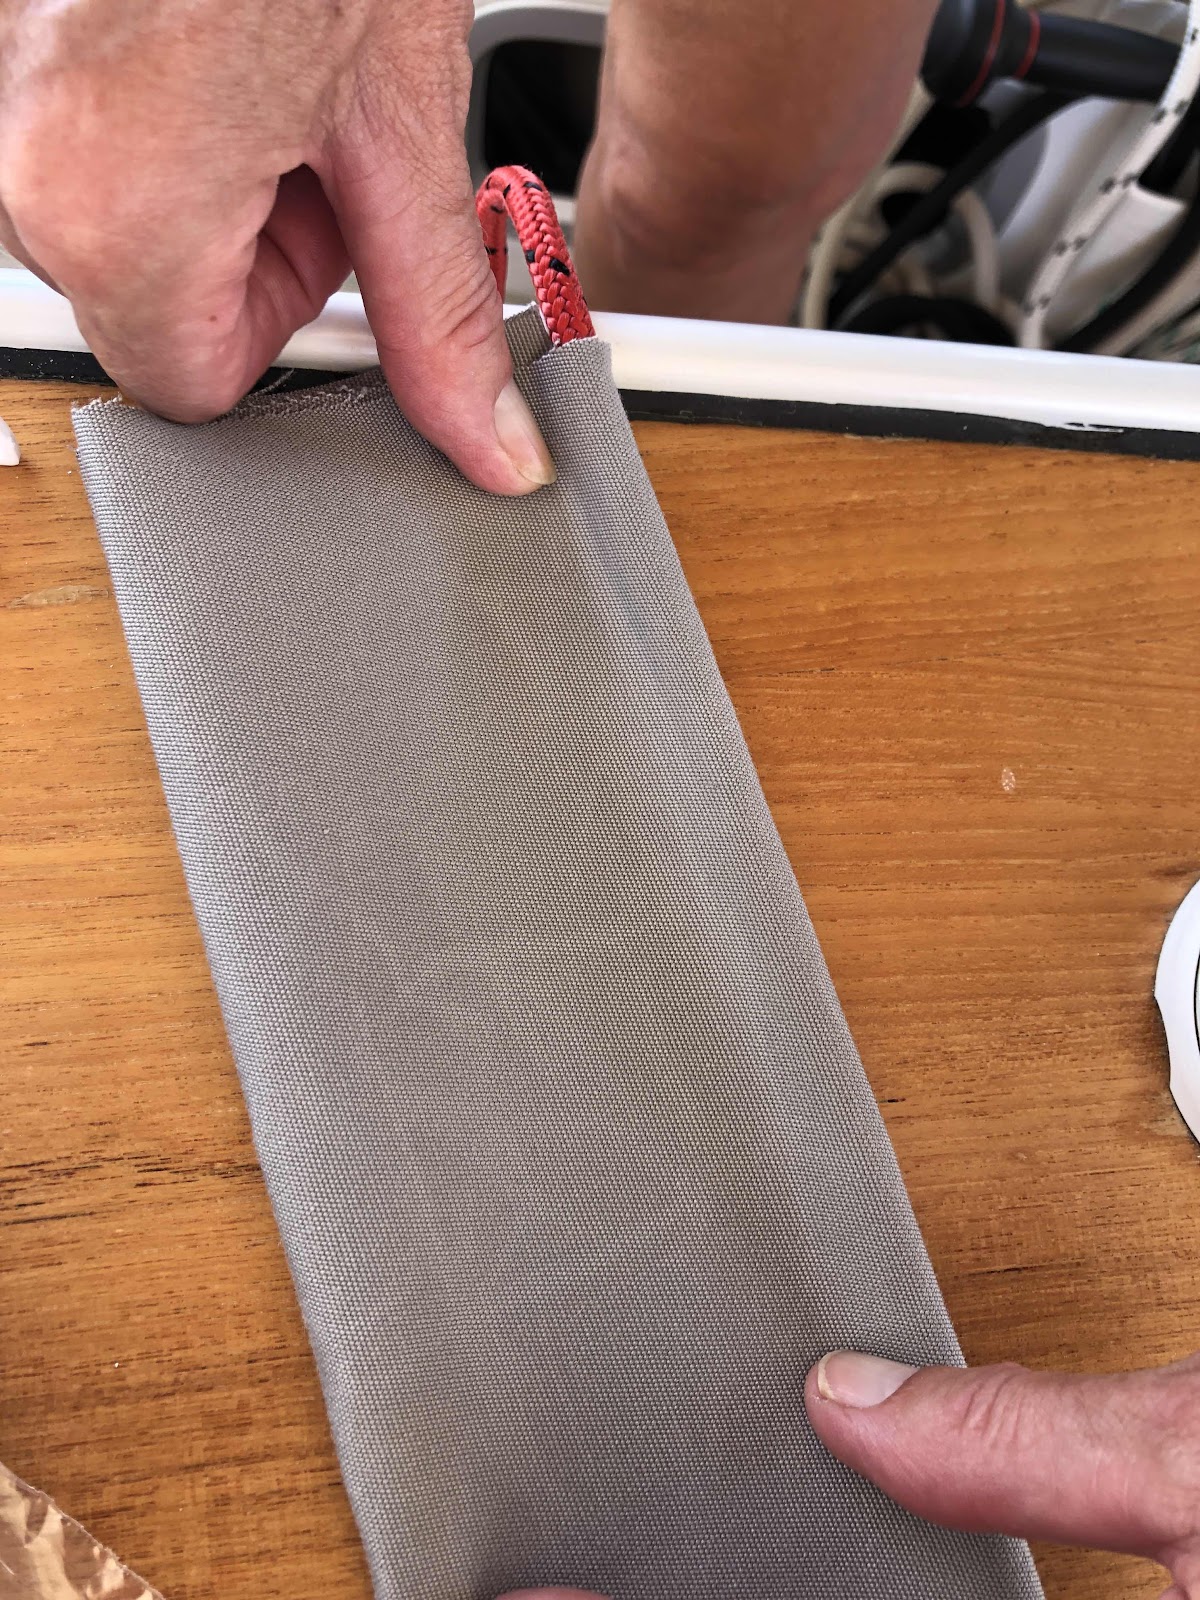
Voila - 10cm fabric strip + 6-7mm cord. Thanks Mil!

My homemade sail track tape.
Next in the process was to sew a zipper valance. The binding tape and binding attachment that I’ve used on other jobs made a fast and tidy looking edging.


The zipper valance and sail track tape were then stitched together.
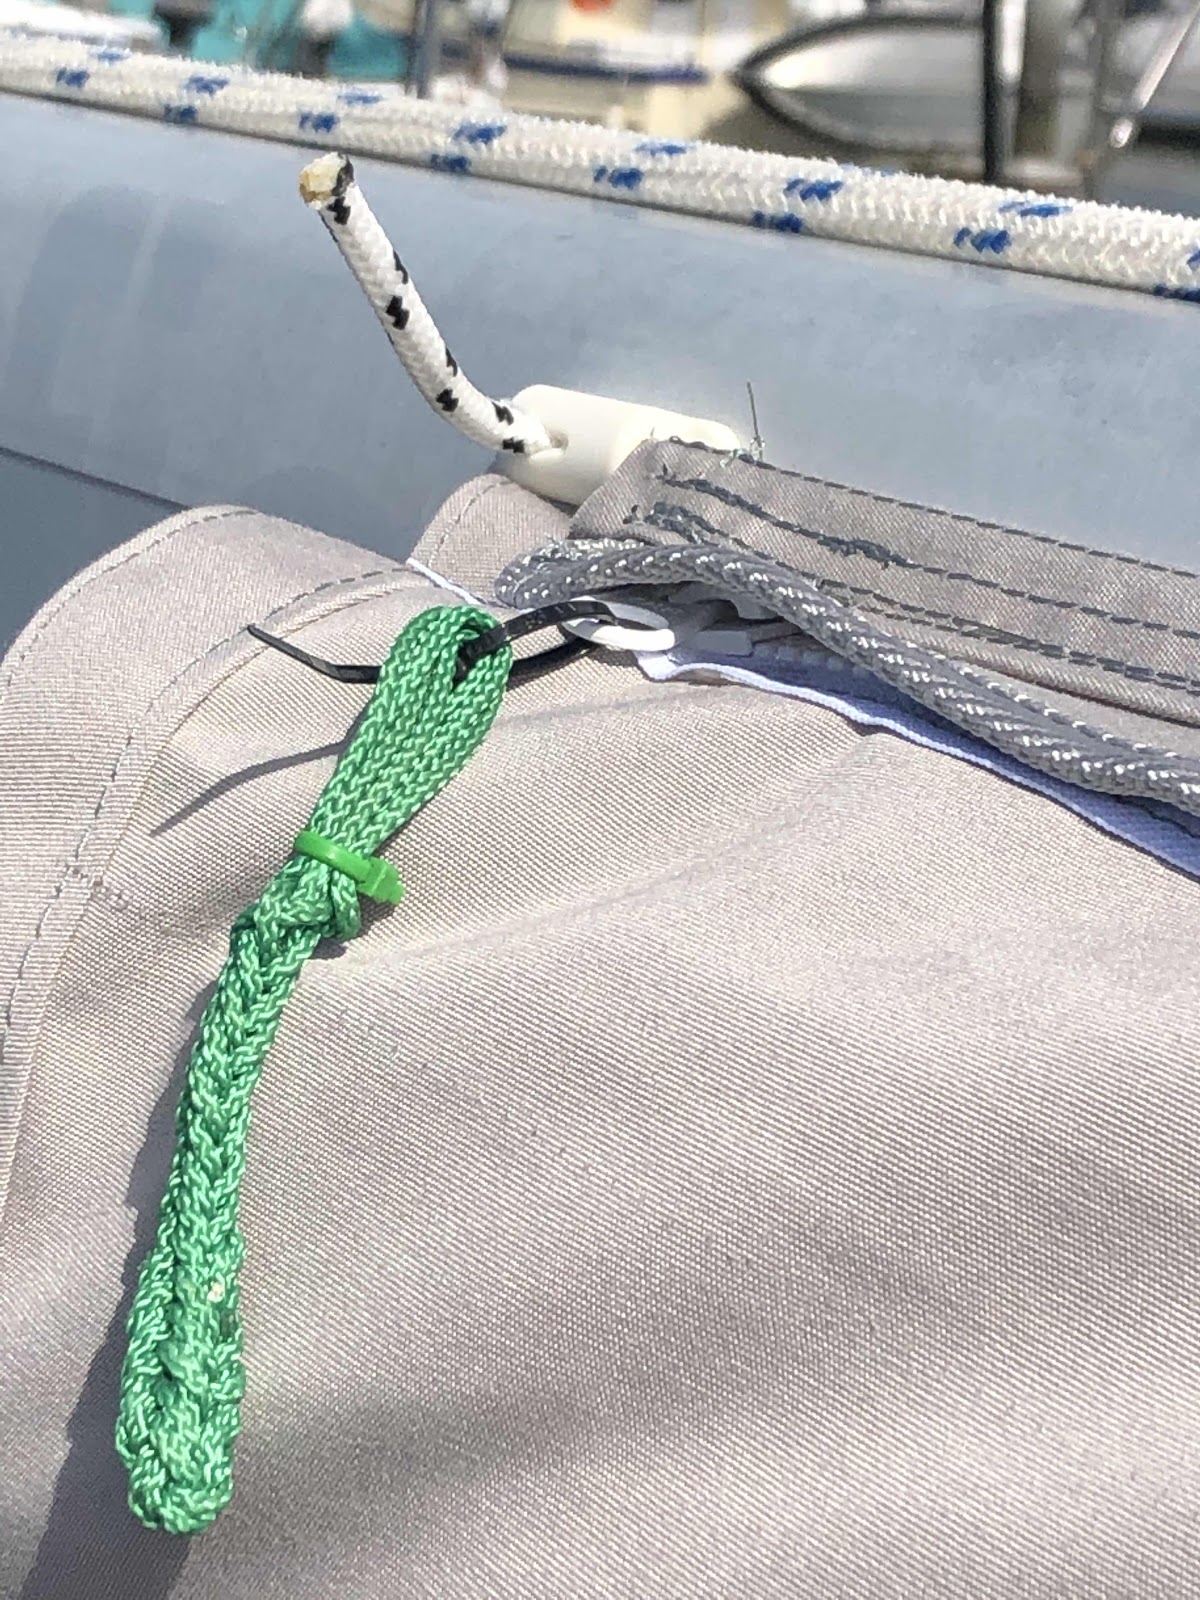
I discovered that the rope also needed securing. A 3” length slid into the sleeve during handling so I was quick to arrest that!

Next, the big awning pieces needed to be cut and joined. Sunbrella's 2.005m width was insufficient for the intended 3m wide drop. More crawling, measuring, scribing and cutting needed.

After pouring over multiple Sailrite instructional videos I chose a fully felled flat seam (stronger and more waterproof). Sewing the 2m and 1m strips together was the hardest of the sewing due to the shear weight and volume of the pieces. Keeping the sewing lines straight was not easy nor 100% successful. The Bloke, seeing the difficulty, assisted by supporting some of the fabric’s weight as it came off the sewing machine.

Instructional video
Excitement mounted as the fabric evolved into something resembling an awning, so we were compelled, despite the wind, to try things out along the way!

I hadn’t made a decision on the actual length of the awning, knowing only that it would be narrower at the front (about 2015cm) versus the middle (2025cm) due to the hull’s extra girth at mid-ships. Having eye-balled it en situ we opted for a contoured rather than strictly rectangular shape. With a big deep breath inwards I measured multiple times before taping and cutting off the excess fabric. Ouch!

The excess won't be wasted

In my enthusiasm I nearly forgot the corner re-inforcement. Image shows the patch still to be sewn to corners. Luckily I had ‘reduced’ (a technical term) the corner seams so that the corner was less bulky. My machine was stitching through roughly 9 layers of canvass at this point!
From a sewing perspective, the last element was the zipper- strip that would enable the rolled awning to wrap inside itself and hang from the boom - semi-permanently.

To sew it as straight as possible across a 3m fabric block, I measured and laid out a line of blue painters tape. The zip could then be aligned to something a little more solid than a chalked scribe line. On the 2nd awning I reversed the placement of the tape so the edge of the zipper tape butted up against the painters tape instead of the zipper teeth. #learningonthejob.

OMG it was starting to resemble our mental image of it !!

Just a little pleased
The initial bag area was 14” but we decided that it looked too bunched-up at the stern end which had greater bulk. It was unpicked and re-stitched at 17” which looked and hung much better.
One side up, one side down
The Bloke book-ended the project by drilling out the holes for the grommets and attaching little tensioner cleats adjacent to the sail track to help hold the whole assembly taught along the boom.

Drilling out the grommet holes
A lucky find at the chandlery - a nylon in-line cleat to hold the bolt-rope tight

The last seam. Definitely something to smile about!

The Bloke’s getting excited now

A view from above
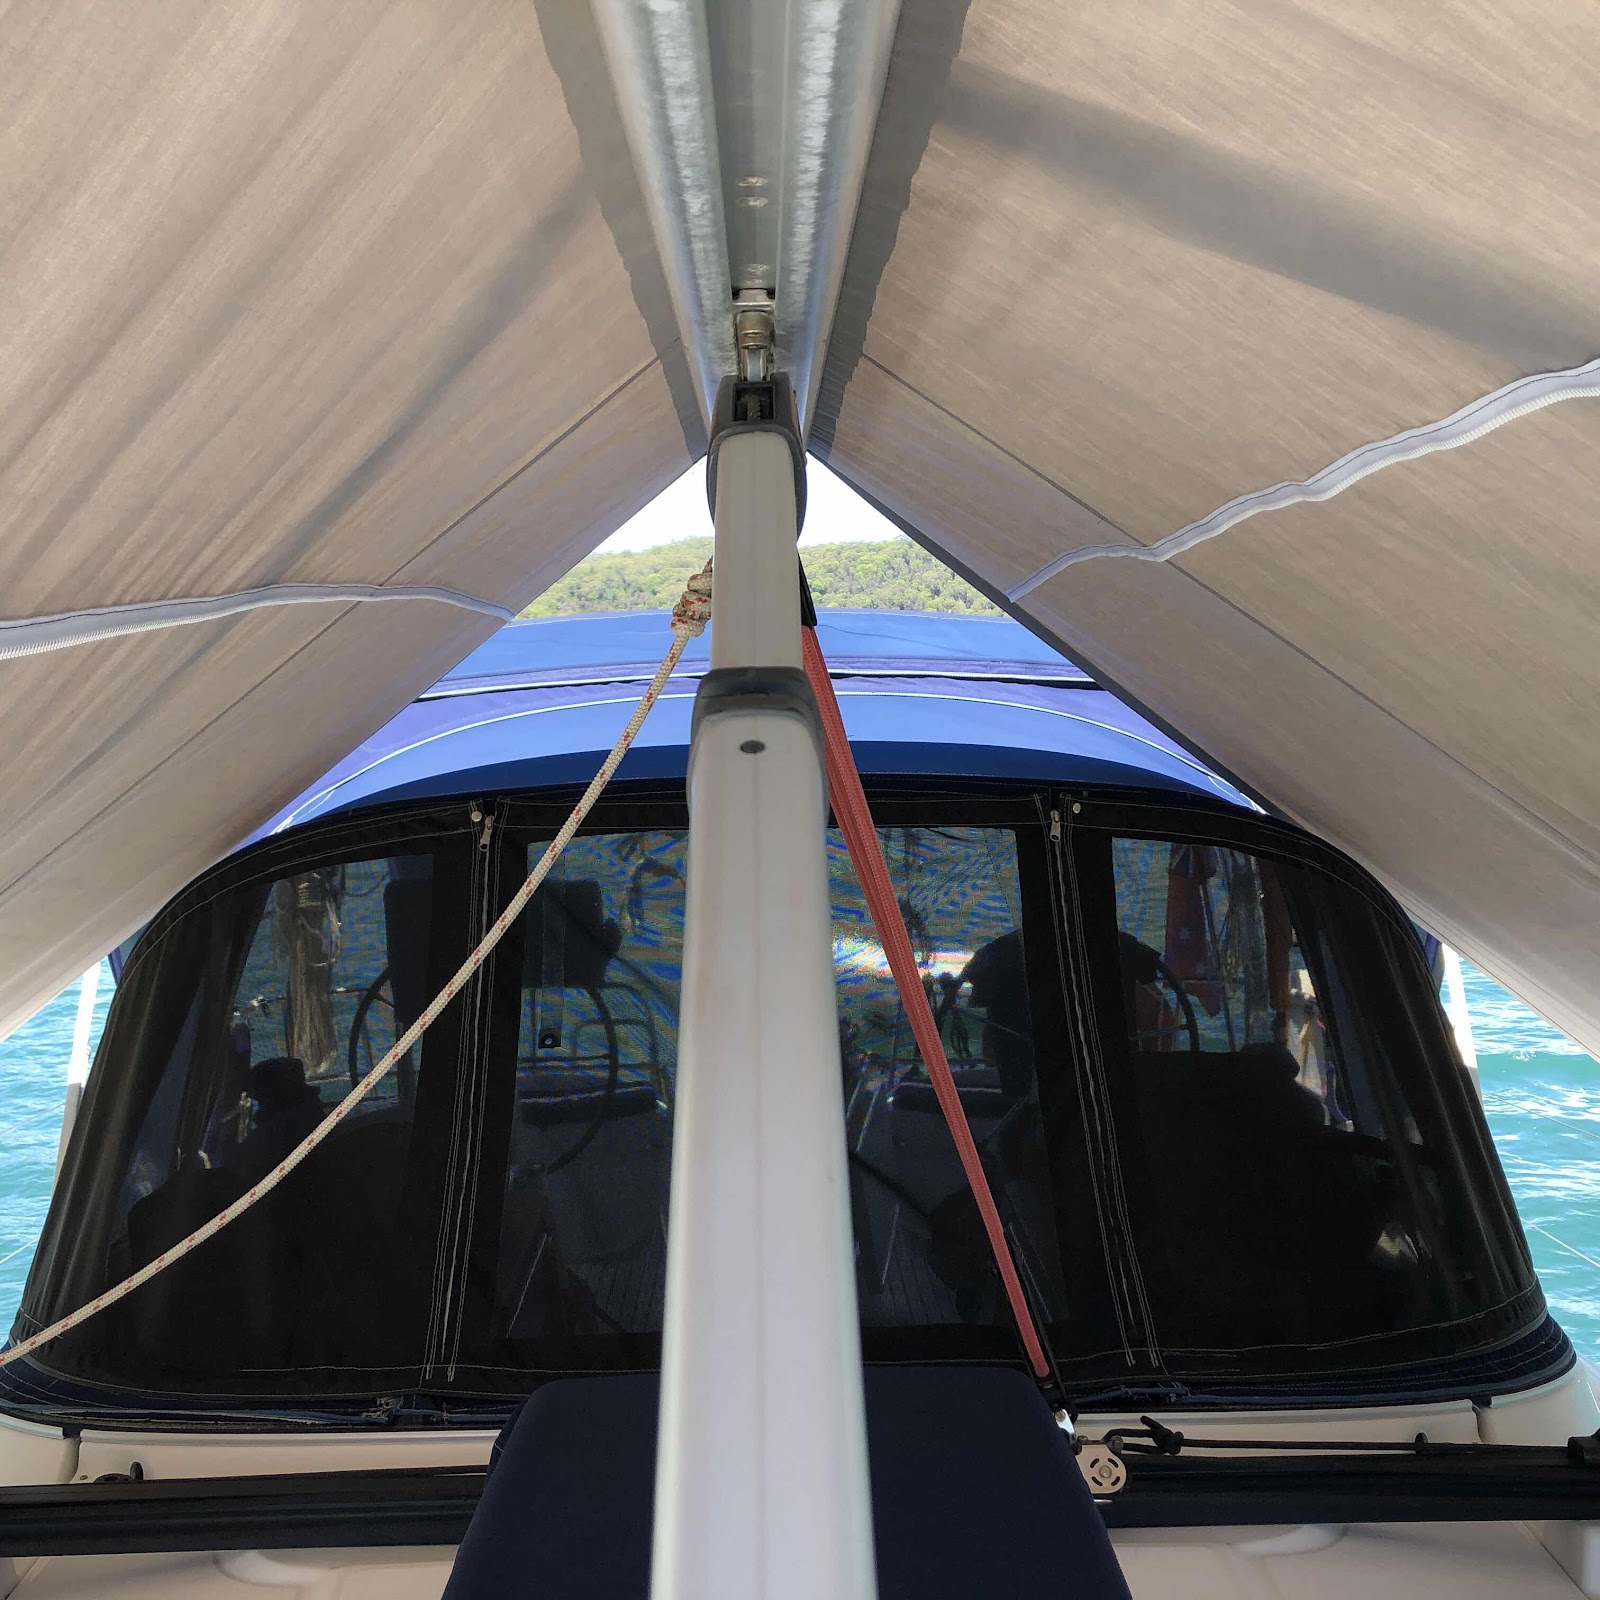
A view from below looking under

A cool boat

Ahhhh - job done. Time to chillax!!
Hi there, I'd like to get in touch with you about some of your images of the anchorage at Dillons Bay, Erromango, Vanuatu, for use in a RCCPF / Imray cruising guide. Could you please get in touch at: jessicalloyd-mostyn@hotmail.com
ReplyDeleteKind regards,
Jess Lloyd-Mostyn